3
Initial Configuration
Unit Configuration
This chapter discusses how to initialize and configure the SDI xNode to sit on the L network. Configuring
the SDI xNode to handle and route SDI and audio signals will be discussed in a later chapter.
There are different options for how the xNode can be configured:
♦
assigning an ID to the xNode
♦
manually configuring the IP address.
♦
iProbe software application
In the fast setup, we will use the ID method. Following subsections of this chapter will cover the other methods in
detail.
Fast Setup
Apply power to the xNode and wait for the boot process to complete showing you a home screen identifying the
xNode and version.
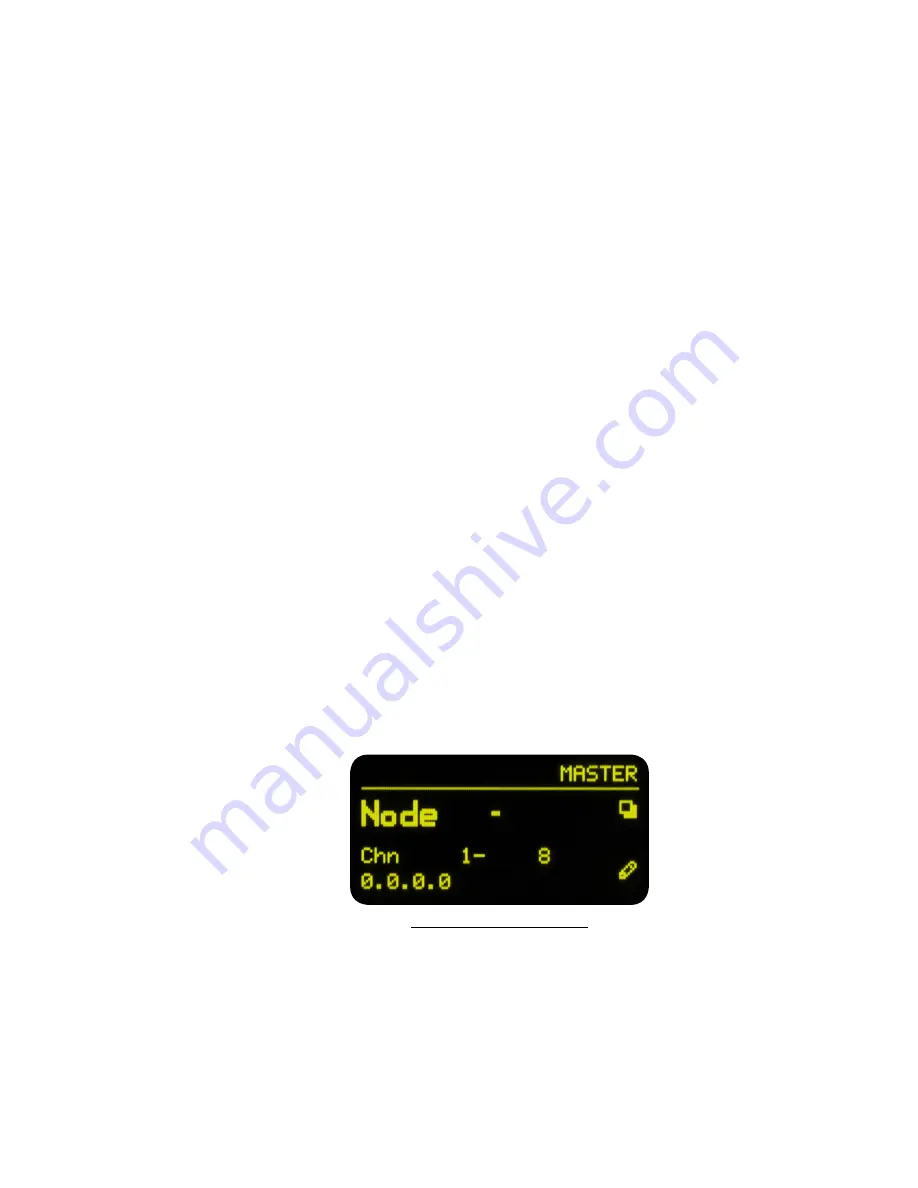
Press the top button, the screen button, four (4) times to reach the ID page which shows you a Node ID with no
value, Channel numbers 1-8 and no IP address (shown in )
Press the second button, pencil icon, for 10 seconds to enter into edit mode.
Figure 16 - Front Panel Display
With the cursor shown, you can use the top button (I+) to increment value and the bottom button (>) to move the
cursor to the next position. Press “next” button twice and press the increment button once to give the ID value of 1
to the xNode. (You’ll give a different ID number to each xNode you install.)
Pressing the move button one additional time completes edit mode and automatically configures the xNode with IP
address 10.216.0.101 and channel numbers of 101 – 108.
That’s actually the end of fast setup! With IP and channel numbers configured, you can attach the xNode to your
network and begin connecting sources. But let’s continue on for some quick customization.
Connect a cross over cable between a computer and the xNode or connect the xNode to the appropriately config-
ured switch.
Summary of Contents for Linear Acoustic SDI XNODE
Page 8: ......
Page 50: ...41 Section 6 Figure 41 Sources Configuration...
Page 57: ......
Page 58: ......
Page 59: ......


