Back Panel Description
4
December, 2002
User’s Guide
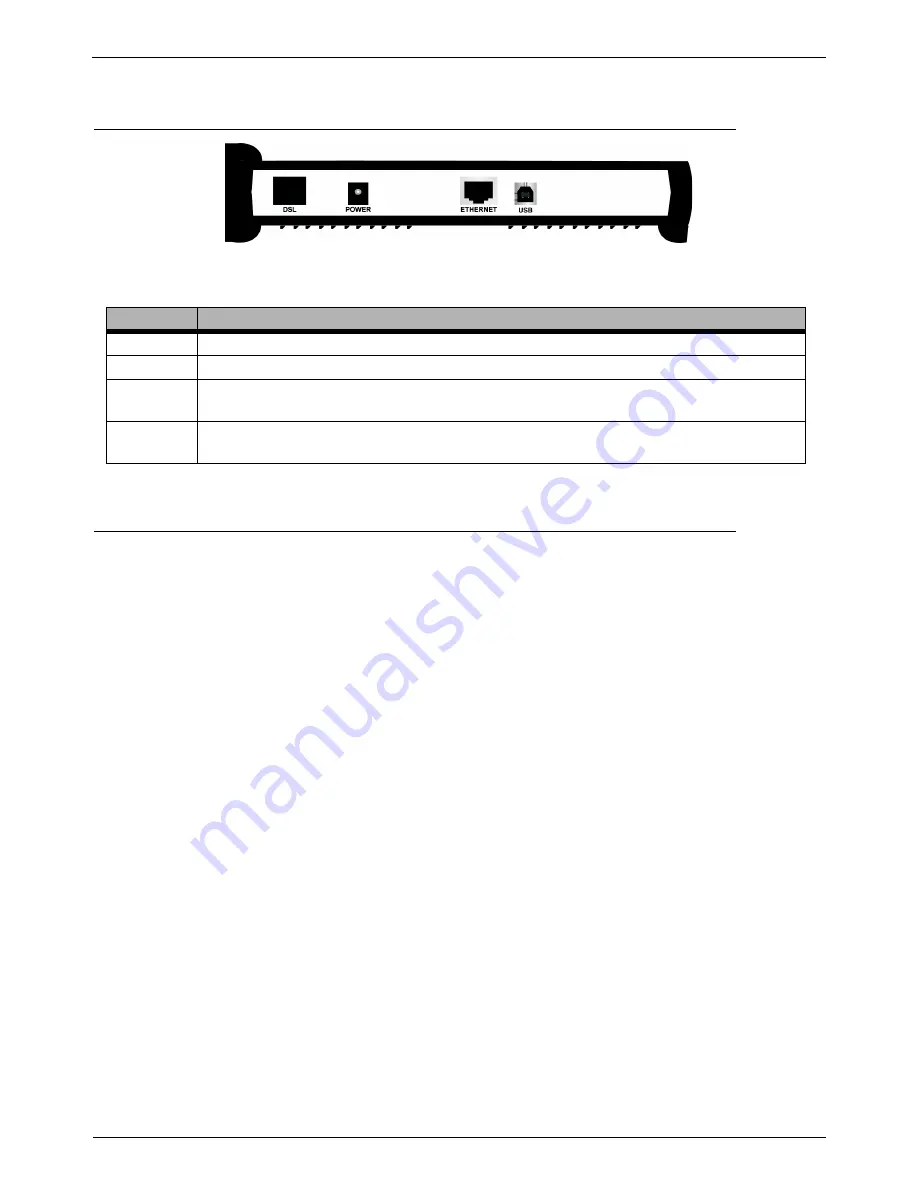
2.2 Back Panel Description
Figure 2.3
Telindus 1110 ADSL Bridge Back Panel
2.3 Before You Begin
CAUTION!!!
Turn off all electronic devices, including your personal computer, before you begin to connect and
disconnect cables.
2.3.1 Personal Safety
•
In case of emergency, locate the closest electricity power-off switch.
•
Refrain from touching any active wires or terminals.
•
Remove any jewelry before working on equipment connected to electricity.
•
Keep cables away from walkways.
•
Dispose this product in accordance with national laws and regulations.
2.3.2 Product Handling
•
Keep ventilation slots clear.
•
Operate in a clean and dust-free location.
•
Cables must be attached to the correct interfaces; to do otherwise may result in damaging the ADSL
bridge or produce hazardous voltage.
•
Do not operate or store the product in an environment that surpasses temperature or humidity specifica-
tions.
2.3.3 Location & Placement
•
Choose a location for the ADSL bridge that is close to a power outlet and a nearby telephone outlet. In
addition, select a convenient location that does not experience too much foot traffic and is away from
sunlight.
•
The optimum spot to place the ADSL bridge is on a level surface – such as a desktop, shelf, or table.
•
Place the ADSL bridge on the predetermined surface, so you can see the back panel for accessible cable
connection.
TABLE 2:
Telindus 1110/1111 ADSL Bridge Back Panel Interface Description
PORT
DESCRIPTION
DSL
The
DSL
port connects the ADSL bridge to the telephone outlet with DSL service
.
POWER
The
POWER
port is where you connect the AC power adapter to the ADSL bridge.
ETHERNET
The
ETHERNET
port is where you connect the ADSL bridge to a PC, hub or switch on your
wired LAN network.
USB
The
USB
interface allows you to connect your ADSL Bridge to your PC using an USB detachable
cable.


