Make sure that your computer’s configuration is compatible with DIGICADRE. Software
incompatibilities or hardware conflicts can arise when
connecting
. TELEFUNKEN can not
in any case be held responsible if the configuration does not conform.
The USB 2.0 port offers the optimal transfer speed, however DIGICADRE will also work
with a USB 1.1 port. In this case the following message may appear when connecting
DIGICADRE to the PC:
“This device can perform faster
if you connect it to a high-speed USB port”
Make sure to keep this in mind.
Turn on the computer, leave the DIGICADRE turned on.
Connect the small USB connector cable to DIGICADRE. Check that it is well connected.
Connect the other end of the USB cable to a USB port on your computer.
Switch on DIGICADRE.
After a few seconds, the message “New device detected” appears on the computer
screen. Wait a few moments until the installation has completed. As soon as the message
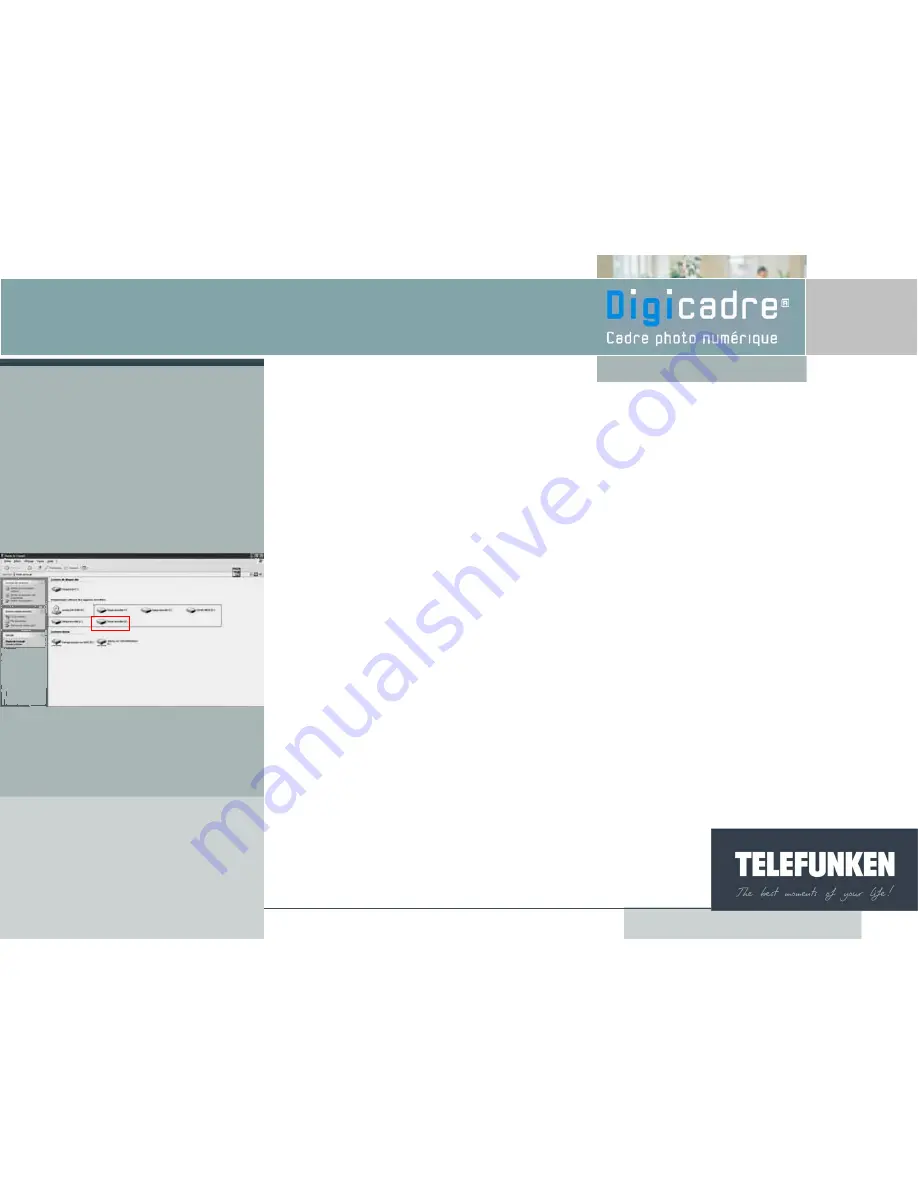
“your hardware has been installed and is ready for use” appears, double click on the “My
computer” icon: 6 new removable hard-disks can be seen (fig.26).
Non binding document, subject to modification in the event
of misprint(s) – MKG0207
Fig.26
39
Summary of Contents for Digicadre 7111BW
Page 1: ...Model 7111BW User guide ...
Page 13: ...With the frame When the frame is in slide show mode and photos are being displayed press ...
Page 14: ...With the frame When the frame is in slide show mode and photos are being displayed press ...
Page 16: ...Press the ...
Page 20: ...Press ...
Page 21: ...Highlight the Display time line using the ...
Page 28: ...Select the photo that you wish to rotate using the ...
Page 30: ...With the ...
Page 33: ...With the frame Press the ...
Page 34: ...With the frame Press ...
Page 35: ...With the frame Press ...
Page 36: ...With the frame Press the ...
Page 37: ...With the frame Press the ...
Page 49: ......


