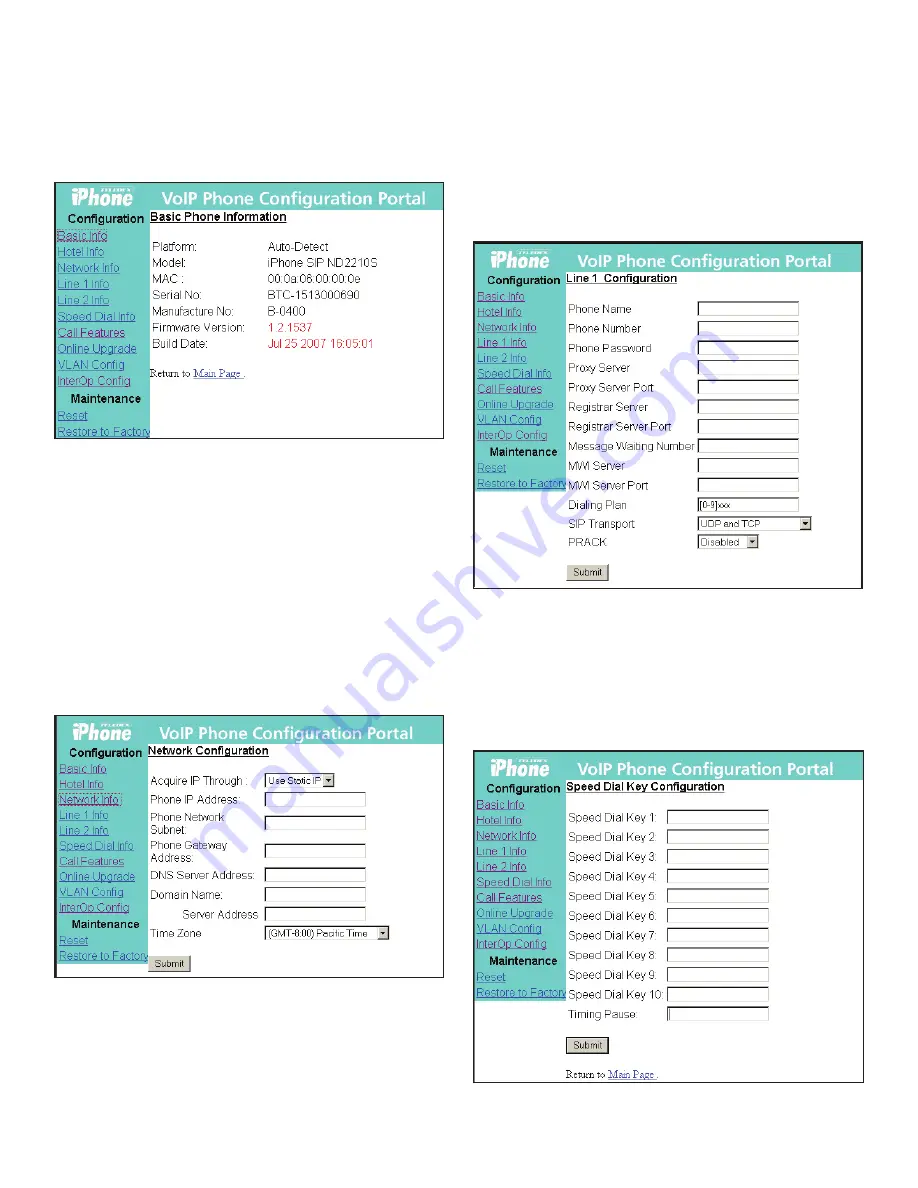
Figure 2 shows the welcome page of the configuration portal.
The phone can be configured through the main menu
provided by this portal.
NOTE:
Except for upgrading the software online (decribed in
subsection 3.2.7), the configuration for the SIP LD series will
not be activated until the phone has been reset.
Fig 2: Teledex iPhone Configuration Portal
3.2.2 Change Network Configurations (Fig.3)
To change network configurations via the configuration
portal, follow these steps:
1. Click “Network Info” on the left side menu.
2. There are two options for the item “Acquire IP Through”.
Select “Use DHCP” if you want to use DHCP to get an IP
address automatically. Otherwise, select “Use Static IP”.
3. Input the phone’s IP address and subnet mask if using
static IP address. Input the gateway address, DNS server
address, SMTP server address and time zone.
4. Click “Submit”.
Fig 3: Configuration of the Network
3.2.3 Set Line 1 and Line 2 Information (Fig. 4)
The SIP LD series supports two line appearances. If
the Multiple Line Appearance feature is disabled (refer to
section 3.2.6), then Line 1 and Line 2 should be configured
separately with different phone numbers. If the Multiple Line
Appearance feature is enabled, the two lines will share the
same phone number and configuration, and only Line 1 needs
to be configured. To change the line configuration via the
configuration portal, follow these steps:
1. Click “Line 1 Info” or “Line 2 Info” on the left side menu.
2. Input the required line-related information, such as phone
number, password, proxy server registration server,
message waiting number, MWI (Message Waiting
Indicator) server etc.
3. Click “Submit” to save changes.
Fig 4: Line Configuration
3.2.4 Configure the Auto Dial Keys (Fig. 5)
To change auto dial configuration follow these steps:
1. Click “AutoDial Keys” on the left side menu.
2. Input the number associated with each auto dial keys.
3. Click “Submit” to save changes.
Fig 5: Configuration of Speed Dial Keys
5
SMTP


