EN
27
use warmed or hot water).
Failure to comply with these condi
-
tions will distort the proper control of
boiling.
WARNING: do not use this
feature for a different cooking
purpose other than boiling water.
Never use oil, it may lead to
overheat and generate a flame.
Activation of the function
To activate the function, select the
plate, and press the iCooking sensor
(16) until the LED (20) located on
the icon lights up.
Once the feature is activated, the
sign will appear on both the power
indicator (3) and the timer indicator
(12); a moving segment will appear,
indicating that the cooking is under
system’s control.
When the system detects that it is
about to start boiling, a first beep will
be heard. Take this opportunity to
prepare your food for boiling or baking
as desired.
After 30 seconds, a second beep will
be heard; if you have not already done
so, it’s time to pour the food in the pan.
After the second beep, the system will
activate the timer and stopwatch for
you so that you can control how long
the food is to be boiled.
30 seconds after activating the
stopwatch, a third beep will sound
to warn that from that moment on,
the system will decrease the power
supplied in order to maintain a gentle
and continuous boil. The timer will
remain active until the end of cooking.
If desired, you can disable the timer
and set a time for the countdown and
automatic shutdown of the plate (see
section Timer Function).
Deactivation of the function
You can override the function at
any time by turning off the plate,
by changing the power level or by
choosing a different special function
.
Flex Zone function
(depending on the model)
Through this function, it is possible to
enable two cooking zones -indicated
in the labelled screen as “Flex Zone”-
work together, and to select a power
level and to activate the timer function
for both zones.
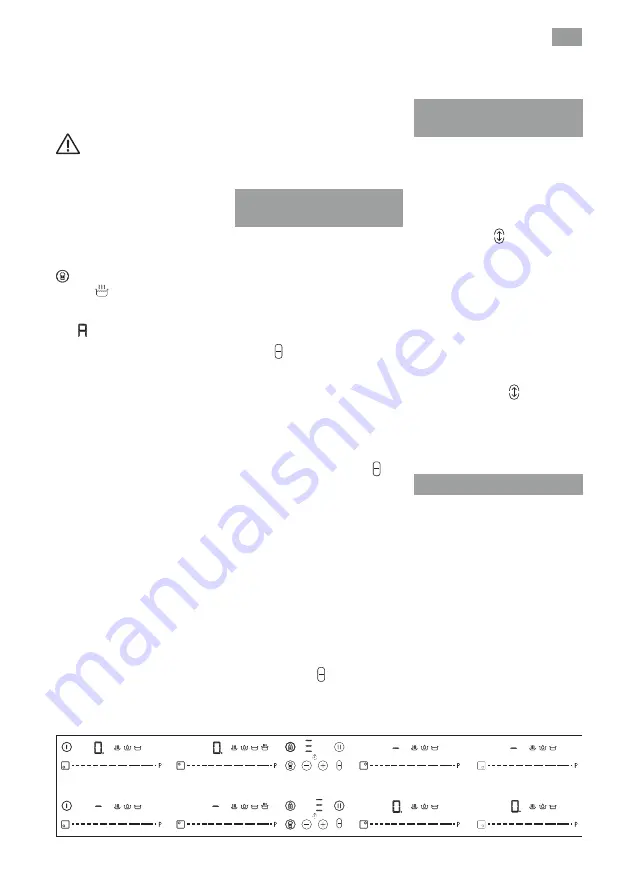
To activate this function, press the
sensor
(15). By doing so, the
decimal points (4) of the linked plates
will light up and the value “0” will
be shown on their power indicators
(3). The clock timer indicator (12)
will show three segments indicating
the activated zones. In case your
model has several zones with “Flex
Zone”, you can select the desired
option by pressing the sensor (15)
before assigning the power to the
chosen zone. You will have a few
seconds to perform the next operation;
otherwise, the function will be disabled
automatically.(see fig 3).
After the desired “Flex Zone” is
selected, you can assign the power
by touching any of the “sliders” cursors
(2) of one of the linked zone. The
power level and its variations are
displayed simultaneously on the power
indicators (3) of both zones.
To disable this feature, you should
touch the sensor (15) again. Also,
when the function is disabled, the
levels of powers and functions
assigned to the related zones are
cleared.
Synchro Function
(depending on the model)
Through this function, it is possible
to achieve that two cooking zones
-indicated in the printing screen as
“Synchro” work together and to select
a power level and to activate the timer
function for both zones
Press the sensor (14) to active this
function. By doing so, the decimal
points (4) of the linked plates will
light up and the value “0” will blink
on their power indicators (3). The
detection of the container will take
place throughout the linked zone. You
will have a few seconds to perform the
next operation; otherwise, the function
will be disabled automatically.
To disable this feature, you should
touch the sensor (14) again.
Also, when the function is disabled,
the levels of powers and functions
assigned to the related zones will
be cleared.
Safety switch off function
If due to an error one or several
heating zones do not switch off, the
appliance will be automatically discon-
nected after a set amount of time (see
table 1).
Fig. 3


