EN
PART 1 - Instructions and installation
COOKTOP AND COOKER WITH ELECTRIC SOLID TOP
GENERAL INSTRUCTIONS
The appliance, subject of the present instruction manual, is
manufactured in compliance with requirements as specified by the
Directives: “Low Voltage”
2006/95/EEC
and "Electromagnetic
Compatibility"
2004/108/EEC
.
This appliance has been designed exclusively for cooking food; any
other use is considered improper. It should only be used by qualified
personnel within professional kitchens. The appliance must never be left
unattended when in use! The appliance should be checked once a year
by a qualified technician. Remove the packaging from the appliance as
well as the protective plastic sheet, and, if necessary, remove traces of
glue with a suitable solvent. Follow local guidelines when disposing the
packaging (for more details refer to the chapter “ECOLOGY AND THE
ENVIRONMENT”.
When installing the appliance, all the regulations in force must be
observed, such as:
Applicable national laws in force;
Regional and/or local regulations, such as building regulations;
Directives and regulations stipulated by the local electricity supplier;
Accident prevention regulations in force;
Fire prevention regulations;
Applicable CEI regulations (only in Italy).
Practical energy consumption: Given the high power output of
professional appliances, heating and in-service times are extremely
short; all the same, we recommend practical energy consumption
where the power intensity of each individual zone is regulated using the
controls which feature on the control panel.
Primarily: Switch off every unused (no load) cooking zone. Regulate the
power based upon how each individual zone will be used.
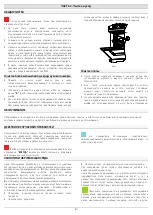
Appliances with adjustable feet.The appliance should be installed
under an extractor hood so that cooking fumes can be removed.
Respect a minimum distance of 80 mm between the appliance and all
walls, partitions, kitchen furniture or adjacent equipment made of
flammable materials.
The appliance, and more specifically, the power lead, must not be
positioned near heat sources; the temperature in the area surrounding
the appliance must not exceed 50°C. Care must be taken when using
the appliance, and even following its use, as the solid top becomes very
hot.
In the instance where the appliance must be arranged near walls,
partitions, kitchen furniture, etc., we recommend that the
aforementioned are made of non-combustible materials; failing this,
they must be covered with non-combustible heat insulating materials.
Switch the appliance off in the case of a failure or malfunction.
The manufacturer shall not be held responsible and the guarantee
is void in the case of damage caused by negligence in following the
operating and installation instructions or by improper use. The
guarantee is void in the case of connections which do not conform to
the current standards and fire-fighting regulations in force.
INSTALLATION AND CONNECTION TO THE POWER SUPPLY
Before connecting the appliance, note the technical specifications
necessary for the installation: voltage, frequency, number of phases and
power which all feature on the appliance data plate.
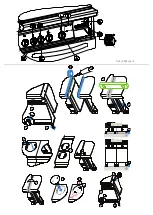
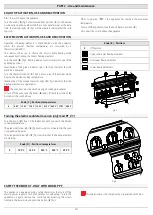
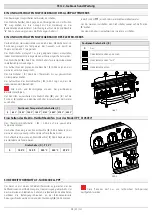
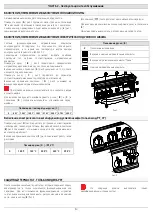
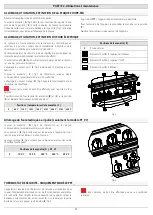
The technical specifications can be found on the plate labelled
“
T
” fig.2, located behind the top of the control panel and next to the
cooker terminal board “
M
” fig.1.
The lead:
Must not be installed near heat sources, the ambient temperature of
the surrounding environment must not exceed 50°C.
It must be protected by a rigid metal or plastic tube.
Must at least meet H07 RN-F standards.
It must have a minimum cross section as indicated in the table.
The appliance does not come supplied with a power lead; the installer
must carry out connection after having installed a main switch which
must be able to disconnect every pole supplying electrical power to the
appliance. The minimum permitted distance between the open
contacts is 3 mm. The disconnect device must be easily accessible. In
order to connect the power lead, follow the instructions as provided by
the wiring diagram attached to the present manual. To access the
terminal board
"M"
fig.2 (models
PP_
), remove the control panel by
unscrewing the screws under the actual control panel and/or back
board next to the terminal board
“M”
fig.1 (models
PPF_
). Loosen the
cable clamp “
Q
” fig.1, insert the power lead and connect the wires. The
appliance must be connected to an effective earth socket. With this aim
in mind, a connection is provided on the terminal board, identified by
the symbol
to which the earth connection is attached. The appliance
must also be connected to an equipotential earth. Connection must be
carried out via a suitable terminal board identified by the symbol see
“
N
” fig.1.
Summary of Contents for TECNO70
Page 4: ...Fig 2 Abb 2 рис 2 ...


