Techshell VXH-4 Quick Start Manual Download Page 4

TECHSHELL 4/8 DVR Quick Start Guide 

4


13 

Connect to external sensor1-4


14 

4 CH Audio input 


3.  Power on 

Step1:  connect  with  the  source  power;  switch  on  the  power  button  near  the 
power port in the rear panel 
Step2: the device will be loaded, and the power indicator will display blue 
Step3:  before  start,  a  WIZZARD  window  will  be  pop-up  and  show  some 
information  about  time  zone

time  setup

network  configuration,  record 

configuration  and  disk  management.  User  can  setup  here  and  refer  to  the 
concrete setup steps from the corresponding chapters. If users don’t want to 
setup Wizard, please click Exit button to exit. 
After the device power on, if there is no menu or only has live image display, 
user can long press ESC button to switch.   


Notice: this serial device can only display menu on VGA monitor or BNC monitor at one 

time,  if  there  is  live  image  display  without  menu  display,  please  check  up  whether  other 

device has menu display firstly, or long press ESC key to wait for login dialog box to appear. 

Long press ESC key can switch the output between BNC and VGA.


4.  Basic setup 

4.1  Accessing the DVR menus 

4.1.1   Login 

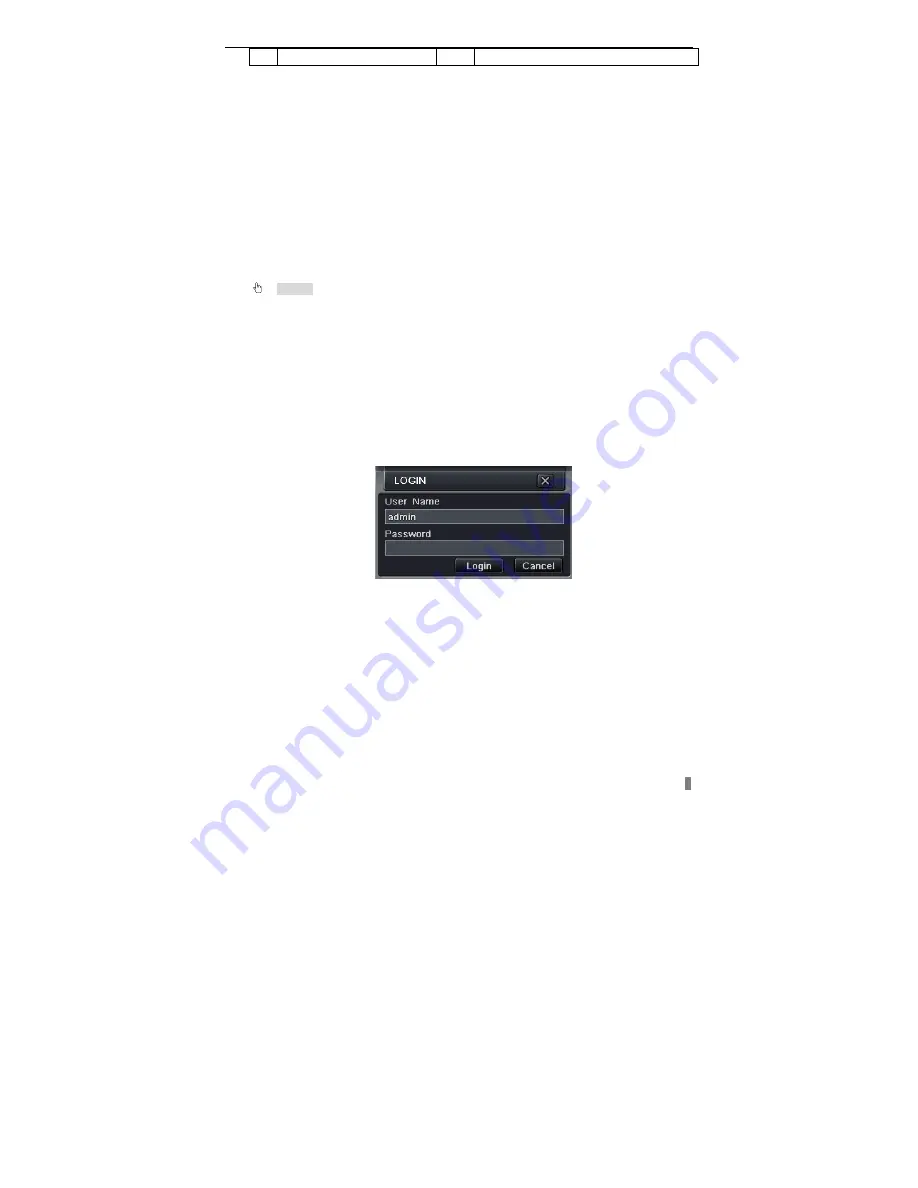
Press  the  MENU  button  which  will  bring  the  LOGIN  dialogue  box  and  enter 
the user name: admin and password: 123456 


Fig 4.1 Login 

4.1.2   Main menu setup   

Click  right  mouse,  or  press  ENTER  button  on  the  front  panel  can  enter  into 
the main menu. Menu-System refer to Fig 4.2 

Summary of Contents for VXH-4

Page 1: ...1 Quick Start Guide VXH 4 VXS 8 DVRs For VXH 4 VXS 8 digital video recorders All rights reserved techshell info...

Page 2: ...ulate HDD capacity according to the recording setting Please refer to Appendix B Calculate Recording Capacity Step1 Unscrew and Open the top cover Step2 Connect the power and data cables Place the HDD...

Page 3: ...o keyboard 11 1 ch relay output Connect to external alarm 12 5 V and Grounding 13 Connect to external sensor1 4 14 4 CH Audio input 2 2 Rear view for 8 ch DVR Fig 2 2 Rear view for 8 ch DVR 1 Video ou...

Page 4: ...Exit button to exit After the device power on if there is no menu or only has live image display user can long press ESC button to switch Notice this serial device can only display menu on VGA monitor...

Page 5: ...here User configuration Administrator can add delete users and change their authorization PTZ configuration users can set protocol baud rate address presets and auto cruise track here Reset configurat...

Page 6: ...Motion detection recording when there is a motion event detected the camera will be triggered to record and have an alarm out Enter into main menu alarm configuration motion configuration refer to Fi...

Page 7: ...gs 4 3 Playback This unit supports live record playback time search and event search It displays full or 4 screens in playback 4 3 1 Live playback Click Play button to playback the record Refer to Fig...

Page 8: ...ch configuration select Event search refer to Fig 4 9 and choose a certain day in the event search interface Click Search button the searched event information will displayed in the event list box use...

Page 9: ...o Fig 5 1 enable DHCP in the both the DVR and the router Fig 5 1 Network configuration Enter Video to set network video parameters like resolution frame rate etc Open an IE browser on computer on the...

Page 10: ...ActiveX automatically Then a window pops up and asks for user name and password Input name and password correctly and enter to view 5 3 Connect the DVR to Internet through dial up ADSL Input IP addres...

Reviews: