


Or
>
Switch to a channel that is not blocked.
If global parental control is enabled, the device PIN code will be requested again when
the blocked channel is switched on. To make things easier for you, you need enter the
PIN code only once during each operating phase.
When doing so pay careful attention to the information and settings for global and
user-dependent parental control (TechniFamily) under Point 16.2 in your operating
manual.
If a channel is blocked on account of it being an encrypted channel, please also note
Point 9.5.3 in your operating manual.
7.4.6 Returning to last channel selected
>
Press the
Back
button on the remote control to return to the last channel selected.
>
Press the button again to return to the channel you were previously watching.
7.4.7 Switching between TV / radio
>
You can use the
TV / Radio
button to switch between TV and radio mode.
The device switches to the last radio channel listened to.
Alternatively, you can also switch between TV and radio operation as described under
points 9.4 and 9.17.
To do this also note the setting for OSD Radio / Music in point 8.8.1.4 in the instruction
manual.
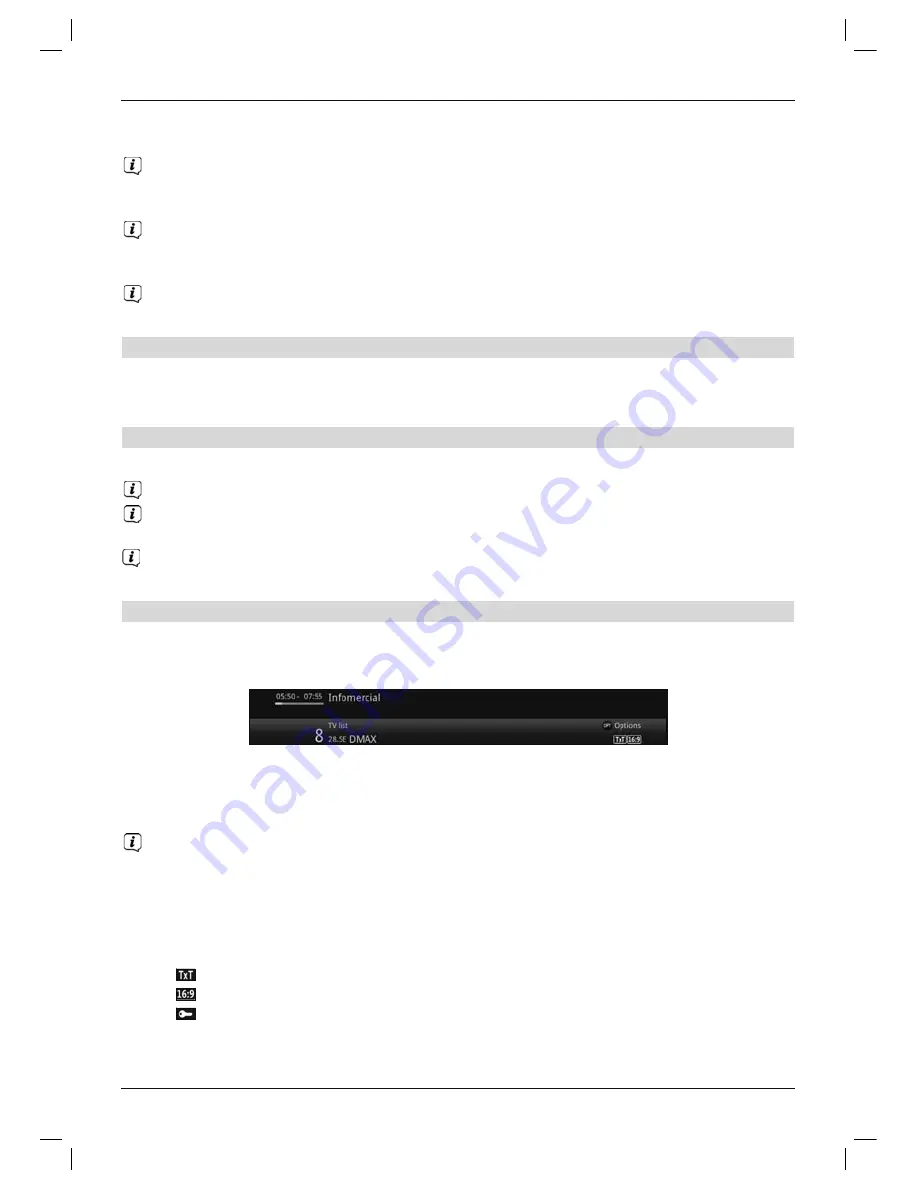
7.4.8 Infobox
After each channel change, and for the duration configured under point 8.8.1.3 in your
operating manual, an Infobox appears on the screen.
It can also be called up manually by pressing the
Info
button on the remote control.
This Infobox displays the channel slot and name of the selected channel, the title of the
current programme and the currently active channel list.
The progress bars are coloured yellow according to the amount of transmission time
already expired for the current programme. If the beginning of the progress bar is
coloured red the transmission started too early, and if the end of the progress bar is
coloured red the current programme has overrun.
Additional programme properties are also displayed:
For example:
for Teletext
for 16:9 programmes
for encrypted channels
35


