20
SETUP MENU
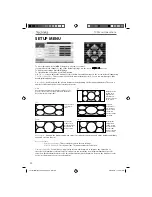
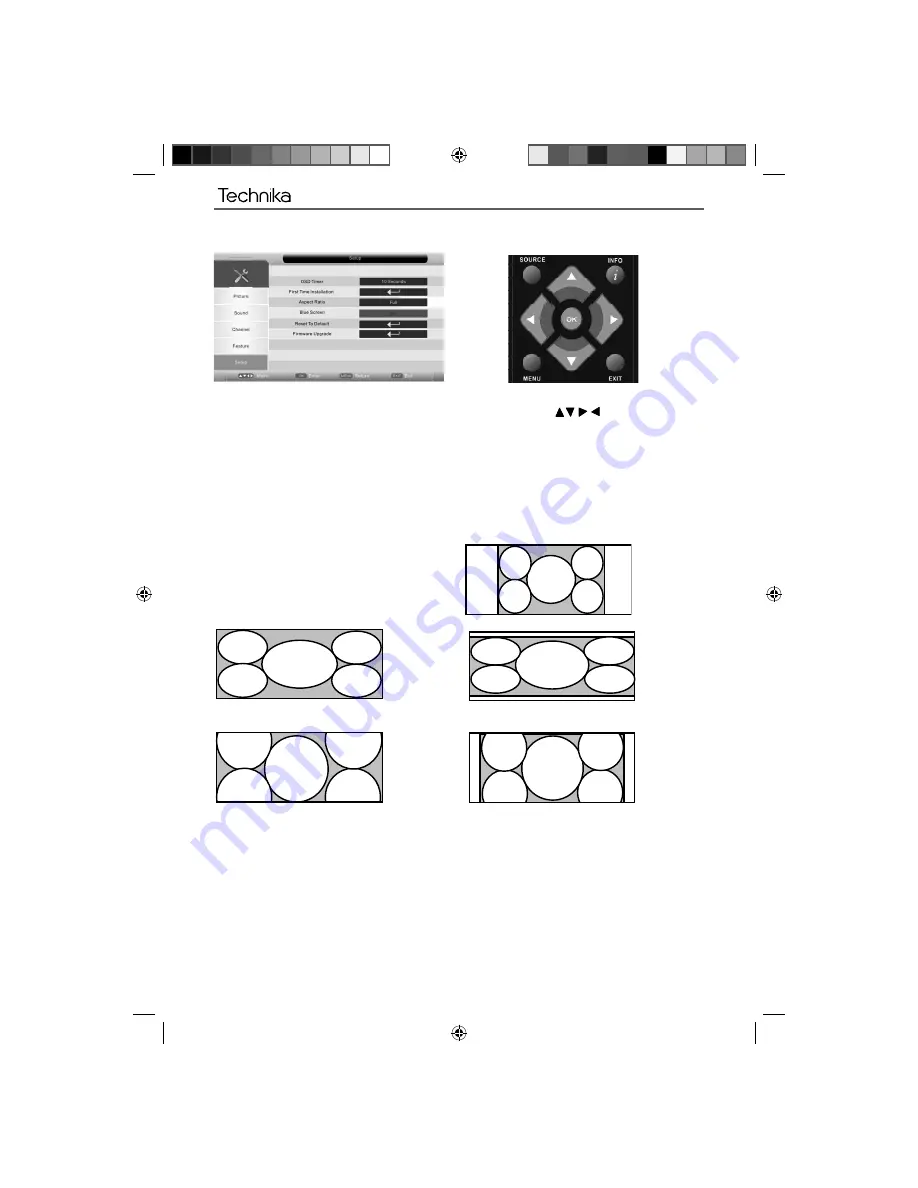
To access this menu, press [MENU] button on the remote control.
If you wish to make changes to any of the default settings, use the scroll
buttons.
To confi rm any settings press [OK] button.
To exit this menu at anytime, press [EXIT] button.
OSD Timer
- Lets you adjust the amount of time the On Screen Menu stays on the screen before disappearing
First Time Installation
- Takes you back to the fi rst time installation screen, so you can completely re-tune
both Digital and analogue
Aspect Ratio
- Within the UK the picture format varies depending on the channel/broadcast. There are a
number of different options to best meet your needs
Auto
Automatically displays the best picture format. So the
picture is in the correct position. May have black lines
At the top/bottom and/or sides.
Zoom
Full
16:9
4:3
The picture
is the correct
proportion but
zoomed in to
fi ll the screen
Displays the
14:9 picture
in the correct
proportion. As
a result side
bars are shown
on the screen
Fills the screen,
so no black
lines
Displays the 4:3
picture in its
original size.
Side bars are
shown to fi ll the
16:10 screen
Top and
bottom bars
are shown to
fi ll the 16:10
screen. 4:3
pictures will be
stretched
14:9
Blue Screen
- Changes the background when there is no input between clear and a blue background (Only
available on some sources)
Reset to default
Reset Menu System
- This resets the menus to factory settings.
Reset TV Channels
- This clears all the TV channels from the television.
Firmware Upgrade
- From time to time we may release new fi rmware to improve the operation of
the television (available to download). This menu lets you install the new software/fi rmware onto the
television. Further details of how to do this will be issued with the fi rmware. Contact the helpline or refer
to the ‘product support’ section of the website.
TV Menu Operations
AV
Technika Manual19-22-228.indd Sec1:20
Technika Manual19-22-228.indd Sec1:20
6/24/2010 11:42:01 AM
6/24/2010 11:42:01 AM

