18
Chapter 2
Chapter 2: Connections and Setup
Mandatory User Configuration
This feature allows you to configure the gateway to function in your network and gain access to
the Internet through your cable company. Your ISP may require the use of a Host Name and
Domain Name. You will need to get the setup information from your ISP. If you do not have this
information, please contact your ISP before proceeding.
The instructions from your ISP will tell you how to set up your PC for Internet access.
Also, you must disable any Internet log-on software (such as Ivasion Winpoet or Enternet 300)
and any firewall software (such as ZoneAlarm and Watchdog) on all of your PCs.
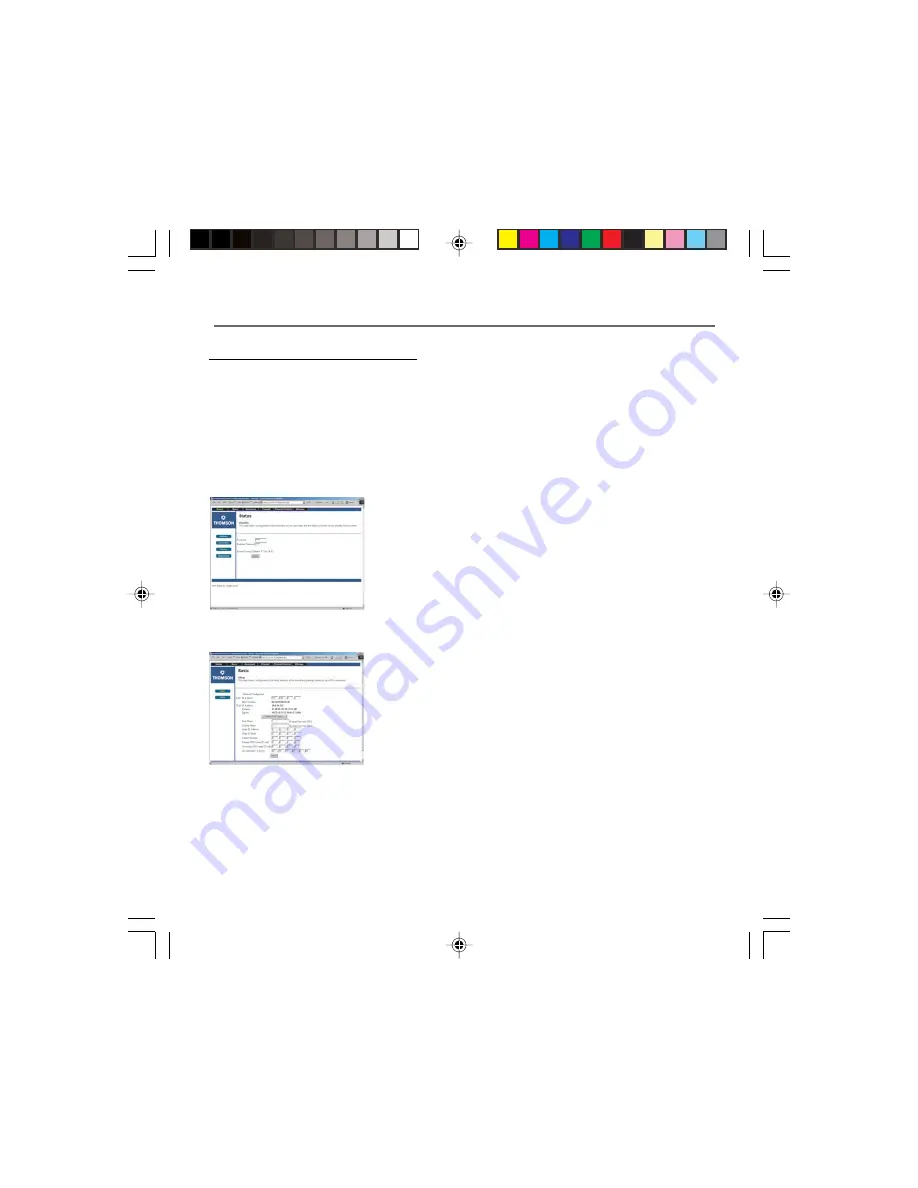
Fig. 10
1. Open your web browser. (It’s all right if you get an error
message at this point. Continue following these directions).
Enter
http://192.168.100.1
in the browser’s Address field if
your gateway is in the CM Mode, or http://192.168.0.1 if it
is in the RG or CH Mode. Press the
Enter
key.
2. An Enter Network Password window appears (for Windows
XP users, the screen may look different). Leave the User
Name field empty, and enter
admin
in lowercase letters in
the Password field (
admin
is the default password). Then,
click the
OK
button.
3. If you are in CM or CH mode, the Basic webpage group
hyperlink is visible. In this case, select the Basic Setup web
page by using the hyperlinks in the sidebar at the left of the
screen. Otherwise, skip to step 4. Based on the setup
instructions from your cable company, you may need to
enter the following information.
LAN IP Address
: The value for the gateway’s local IP address
is shown on the Setup screen. The default value is
192.168.0.1. We recommend you keep this setting.
Host Name and Domain Name
: These fields allow you to
provide a host name and domain name for the gateway.
These fields are usually left blank. If requested by your cable
company, complete these two fields.
Fig. 11
16096620 DCW615/25. 02 Connect
6/26/03, 10:45 AM
18


