background image

16

17

®

®

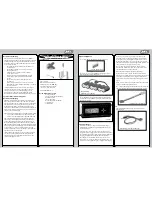
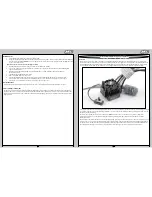
Re-Bind Process

1. 

Ensure that the transmitter and vehicle are both turned off.

2. 

Using the supplied Bind plug (which looks like a standard receiver plug with a short wire loop installed), insert the Bind plug 

into the receiver slot labeled “BIND.” When you look down on the receiver slots it is the slot furthest from the LED, and nearest 

to the corner of the receiver.

Note: You do not need to remove any other plugs to rebind. 

3. 

With the bind plug installed, turn on the vehicle. Notice the LED is now blinking.

4. 

You are now ready to turn on the transmitter. You should notice on the back of the transmitter a similar blinking LED  

under a translucent cover.

5. 

Both the receiver and transmitter LEDs will stop blinking and be on solid, indicating that they have “Bound”  

themselves together.

6. 

Turn off the vehicle and then the transmitter. 

7. 

Remove the “bind” plug from the receiver.

8. 

Turn on the transmitter and then the vehicle to ensure operation. If the transmitter does not control the vehicle,  

please repeat steps 1-7 above. If after several attempts you are unsuccessful please call Horizon product support.

9. 

The bind process is complete. Your vehicle’s radio system is now ready for use.

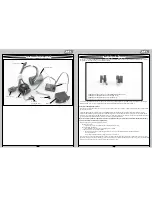
Receiver Antenna

Using your fingers gently straighten the antenna wire to be close to vertical from the chassis for the best radio reception.

Factory Settings of Radio/ESC 

The Electronic Speed Control was calibrated together with the Radio System at the Factory. When you turn on and run the Speed-T 

for the first time you may be required to slightly adjust the Throttle Trim. If the vehicle creeps in reverse or in forward just make a fine 

adjust to the Throttle trim knob on the transmitter. Sometimes during the bumps and bounces of transportation the settings can be 

slightly altered. 

Overview

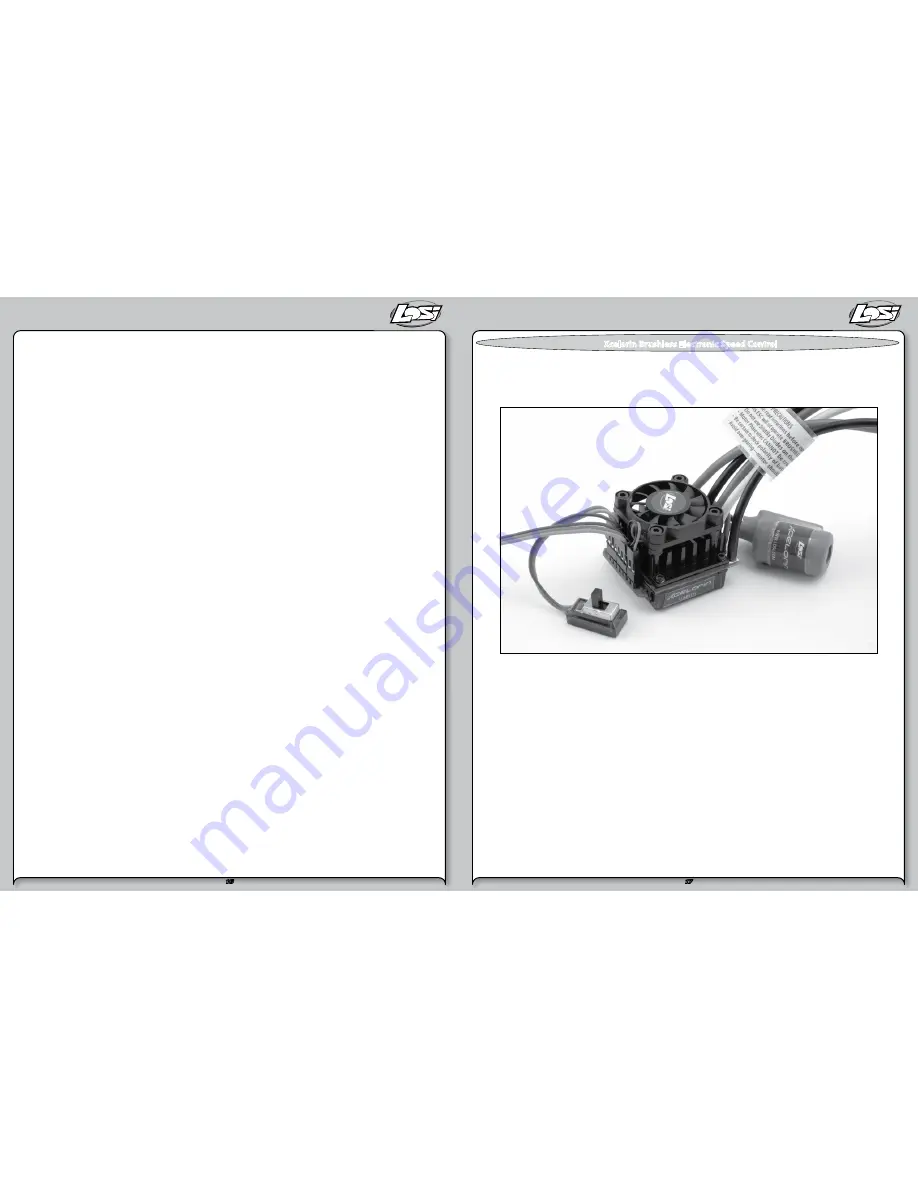
The Losi Xcelorin electronic speed control (ESC) is specifically designed for operating Sensorless brushless motors. Featuring low  

on-resistance, enhanced throttle response and strong brakes, this ESC has enough features to satisfy the most demanding driver. The 

pre-installed high airflow fan attached to the ESC heat sinks keep it cool and performing to the peak of its ability. In order maintain 

100A continuous current draw, the Xcelorin ESC uses very high quality electronics and the best MOSFET transistors available. 

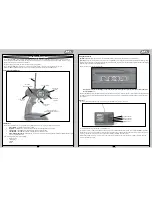
A key feature is the three (3) stored settings within the ESC that are easily recalled for convenient use. These stored settings are referred 

to as “profiles.” These do not limit the functions of the ESC as you can easily use the included Quick Programming Card (QPC) to make 

changes to any desired setting.
The Low-Voltage-Cutoff (LVC) is pre-set for either NiCd or NiMH batteries. For more experienced users, it can be changed to  

support both 2-cell and 3-cell LiPo batteries. Using the Quick Programming Card (QPC), adjustments to the ESC can be made  

quickly and simply.
The Xcelorin ESC has a feature within it to prevent the Speed-T from going into reverse before you have come to a complete stop. Once 

you have come to a stop, release the throttle trigger to the neutral position. Once you have been at neutral, push the trigger forward 

to engage reverse (if active). The ESC is also programmed to prevent going directly from reverse drive to forward. The ESC will have a 

short pause when changing from reverse to going forward to prevent damage to the motor or drivetrain of your vehicle.

Xcelorin Brushless Electronic Speed Control

Summary of Contents for Speed T

Page 1: ...1 Not responsible for errors All prices subject to change without notice Losi a Division of Horizon Hobby Inc...

Page 2: ...ting Ready Thoroughly read all the enclosed material precautions and follow instructions to avoid damaging your new RC vehicle If you choose to not follow these steps or instructions it will be consid...

Page 3: ...instructions and safety precautions supplied by the battery manufacturer This applies to the selected LiPo charger as well Supplied tools 2 Way wrench Radio Adjusting Screw Driver Transmitter Receive...

Page 4: ...2 4GHz DSM Receiver Rear Body Mount Xcelorin Brushless Motor Wheelie Bar Gear Slipper Cover Steering Trim ST Trim Throttle Trim TH Trim Throttle Brake Trigger Steering and Throttle End Point Adjustmen...

Page 5: ...The less expensive batteries will generally lose their performance after continuous use in this high drain application We do not recommend the use of batteries referred to as Stick Packs they are comm...

Page 6: ...ion of your Speed T LOSB9613 Losi EC3 Charge Adaptor with Banana Plugs Installing Batteries Transmitter Remove the battery cover from the bottom of the transmitter by sliding it away from the base of...

Page 7: ...setup and performing maintenance 1 Read the safety precautions found on page 3 This is important for your safety and prevention of personal injury 2 Charge the battery pack you have chosen NOT INCLUDE...

Page 8: ...and decrease throw turned counter clockwise Steering First set the steering trim so the Speed T goes straight without touching the steering wheel Lift the vehicle off the ground and turn the steering...

Page 9: ...ust make a fine adjust to the Throttle trim knob on the transmitter Sometimes during the bumps and bounces of transportation the settings can be slightly altered Overview The Losi Xcelorin electronic...

Page 10: ...Green LED flash Profile 3 Yellow Blue Green and Red Flash default setting 6 To make a change quickly press the setup button which will advance you to the next profile 7 When you are finished press and...

Page 11: ...loose wheel nut or anything loose on the steering assembly The vibrations of running at high speeds tend to loosen screws and nuts The Speed T s gearing choice from the factory IS NOT meant for runni...

Page 12: ...further out the inside position is relative to the outside the more camber gain total camber change through the total throw of the suspension is present This is an adjustment that is difficult to mak...

Page 13: ...onally you may want to raise the front ride height to get a little quicker steering reaction but be careful as this can also make the Speed T easily flip over Every driver likes a little different fee...

Page 14: ...on and allow more speed Use the following formula to calculate the overall ratio for combinations not listed on the gear chart Spur Gear Size Pinion Gear Size X 2 43 Final Drive Ratio When using highe...

Page 15: ...children without direct adult supervision The Product manual contains instructions for safety operation and maintenance It is essential to read and follow all the instructions and warnings in the manu...

Page 16: ...cles Profiles The Xcelorin ESC has three 3 preset profiles Each profile contains the individual ESC settings that are collectively called a profile There is a beginner profile an expert profile and a...

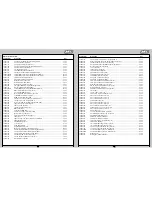
Page 17: ...XXX XXX T 6 00 LOSA4132 Front Bumper Motor Guard Speed T 6 99 LOSA4133 Front Rear Body Mounts Set Speed T 4 99 LOSA4134 Wheelie Bar Set Speed T 9 99 Part Number Description Price LOSA4136 Front and R...

Page 18: ...T 19 95 LOSA6951 3 32 Carbide Diff Balls 12 10 95 LOSA9713 Graphite Kickplate Bulkhead Steering Brace 16 00 LOSA9831 Graphite Composite Rear Pivot Plate XXX XXX T 6 50 LOSA9940 Aluminum Hardcoated Su...

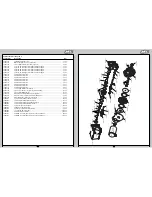
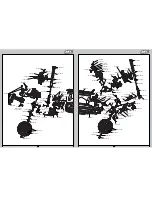
Page 19: ...LOSA6903 LOSA9941 LOSA6401 LOSA2960 LOSA4015 LOSA4170 LOSA4170 LOSA6206 LOSA4122 LOSA6210 LOSA6204 LOSA6074 LOSA6100 LOSA1620 LOSA6350 LOSA6229 LOSA4224 LOSA1620 LOSA2164 LOSA4125 LOSA6306 LOSA1022 LO...

Page 20: ...38 39 Use this page to record tuning information Use this page to record tuning information...

Page 21: ...40 2008 Losi A division of Horizon Hobby Inc Not responsible for typographical errors All pricing subject to change without notice 800 0349 12660 1 Revised 08 09...

Reviews: