


19
EN
G
LI
SH
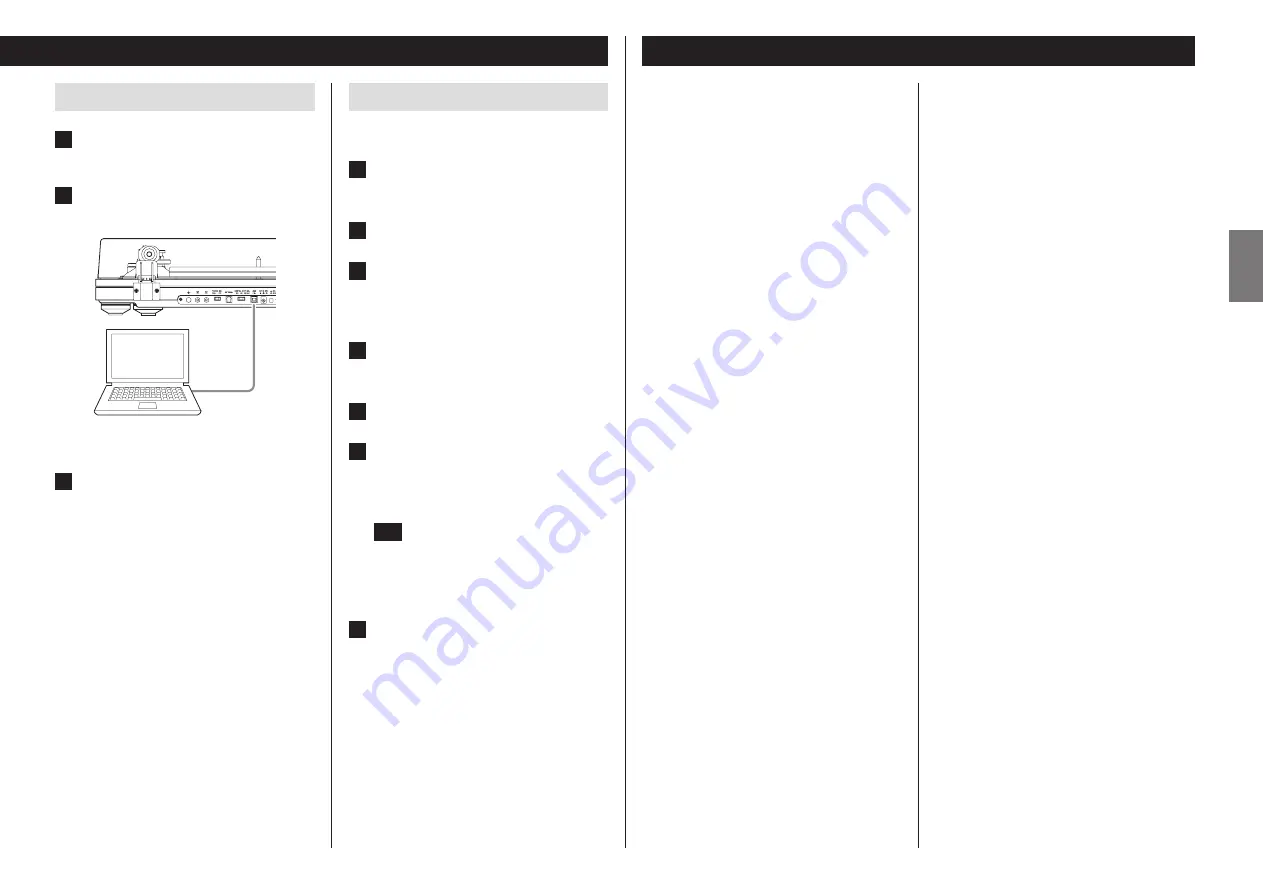
Connecting with a computer
1
Turn the computer on.
Confirm that the operating system is working correctly.
2
Use the USB cable to connect the com-
puter and this unit.
o
Use a commercially-available USB cable with a fer-
rite core when connecting the unit to a computer.
3
Press this unit's STANDBY/ON button
to turn it on.
When they are connected, the computer will automati-
cally detect this unit's USB port and identify it as “USB
Audio CODEC”.
o
To record audio from this record player using a computer,
you must first install software that can be used for audio
recording on the computer.
You may purchase the audio recording software that
you prefer separately or download free software, such
as Audacity (http://audacity.sourceforge.net/), from the
Internet.
As free software, Audacity is not supported by TEAC.
o
When connected to a computer by USB and recording
audio, do not do any of the following. Doing so could
cause the computer to malfunction. Always quit the
computer recording software before doing the following.
u
Disconnect the USB cable
u
Put the unit into standby
Troubleshooting
If you experience a problem with this unit, please check the
following items before requesting service. Something other
than this unit could also be the cause of the problem. Please
also check that the connected devices are also being used
properly.
If it still does not operate correctly, contact the retailer where
you purchased the unit.
No power.
e
Confirm that the AC adapter is plugged into an outlet.
Then, press the STANDBY/ON button to turn the unit
on (page 17).
Volume is low.
e
When connecting this unit's analog audio output con-
nectors to the audio input connectors of an amplifier
or other equipment, set the PHONO EQ (audio output
setting) switch to ON (page 17).
e
When not using this unit’s phono equalizer ampli-
fier, set the PHONO EQ (audio output setting) switch
to THRU, and connect the analog audio output con-
nectors (L/R) to the PHONO input connectors of an
amplifier or other equipment.
When using the included cartridge (equivalent to MM),
connect them to PHONO input connectors compatible
with MM type input.
When using an MC cartridge, set the PHONO EQ (audio
output setting) switch to THRU, and connect them to
PHONO input connectors compatible with MC type
input on the amplifier or other equipment. The PHONO
input connectors of some equipment might be settable
for use with either MM or MC type input. For details,
refer to the operation manual of that equipment.
Playback is not possible; there is noise.
e
Raise the protector (page 17).
e
Clean the stylus (page 13).
e
If the stylus is worn-out, replace it (page 13). The lifes-
pan of a needle depends on the use conditions, but it is
usually about 300 hours.
e
Place the unit as far away as possible from TVs,
microwave ovens and other devices that emit electro-
magnetic waves.
Computer settings
The following example explains the settings to make using
Windows 7.
1
From the Start menu, select Control
Panel.
2
Click “Sound”.
3
Click the “Recording” tab, and confirm
that “USB Audio CODEC” is set as the
“Default Device”.
4
Select “Microphone USB Audio CODEC”,
and click the Properties button.
5
Click the “Advanced” tab.
6
From the “Default Format” pull-down
menu list, select the desired recording
quality (format).
TIP
“2 channel, 16 bit, 48000 Hz (DVD quality)” provides
high audio quality but also requires more file space.
Recording with a lower sampling frequency reduces
the audio quality but also uses less file space.
7
Click “OK”.
Noise occurs when a record is playing
e
Noise could occur if the stylus pressure is higher than
cartridge's specified value. Readjust the stylus pressure
so that it is the specified value (page 14).
The pitch is wrong.
e
Set the rotation speed (RPM) to match the record (page
17).
The sound is skipping.
e
Vibrations will cause skipping. Place this unit in a stable
location.
e
If the record is dirty, wipe it clean.
e
Do not use scratched records.
e
Balance the tone arm and readjust the stylus pressure
(page 14).
If the stylus pressure is lower than the value designated
by the cartridge, skipping is more likely to occur.
Summary of Contents for TN-570
Page 83: ...83 ...


