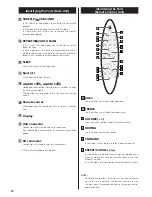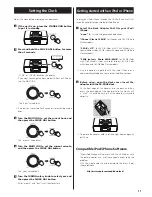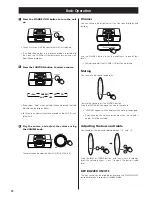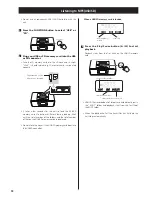
E
Emergency Switch
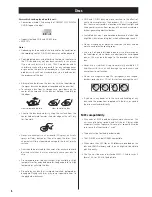
If the disc cannot be ejected, remove the disc by following
procedure.
1 During the unit is on, push the emergency switch on the rear
panel of the unit. The disc comes out.
2 Remove the disc.
3 Unplug AC adapter from an AC outlet and plug it again.
• If “ERROR” is displayed, unplug AC adapter from an AC
outlet and plug it again.
• The emergency switch does not work when the unit is
disconnected from the AC outlet or in the standby mode.
F
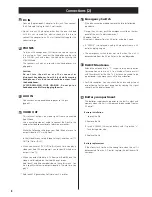
DAB / FM antenna
Extend the antenna into a “T” shape, find the best position
for reception and attach it to a window frame or wall
with thumbtacks or the like. This antenna may need to be
repositioned if you move your unit to a new location.
• For DAB reception, you can check the antenna adjustment
or positioning for the best reception by viewing the signal
strength on the display (page 24).
G
Battery compartment
The batteries supply backup power to the built-in clock and
memory when the unit is temporarily disconnected from an
AC outlet.
Battery installation
1. Loosen the lid.
2. Remove the lid.
3. Insert a CR2032 lithium-ion battery with it's positive "+"
face facing outer side.
4. Replace the lid.
Battery replacement
If the clock starts to show the wrong time when the unit is
disconnected from an AC outlet, replace the batteries with
new ones.
Connections (2)
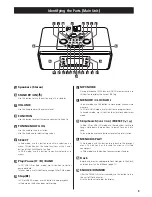
A
DC IN
Connect the provided AC adapter to this jack. Then connect
the AC adapter's plug to the AC wall socket.
• Do not use any AC adapters other than the one included
with this unit to avoid fire, electric shock, etc. Be sure to
connect the adapter to an AC wall socket that supplies the
correct voltage.
B
PHONES
To listen with headphones, first lower the volume level to
the minimum. Then, connect the headphones plug into
the PHONES jack, and adjust the volume by turning the
VOLUME knob.
The speakers will make no sound when headphones are
plugged in.
Caution:
Do not tur n the unit on or off, or connect or
disconnect headphones from this jack while wearing
headphones. Very loud sound could be output from
the headphones.
AVOID DAMAGING YOUR HEARING - Do not put on
headphones until after plugging them in.
C
AUX IN
You can connect a portable audio player to this jack.
(page 32)
D
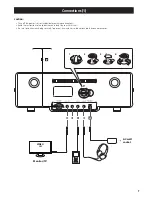
VIDEO OUT
This terminal outputs the video signal from a connected
iPod / iPhone.
Use a mini plug vide out cable to connect the Dock to the
composite video connector of a television or monitor.
Make the following settings on your iPod / iPhone’s menu to
output video to a TV via the Dock.
In the [Video] menu, select [Video Settings], and then set [TV
OUT] to [On] or [Ask].
• When you have set [TV OUT] to [Ask], each time you play a
video your iPod / iPhone prompts you to specify whether to
output it to a TV.
• When you output video to a TV from your iPod / iPhone, the
video is not displayed on the iPod / iPhone’s screen.
iPod touch* and iPhone models do not have this menu. You
must specify whether to output video to a TV each time you
play it.
* iPod touch 1st generation: Software ver. 2.2 or later


