


TASCAM DA-3000
27
4 – Recording
Adding marks manually during
recording
You can add marks at the positions you want while recording
and use those marks to change positions quickly during track
playback.
NOTE
During recording, adding marks is possible, but moving to
and deleting those marks is not possible. Moving to and
deleting marks is only possible when the track is stopped, in
playback standby or playing back. (See “Locating to marks”
on page 37.) (See “Deleting marks” on page 37.)
Adding marks when recording
During track recording, press the MULTI JOG dial (or remote
control MARK button) at any point where you want to add a
mark.
NOTE
• A maximum of 99 marks can be added to each track. Mark
information is stored in the track file.
• You can also add marks during track playback. (See “Adding
marks manually during playback” on page 37.)
• When adding a mark manually, the Mark Name “MARKxxx” *
is used.
* “xxx” is a number that increments through all MARKs in
this track.
Setting the pause mode
You can set whether or not a new track with a higher number is
created when switching from recording to recording standby
1. Press the MENU button repeatedly to open the
REC FUNC
menu, and turn the MULTI JOG dial to select
PAUSE MODE
.
2. Press the MULTI JOG dial to open the
PAUSE MODE
screen.
3. Turn the MULTI JOG dial to set the pause mode.
Options:
NEW TRK (default)
New track with higher number
created when switching from
recording to recording standby
SAME TRK
No new track created when
switching from recording to
recording standby
4. Press the MULTI JOG dial to confirm the selection and return
to the menu screen.
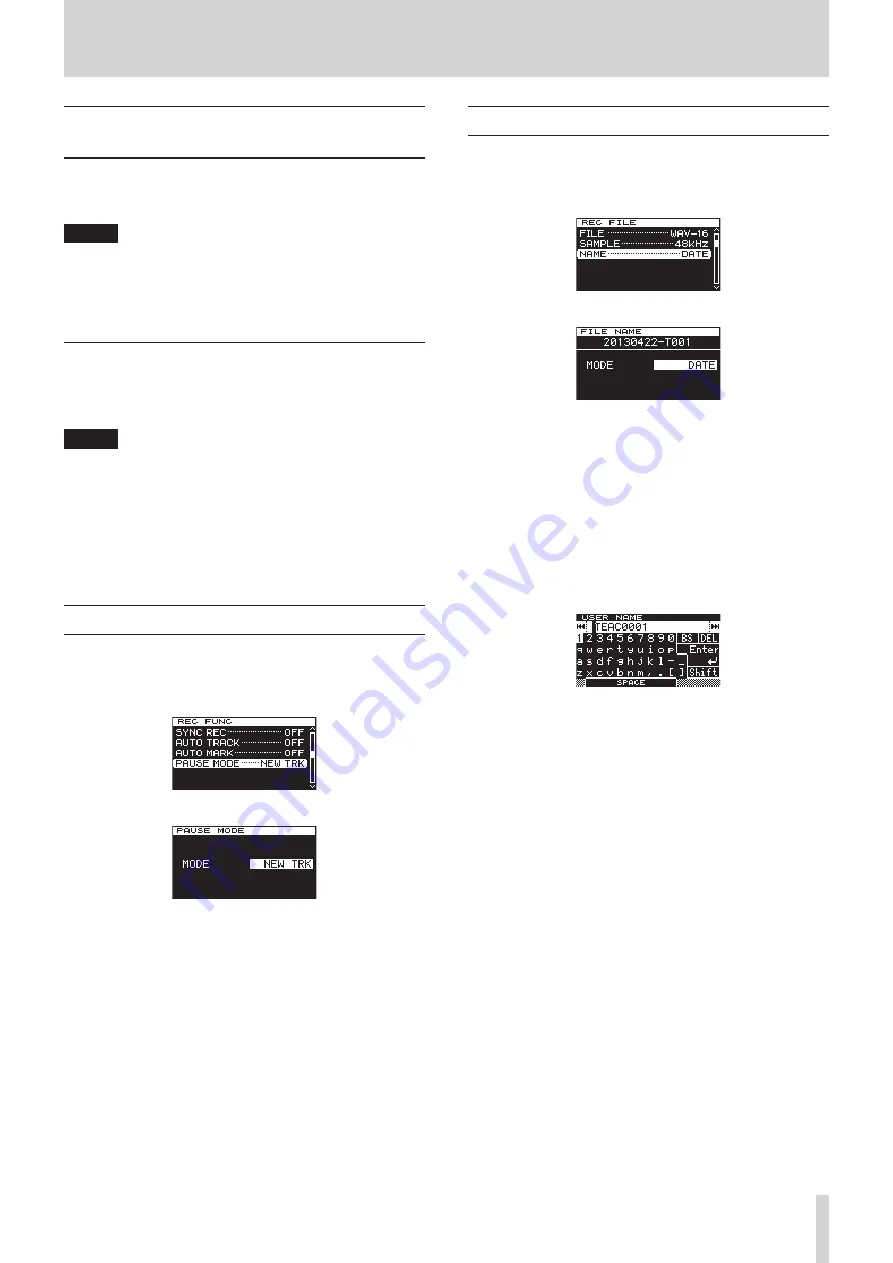
Setting the file name format
You can specify the type of file name that is automatically given
to files when recorded.
1. Press the MENU button to open the
REC FILE
menu, and
turn the MULTI JOG dial to select
NAME
.
2. Press the MULTI JOG dial to open the
FILE NAME
screen.
3. Turn the MULTI JOG dial to set the file name format.
Options:
DATE (default) The date and time of the built-in clock will
become the file name.
USER1 – USER3 The file will be named according to eight
characters set by the user.
4. Press the MULTI JOG dial to return to the menu screen after
selecting
DATE
or after selecting
USER1
–
USER3
if you do
not want to change the file name given.
After selecting
USER1
–
USER3
, if you want to change the
file name given, press the
,
[
/
] button to open the
RENAME
screen.
5. Edit the file name. See “Inputting and editing characters” on
page 28 for details about how to edit a file name.
6. When you are done setting the file name, turn the MULTI
JOG dial to select Enter. Then, press the MULTI JOG dial to
confirm the changes to the characters and return to the
FILE NAME
screen.
7. Press the MULTI JOG dial again to return to the menu screen.


