background image

14

(PLAY) --- Press PLAY button to start program 

play.

(STOP) --- Press STOP button  twice to quit

  the program mode.

(CLEAR) --- Press CLEAR button if you want 

 to cancel the wrong information you input 

 before or cancel the desired track. Press 

 CLEAR again to cancel all the tracks.  

FUNCTION  BUTTON

PROGRAM

Track

1.            02
2.
3.
4.
5.

01
02
03
04
05

                          :Select

                          :Play

E

E

(PLAY) --- Press PLAY button to start 

program play.

(STOP) --- Press STOP button  twice to quit

  the program mode.

(CLEAR) --- Press CLEAR button if you want 

 to cancel the wrong information you input 

 before or cancel the desired track. Press 

 CLEAR again to cancel all the files.  

CLEAR

CUSTOM  SETUP

2CH/6CH

Press FUNCTION  button.

Now you can enjoy the famous 

Dolby AC

-3 Audio

” 

at any time even though you are

 playing a disc with only 2CH audio. 

Because you can switch common 2CH 

audio into Dolby 5.1 CH by using 2CH/6CH 

button. Then the VFD and TV will display 

5.1CH

” 

accordingly. 

TONE

You can adjust the tone of master 5.1CH audio

output. By pressing the TONE key, you can adjust

the bass, middle, treble separately. 

3D

3D effect is specially useful to 2CH playing back, 

which makes better sound field effects. So when 

you select 2CH playing back, press 3D button to

turn on the 3D effect and try making a contrast

 with 3D-off playing back.

NOTE

But for real 

Dolby AC-3 Audio

”,

 the audio output is 

by passed through the 

2CH/6CH switching IC

”.

SHIFT

By pressing SHIFT key, you can not only 

change the main volume of 5.1CH, but 

also adjust the volume of a single channel 

in 5.1CH separately. You can even switch

 off 

Center

”, “

Rear

” 

or 

Subwoofer

” 

separately by using the SETUP/MEM key

 if you want.

a) For 5.1CH main volume changing, the TV will display


Master Vol

”,

 and the VFD will display 

“M

R

” 

accordingly.

 The changing ranges from -79 dB to 0 dB, 1dB / step.

POWER AMPLIFIERS 

NOTE

A) For tone adjusting, the TV will display 

Bass Vol

Middle Vol

”,


Treble Vol

”,

and the VFD will display 

BA

”,


MI

”,


TR

” 

accordingly. The adjusting  ranges from -14  

dB to 14 dB, 2dB / step.

In MP3 mode

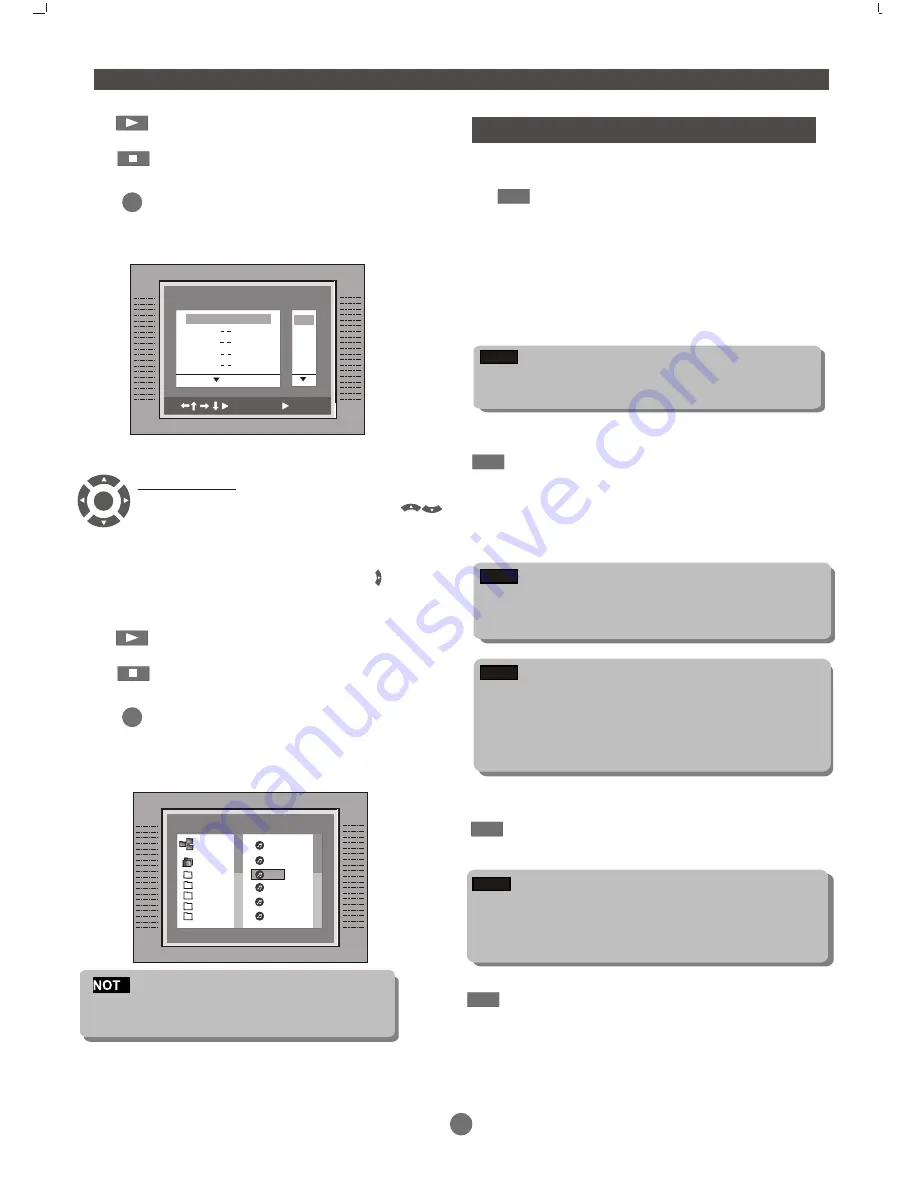
When the program menu appears, Press 
 button to highlight the desired file ,into the file 
 then press  

direction button to choose you 

desired  music.  If  you select ,press     the 
programming is completed.

the 

PROGRAM  MODE

00:03:37

1

2
3

4

5

6

7

001
002
003
004
005
006

ROOT         

cd 01

cd 02

cd 03

cd 04

cd 05

cd 06

1
2
3
4
5
6

NOTE

NOTE

b) For single channel volume adjusting, the TV will display


“M

ain-L Vol

”,“

Main-R Vol

,

Center Vol

”,“S

urr-L Vol

” 

 ,

“S

urr-R Vol

,

“S

ubwoof Vol

”,

 and the VFD will display

FL

”,“

FR

”, “

CE

”, “

SL

”, “

SR

”, “

SW

” 

accordingly. The

 adjusting ranges from -15 to 0 dB, 1dB / step.

CLEAR

ENTER

Some DVD disc do not allow programsetting. 

Single track disc cannot be programmed.

E

Summary of Contents for PL-D1400

Page 1: ...PL D1400 DVD HOME THEATER SYSTEM OWNER S MANUAL IMPORTANT WARRANTY INFORMATION INSIDE PLEASE READ FOR INQUIRIES CALL 1800 656 700 OR WWW TEAC COM AU 4 POWER LUME O V AUTO SEARCH DOWN TUNER UP FUNCTIO...

Page 2: ......

Page 3: ......

Page 4: ...c message Power management ON SCREEN DISPLAY AND VFD DVD CD mode FUNCTION BUTTONS SETUP MENU LANGUAGE AUDIO SETUP SCREEN SETUP CUSTOM SETUP TROUBLE SHOOTING SPECIFICATIONS Manufactured under license f...

Page 5: ...revent exposure to Direct sunlight Heat or exhaust from a heating device Extreme humidity Clean the disc surface with a soft dry cleaning cloth Wipe the disc surface gently radically from center towar...

Page 6: ...e purchased outside the application country PC application on CD R CD RW CD ROM for PC interface only CD R CD RW of not proper format This player is compatible to the following disc types DVD CD DA CD...

Page 7: ...3 Remote receiver windows 4 VFD display windows 5 Vol Vol 7 Earphone out vol button 10 FM AM button 8 OPEN CLOSE button 9 FUNCTION button 11 AUTO SEARCH button 12 STOP button 13 Previous song or tune...

Page 8: ...TION button 2 POWER button 3 SUBTITLE button 4 TITLE button 5 REPEAT button 6 ZOOM button 7 PLAY button 8 STOP button 9 MENU PBC button 10 UP button 11 DVD LEFT button radio FINE button 12 Scan mode b...

Page 9: ...DIO IN AUDIO IN L1 L1 R1 R1 L2 L2 R2 R2 VIDEO VIDEO Pr Cr Pr Cr Pb Cb Pb Cb Y Y OPTICAL OPTICAL S VIDEO S VIDEO COAXIAL COAXIAL R R L L DO NOT connect the AC power socket to the wall outlet before the...

Page 10: ...ture interference NOTE Y Pb Cb Pr Cr Y Cb Cr Pb Cb Pr Cr Connect the player s Y Pb Cb Pr Cr L R to TV s audio L R inputs VIDEO OUT setup Y is brigtness signal color signal see diagram2 About the VIDEO...

Page 11: ...SL SR NOTE 7...

Page 12: ...remote signal when it is exposed to direct sunlight or a strong artificial light fluorescent or strobe light In this case change the direction of the light or reposition the unit to avoid direct ligh...

Page 13: ...s might deviate from the industrial standard Some incorrectly formatted discs may playback on the player However the playback and operational quality of those disc may be substandard Power management...

Page 14: ...ivated by pressing the DISPLAY button Press the DISPLAY button again and a new status bar will appear Press DISPLAY button a third time and the OSD bar will dis appear When OSD indicator bar appears p...

Page 15: ...during WARNING section of a DVD disc Single chapter DVD or single track CD cannot skip DISC TITLE MENU While playing a DVD Press the MENU button to return to the DVD disc start menu Press PLAY button...

Page 16: ...the A B button at the starting point of the desired section A display on screen Press the A B button again at the end of the desired section A B display on screen Press play to begin playback the des...

Page 17: ...the owner to adjust the detail setting of the player For the detail of Setup menu see SET UP MENU of this instruction manual SETUP PROGRAM To program play a disc in a desired sequence In PBC off mode...

Page 18: ...ct andtry making acontrast with 3D off playingback NOTE But for real Dolby AC 3 Audio the audio outputis by passed throughthe 2CH 6CH switching IC SHIFT By pressing SHIFTkey you can notonly change the...

Page 19: ...ss the AUTO button to search allavailable radio stations When astation is foundit will be automatically saved Thiswill continue until all theavailable stations havebeen memorised E During auto searchi...

Page 20: ...ight the desired menu SETUP MEM SETUP MENU 1 MEM PBC SETUP MEM PS IS RETURN FINE FINE PROG TONE 3D VOL 2CH 6CH GO TO SHIFT ENTER E Do not move any bar to select item please make sure the mode is in st...

Page 21: ...Setup Language Setup OSD Menu Audio Subtitle OSD Menu Audio Subtitle Move select SETUP Quit Move select SETUP Quit ENGLISH OFF SCREEN SETUP Adjust TV screen viewable format In STOP mode press SETUP bu...

Page 22: ...Out Analog Out Center 2 Channel 5 1Channel Select center rear subwoofer setting Press to confirmthe selection Press SETUP button to quit ENTER SETUP Audio Setup Move select SETUP Quit Center Rear Subw...

Page 23: ...t from DVD disc menu Malfunction Should the player develop a malfunction unplug the player for 30 minutes After 30 minutes power on the player and the restore function should reset the player Problem...

Page 24: ...s Replace the batteries of the remote control CAUTION To reduce the risk of fire and electric shock do not remove the cover or back of the unit Refer servicing only to qualified service personnel RISK...

Page 25: ...1 channel speaker output Power input AC230 240V 50Hz Analog power amplifiers Rated power RMS 5 1 CH system power 105W Front Center Rear 5x15W 4 Frequency response Subwoofer 20 200Hz Front Center Rear...

Page 26: ...ne VIC 3043 Phone 03 8336 6500 SERVICE DIVISION MELBOURNE VIC 30 Tullamarine Park Road Tullamarine VIC 3043 Phone 03 8336 6544 SYDNEY NSW Unit 8 20 22 Foundry Rd Seven Hills NSW 2147 Phone 02 8811 400...

Reviews: