Teac LCD2639HD User Manual Download Page 6

1 PREFACE

1. PREFACE

2 SAFETY PRECAUTIONS

2. SAFETY PRECAUTIONS

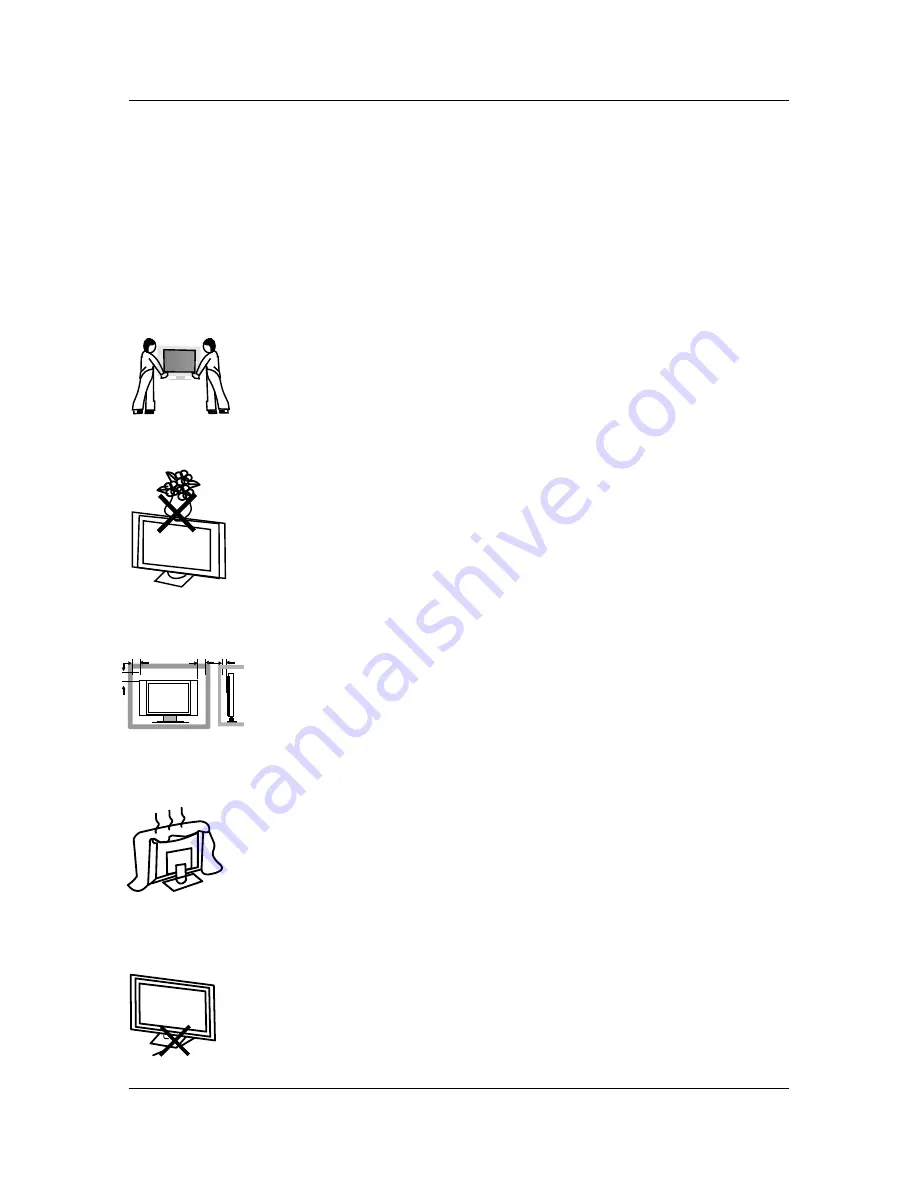
Power cord and cables must be properly routed and protected to prevent 
people from stepping on them and causing the TV to fall.

Minimum distances

10cm

20cm

10cm

5cm

Put the TV on a stable surface. 

Do not place any material on the TV.

Do not block or cover the ventilation openings on the TV.

Do not use the 

TV

 with fixtures other than those provided or 

suggested by the manufacturer.

2

Thank you for Choosing this TEAC product. Before operating the TV, please read and follow all
instructions and heed all warning.
Please keep these instructions for future reference.
Please note the diagrams in this manual are for reference only, your unit may differ slightly.

Summary of Contents for LCD2639HD

Page 1: ...LCD2639HD LCD2639HD LCD Digital TV LCD Digital TV...

Page 2: ......

Page 3: ......

Page 4: ......

Page 5: ...instructions in DVD mode 13 INSTALLATION GUIDE 2 2 5 4 SAFETY PRECAUTIONS SAFETY PRECAUTIONS PREFACE PREFACE FRONT BACK CONNECTIONS OF LCD FRONT BACK CONNECTIONS OF LCD 4 4 5 5 REMOTE CONTROL REMOTE C...

Page 6: ...Do not place any material on the TV Do not block or cover the ventilation openings on the TV Do not use the TV with fixtures other than those provided or suggested by the manufacturer 2 Thank you for...

Page 7: ...ny vessels containing liquids on or near the TV such as vases cups etc If the following problems occur turn off the TV set and unplug the AC power cord immediately AC power cord is damaged Poor fittin...

Page 8: ...ery 2 x AAA Battery 1 5V 1 5V 4 Power Cable Power Cable Quick Start Guide Quick Start Guide User Manual User Manual Quick Start Guide Quick Start Guide User Manual User Manual Please make sure the fol...

Page 9: ...ote control Press button to turn the TV 1 AC IN Main power input 2 USB Connect to the External drive 3 HDMI1 HDMI2 HDMI3 Connect to the HDMI output jack 4 VGA PC Connect to the PC RGB output jack of P...

Page 10: ...can be sourced from TV equipment shops which will provide service for correct installation and connection After installation insert the 75 ohm antenna plug into the antenna jack as shown 5 BASIC A IN...

Page 11: ...2 Pr2 Pr2 Y2 Y2 L L R R VIDEO VIDEO Audio Cable Audio Cable AUDIO AUDIO RGB PC OUTPUT RGB PC OUTPUT Connect the RGB output of the VGA to the PC IN jack on the set Connect the AUDIO output of the PC to...

Page 12: ...evice to the COAX output jack on the TV Coax Cable Coax Cable SPDIF INPUT Audio Amplifier Audio Amplifier Audio Amplifier Back Audio Amplifier Back HDMI Connection DVD or VCR DVD or VCR DVD or VCR Bac...

Page 13: ...the AV input source via the SOURCE button on the remote control TV Back TV Back Video cable Video cable DVD or VCR back DVD or VCR back DVD or VCR DVD or VCR YPbPr Connection Pr Pr Pb Pb Y Y L L R R...

Page 14: ...ENTER Allows you to navigate the on screen menus and adjust the system settings to your preference EXIT Exit the main TV menu to the screen CH CH Press to scan through channels VOL VOL Press to incre...

Page 15: ...ws you switch between TV and Radio modes FAV Favorite program list REC Press to record the TV program in DTV mode EPG Launches the EPG Electronic Program Guide in DTV mode REPEAT Press to select the r...

Page 16: ...T Subpage HOLD Freeze the current page SUBTITLE To display subtitle REVEAL Reveal or hide the hidden words COLOR BUTTONS Select 4 Preferred TELETEXT page NUMBER BUTTONS Press 0 9 to select a teletext...

Page 17: ...and next track Fast backward and forward key D MENU DVD disc menu Access to menu NUMBER BUTTONS Numerical buttons for various data PROGRAM Program a disc playing in a desired sequence THUMBSTICK OK EN...

Page 18: ...ies and within the battery compartment 3 Replace the battery cover To prevent battery leakage which may result in bodily injury or damage to the remote 1 Install all batteries correctly and as marked...

Page 19: ...ing Please do some selects Then Press OK button to begin auto tuning When powering up for the first time or after Factory Reset the Installation Guide will appear on screen Press to set the OSD langua...

Page 20: ...T to exit tuning Channel Tuning Quit EXIT Skip MENU 9 474 00 MHz TV TV DTV Radio 0 0 0 Programme s Programme s Programme s DTV Manual Tuning UHF CH 27 Press OK to search Quit EXIT Back MENU Bad Normal...

Page 21: ...annel name Press the RED key again to confirm delete Press MENU to return to the main menu DELETE Program Edit Program Edit CH NAME SKIP LOCK FAV Type Program Edit Radio ATV ATV ATV 702 BBC Radio 2 70...

Page 22: ...URE Menu PICTURE Menu Picture Mode Picture Mode Picture Mode Standard Adjust Quit EXIT Back MENU PICTURE PICTURE Picture Mode Contrast Brightness Color Sharpness Tint Color Temperature Red Standard 50...

Page 23: ...oise Reduction Press to highlight Aspect Ratio and OK to enter Use to select from noise reduction modes as follows Off Low Middle High Note Noise Reduction is not available in PC mode Noise Reduction...

Page 24: ...sic Adjust Quit EXIT Back MENU Treble Bass Balance Treble Bass Balance Auto Volume Auto sound adjust press to set ON OFF Auto Volume Use to select the Treble Bass Balance and press to adjust Treble an...

Page 25: ...20 May 2010 13 25 Press to set the Date Month Year Hour Minute press MENU to confirm and return to Time menu Off time Off time Off Time Repeat Hour Minute Once 13 28 Move Back MENU Quit EXIT Press ME...

Page 26: ...to select ON OFF This function allows you to set your TV to automatically turn off after 10 minutes if the TV detects no signal from the inputs Auto Sleep Move Back MENU OK Select Quit EXIT Move Back...

Page 27: ...menu then press OK or to enter A password is required to enter the Lock settings Enter the default password 0000 to unlock the menu Press to quite password and return to main menu Press to clear any i...

Page 28: ...confirm Block Program Block Program Use to select the channel and press Green buttom to lock unlock the channel If the channel is locked you will be prompted to enter a password before you can access...

Page 29: ...hlighted programme OK Schedule Press YELLOW key to show a list of scheduled recordings Schedule Record Press REC button to enter a window to book a recording see page 35 for details Record Remind Pres...

Page 30: ...tyle Multimedia USB Menu Multimedia USB Menu Discs Multimedia Operation USB Status Inserted USB device info Move Menu MENU OK Select 2 0 USB Status If a compatible USB is attached the logo will appear...

Page 31: ...right it can circle move Return 200 200 1 UP png 2 bmp 2 C Resolution 1024x768 Size 200KBytes Date Time 1 2 Delete Current Filt 1 bmp Disc File folders in disc press ok to enter Picture overview Page...

Page 32: ...hrough the list press OK when the desired pictures are highlighted If you wish to highlight all pictures press the GREEN button Press the RED button to de select all pictures Press the PLAY button to...

Page 33: ...g sign operation guide part as follows MUSIC playing conditon and keys function Songs name Songs infor MUSIC image Operation guide Songs list Songs name Current songs name Songs name MUSIC image One i...

Page 34: ...eat all and disable repeat mode Preview window File information File list Repeat Can choose repeat1 repeat all repeat none Set A B Set A B circle playing File list You can scroll through the file list...

Page 35: ...aying as follows Info Displays the highlighted file s information including resolution audio track subtitle artist and size Goto This function allows you to jump to a preset time during playback Press...

Page 36: ...to Browser menu Playlist Show play list Info Displays the current file s information including file name and size Stop Playlist Info Format Format Your USB device will need to be formatted before it c...

Page 37: ...ress OK button to check if your USB device is ready for DVR functions If the disc is formatted and compatible it will display SUCCESS if the disc is not ready it will display FAIL Check DVR File Syste...

Page 38: ...Prgramme name The programme name is construct by channel number and record channel number Prgramme name Operation guide Show the current available operation Operation guide Pop out or close the progr...

Page 39: ...T Move Back MENU 18 14 09th Jun Note 1 List timer recording will start according to date and time priority 2 Newly added items will be last on the listed 3 It enter the menu when recording Focus on cu...

Page 40: ...ST Timeshift menu Timeshift is similar with Record menu includes two kind one is Full Mode and the other is Simple Mode They can switch by Exit key At Timeshift mode Timeshift keeps still Timeshift me...

Page 41: ...de and the other is Simple Mode they can be switch by Exit key At Playback mode Playback shows still Playback Note At Simple mode there is only power indicator blinking but no operation menu display N...

Page 42: ...nd Please check that all cables are correctly plugged in Adjust the contrast the color and the brightness Maybe result from a lighting signal from car motor neon light and other electrical devices or...

Page 43: ...out notice Weight and dimensions are approximate LCD2639HD 1366X768 Pixels 664 x 210 x 507 mm WxDxH About 12Kg 8W 8W 26 inch DVR Gross weight Dimension without stand 664 x 103 x 499 mm WxDxH 4000 1 AC...

Page 44: ......

Reviews: