


19
Color Temperature
Medium
Color Temperature
Color Temperature
Red/Green/Blue
In User mode press
▲▼
to select Red/Green or Blue,
then
press
◄►
to
adjust
.
Press
MENU to return to the main menu.
Red/Green/Blue
You can select from the following preset modes Cool, Medium or Warm. Only User mode allows
adjustment of Red, Green and Blue values.
Adjust
Quit
EXIT
Back
MENU
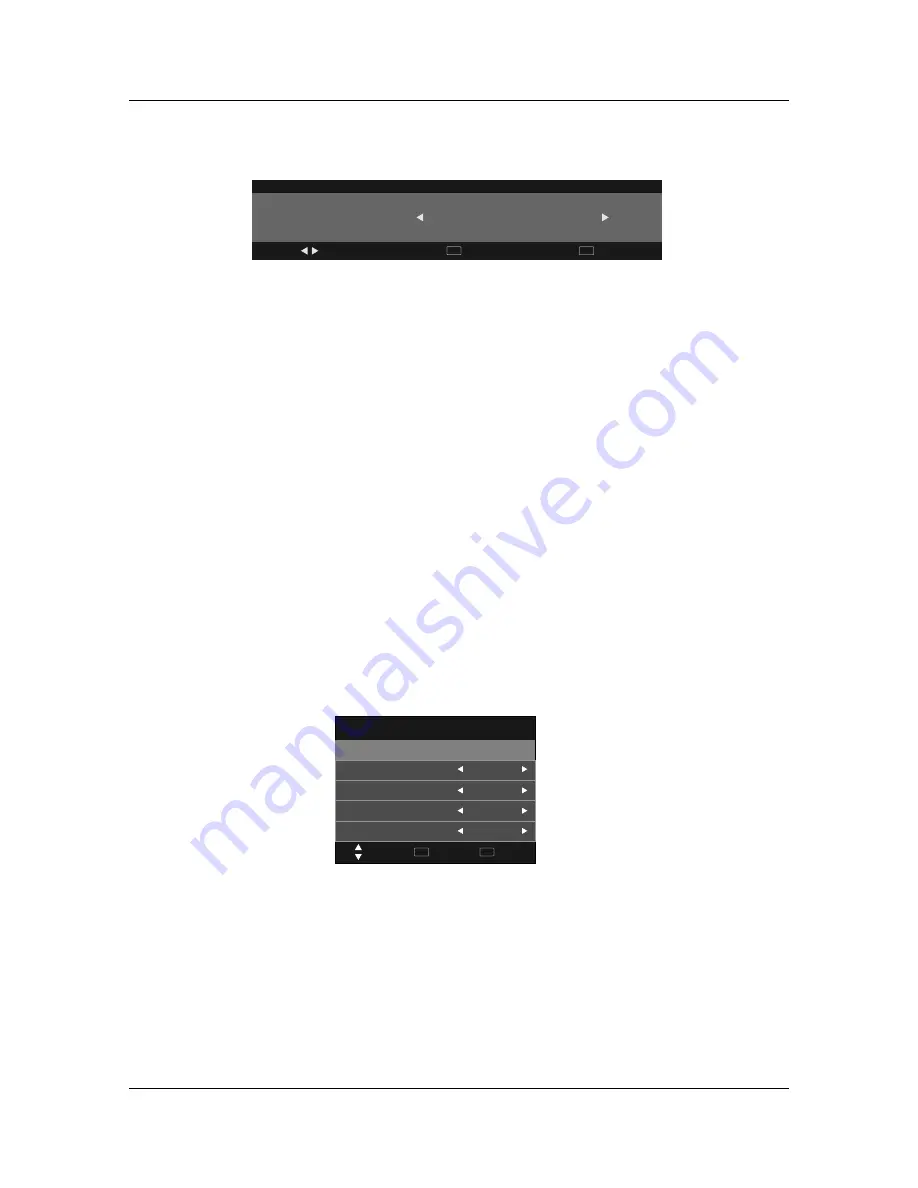
Aspect Ratio
▲▼
◄►
Press
to highlight Aspect Ratio and OK to enter. A window will appear at the bottom of the screen,
press
to scroll through the following options to get the best fit picture on your screen - 16:9,
ZOOM 1, ZOOM 2, Pan Scan, Panorama, Auto, 4:3.
Aspect Ratio
Noise Reduction
Press
▲▼
to highlight Aspect Ratio and OK to enter.
Use
◄►
to select from noise reduction modes as follows: Off, Low, Middle, High.
Note
Noise Reduction is not available in PC mode.
Noise Reduction
Note
Auto Adjust
Select “Auto Adjust”and press
, the unit will automatically adjust all items.
Horizontal
Pos
.
Allows you to use
buttons to adjust the Horizontal Position.
Vertical
Pos
.
Allows you to use
buttons to adjust the Vertical Position.
Size
Allows you to adjust the width of
image.
►
◄►
◄►
Auto Adjust
Horizontal Pos
Vertical Pos
Size
.
.
Screen
Auto Adjust
Horizontal Pos.
Vertical Pos.
Size
Phase
50
50
50
30
Quit
EXIT
Back
MENU
Move
Screen
( Only available in PC mode).
Screen
( Only available in PC mode).
3D Display
In order to play 3D programme,
this switch can convert 3D signal to 2D signal,
and indicate in our
tv sets.
3D Display
Summary of Contents for LCD2639HD
Page 1: ...LCD2639HD LCD2639HD LCD Digital TV LCD Digital TV...
Page 2: ......
Page 3: ......
Page 4: ......
Page 44: ......


