background image

10

Store images automatically and manually


In combination with an external image buffer 
FVM1000-0400 up to 64 images can be stored.

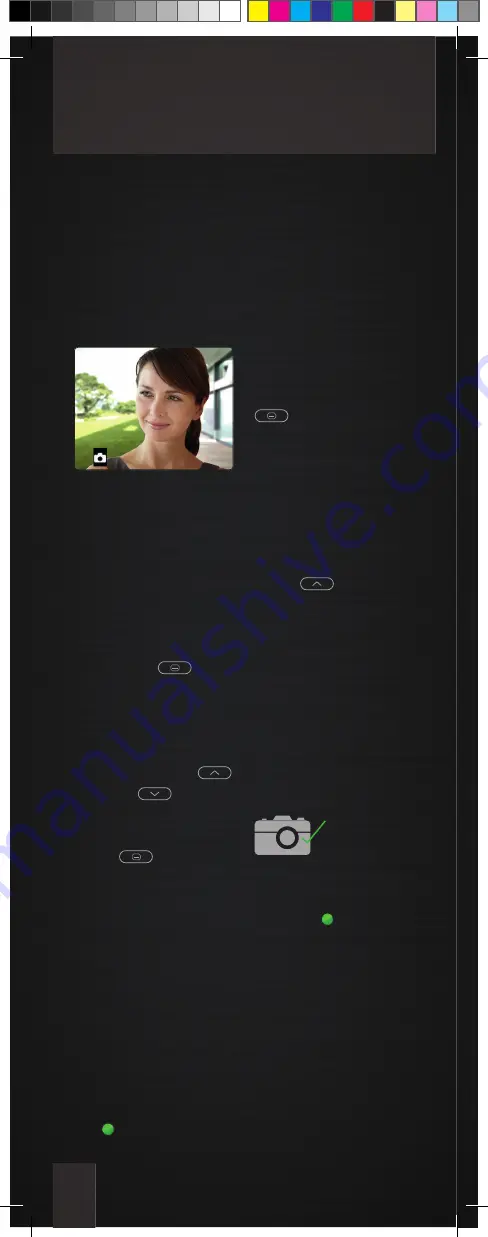
Store images*

Store an image 
autmatically

In case of an incoming 
door call an image can be 
stored automatically.

1. Activate the automatic 
recording by pressing the 
menu button 

. The 

main menu is called up. 

2. Select the image buffer 
menu by pressing the na-
vigation buttons UP 


or DOWN 

3. By pressing the menu 
button 

 longer than 

four seconds, the change-
over from manual (symbol 
image buffer red) to au-
tomatic image recording 
(symbol image buffer 
green) is realised. The 
symbol activated image 
buffer apperas in case of 
an activated image.
If images were stored du-
ring a door call that have 
not been seen, the green 
LED  blinks.

To deactivate the auto-
matic image recording 
press the menu button 

 until an acknow-

ledgement tone sounds 
and the symbol activated 
image buffer expires.

Store an image 
manually

Press the navigation but-
ton UP 

 when the 

camera image is activa-
ted. A snapshot of the 
camera image is taken 
and the image is stored 
in the image buffer. To 

confi rm the process the 

symbol camera with 
green checkmark appears. 
The image is stored in the 
image buffer.

If images were stored that 
have not been seen, the 
green LED   blinks.

* only in combination with FVM1000-0400 (not enclosed in the delivery)

Summary of Contents for Carius CAI2000

Page 1: ...rand of TCS AG Design Manufaktur Adelheid Adelheid 41 78098 Triberg Germany info carus concepts com www carus concepts com Tel 49 7722 91770 Fax 49 7722 917718 Art no 0035783 Version 1 A 3 years warra...

Page 2: ...Instruction manual Carus Origo...

Page 3: ...he pro ducts in perfect form and sophisticated design Our emphasis on traditional crafts that we utilise to ma nufacture the high quality surfaces make the Carus products unique items The harmony betw...

Page 4: ...3 04 05 06 07 08 09 10 11 12 13 Device overview LED indication Operating elements Setting the video image Settings in the OSD menu External image buffer Con gurable functions Store images View and del...

Page 5: ...peech button Menu button Function key Display Red LED Green LED Green LED is on incoming door or internal call active voice connection additional function is activated See page 10 and 11 Red LED is on...

Page 6: ...the function key to switch the lights to call another indoor station or to de activate the call diversion resp the door release automatic Con guration necessary see additional functions page 10 Ring...

Page 7: ...peech button can be pressed to receive video images and noises when in standby mode speaking and video must be deactivated Fading in the symbols in the video image is realised automatically If the spe...

Page 8: ...ayed 3 Press the navigation buttons UP or DOWN to switch to the next para meter 4 Press the navigation buttons UP or DOWN to adjust the parameter value The change is dis played immediately in the bar...

Page 9: ...ted When selecting a ring tone the ring tone sounds immediately When selecting the ring tone volume the current ring tone sounds in the selected volume after the setting The menu is deactivated automa...

Page 10: ...button again 3 The image buffer menu is displayed The white backlit digit can be adjusted with the naviga tion buttons UP or DOWN With the menu button you can forward to the next position 4 If settin...

Page 11: ...e called device accepts the call a voice connection is established More than one further indoor station In case of more than one further indoor station max 10 the call destina tion is selected over th...

Page 12: ...ones when pressing the but tons there is an error at the device or within the system Please inform your quali ed electrician Send control function When control functions max 10 are program med those c...

Page 13: ...ge buffer green is realised The symbol activated image buffer apperas in case of an activated image If images were stored du ring a door call that have not been seen the green LED blinks To deactivate...

Page 14: ...vigation button DOWN for four seconds to delete the image A short acknow ledgement tone sounds The image is deleted The image stored before is shown Delete all images All images can be deleted in the...

Page 15: ...12 Cleaning Clean the indoor station with a dry or slightly wet cloth Remove stronger stains with a PH neutral detergent Avoid water from entering the device Do not use any abrasive detergents...

Page 16: ...13 Notes...

Reviews: