background image

17 


With camera RF CTRL on, press power Remote Control button and hold on for 
3seconds to turn on the controller and pair . The LED Indicator will blink blue. 


7.2    Using your remote 

Photo Shot: Press the Photo button once to shoot a single picture, the LED indicator  

of remote flickers twice. 

Video Record: Press the Video button once to start recording, the LED indicator  

flickers twice also, press the Video button again to stop. 

Power Off button: Press the Power Off button and hold on for 3seconds to turn off  

the camera, the LED indicator turns off accordingly. 


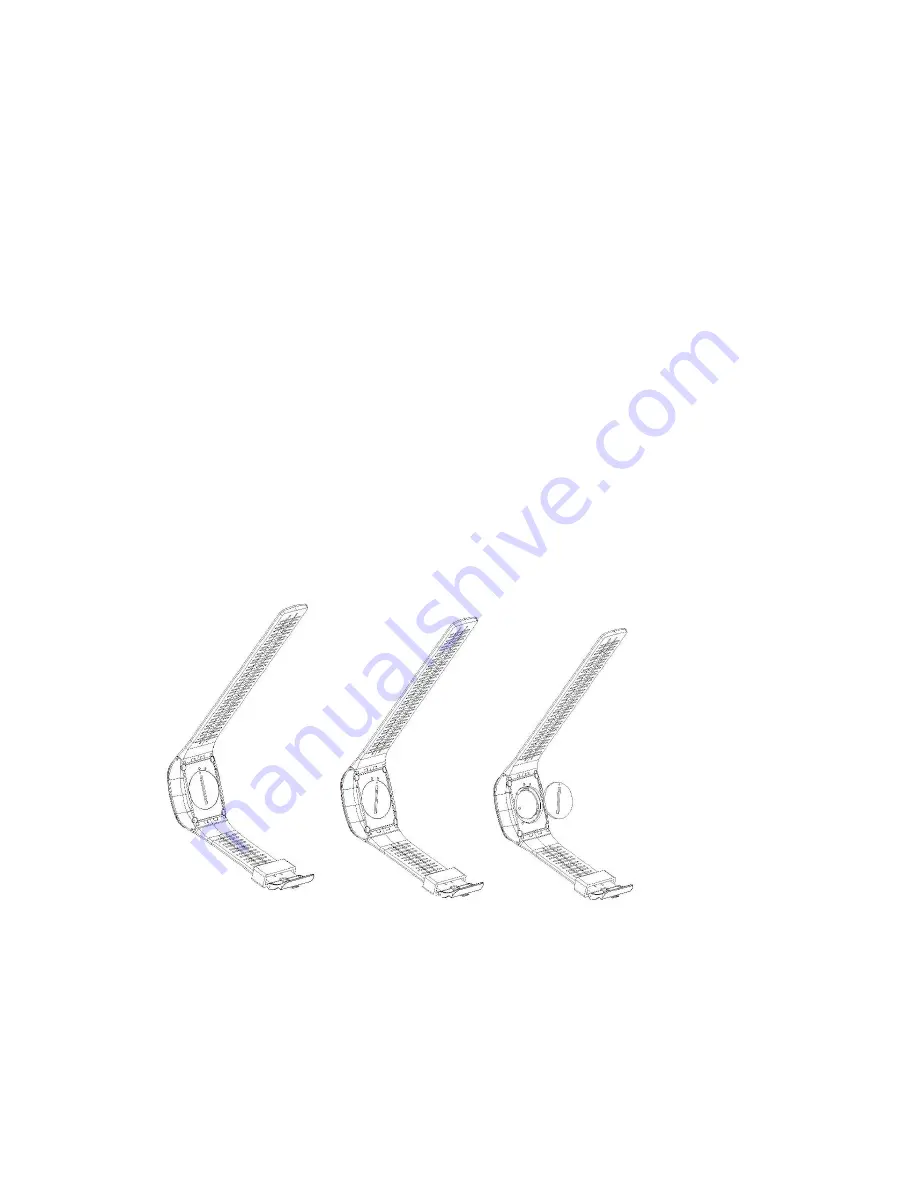
7.3 Replace the Battery  

When the battery capacity is low, LED indicator flickers once per second. You need 

to replace with a new button battery.   


How to replace a button battery? 


1. Begin by purchasing a replacement battery for your remote. You need a button 

battery with model No. CR2032. 

2. Screw the round cap at the bottom of remote. Please see above pictures. 

3. Remove the old battery. 

4. Insert the new battery into the slot where the old battery was, with the flat 

surface up. 

Summary of Contents for T51

Page 1: ...1 User Manual Action Camera FCC ID 2AM69T51 Model T51 Made by Shenzhen TAT Electronics Co Ltd Version V1 0...

Page 2: ...T screen 3 8V 1000mAh removable Lithium ion battery Support Wi Fi connection range up to 20 meters Customized App Android iOS Support 2 4G remote controller Support Micro SD Card up to 32GB Support Ex...

Page 3: ...ackage Camera x 1 Flat mount x 1 Waterproof case x 1 Curved mount x 1 Remote controller x 1 3M adhesive for curved mount x 1 Quick release mount x 1 3M adhesive for flat mount x 1 Lock bolt x 2 knuckl...

Page 4: ...4 3 Camera Diagram A Power Mode Button B Shutter Menu Button Indicator C D...

Page 5: ...rns blue Turn off Long press Power button A for 3 seconds to power off indicator D turns off 4 2 Insert a Memory Card Pull off the cover on the right side of the camera and insert a Micro SD card into...

Page 6: ...icator turns off after the battery fully charged 4 When the battery is going to run flat the red indicator c blinks twice a second 5 Some functions such as Wi Fi is unavailable if the battery in low c...

Page 7: ...ton A to shift among Video Photo Playback Setup pause to confirm on current mode 2 Main mode shift B When powered on long press on Shutter button B for 3 seconds to enter Setup menu Video Photo Effect...

Page 8: ...press Shutter Button B to confirm Long press on Button B again will exit 5 1 Video SETUP Mode To set the videomode Manual Looping Auto Stop Timelaspe Note Only auto stop and manual mode supported in 4...

Page 9: ...ty To set the video quality DIS To set the digital image stabilization Note Date stamp function will be unable when turn on DIS DIS function will be unable when turn on date stamp SCENE MODE To set di...

Page 10: ...f Timer MEGA PIXEL To set the image resolution 14MP 12MP 8MP 7MP FOV To set the lens wide angle Super Wide Wide Medium Narrow PICTURE QUALITY To set the picture quality SCENE MODE To set different sce...

Page 11: ...ne the amount of color saturation To define which image areas are used to calculate the correct exposure EV This allows user to set the light exposure value WHITE BALANCE Factory default is Auto If yo...

Page 12: ...IME STAMP To define if the time mark is displayed at the bottom of the videos or pictures Note Date stamp function will be unable when turn on DIS DIS function will be unable when turn on date stamp 5...

Page 13: ...ator Wi Fi Selecting to turn on or turn off the Wi Fi function Wi Fi INFO To display the currently Wi Fi SSID Password RF Remote Controller To select turn on off RF Remote Controller code signal QUICK...

Page 14: ...ec 1 min or 5 min Press any key to turn the screen on Select OFF to keep the screen always ON AUTO POWER OFF The camera turns off when not in use after specified time TV OUT Setting the desired TV sta...

Page 15: ...different languages MEMORY FORMAT This is to format the SD card Choosing to format the card will permanently erase all data on the card DEFAULT To reset the camera in factory default SOFTWARE INFO To...

Page 16: ...ng press shutter button B to confirm Press power button A to select photo video short press to play Short press Shutter button B again to exit 7 Remote Control 7 1 Pairing Procedure Long press shutter...

Page 17: ...n to stop Power Off button Press the Power Off button and hold on for 3seconds to turn off the camera the LED indicator turns off accordingly 7 3 Replace the Battery When the battery capacity is low L...

Page 18: ...re c Activate Wi Fi in the GENERAL SETUP MENU d Go to the Wi Fi settings on your Phone you will seet51_xxxxin the list of available Wireless networks e Connect your Phone to the t51_xxxx via Wi Fi The...

Page 19: ...19...

Page 20: ...ra LCD screen on a TV screen Note You will need anextra Mini HDMI to HDMI cable which is not included in the standard package Turn the camera on Connect Mini HDMI end to the port on camera and HDMI en...

Page 21: ...You can also transfer entire folders of pictures videos to your computer 9 3 Using the external MIC optional Insert the external MIC to Micro HDMI port the camera will automatically switch to record...

Page 22: ...y and if not installed and used in accordance with the instructions may cause harmful interference to radio communications However there is no guarantee that interference will not occur in a particula...

Reviews: