


PORTASTUDIO MF-P01
13
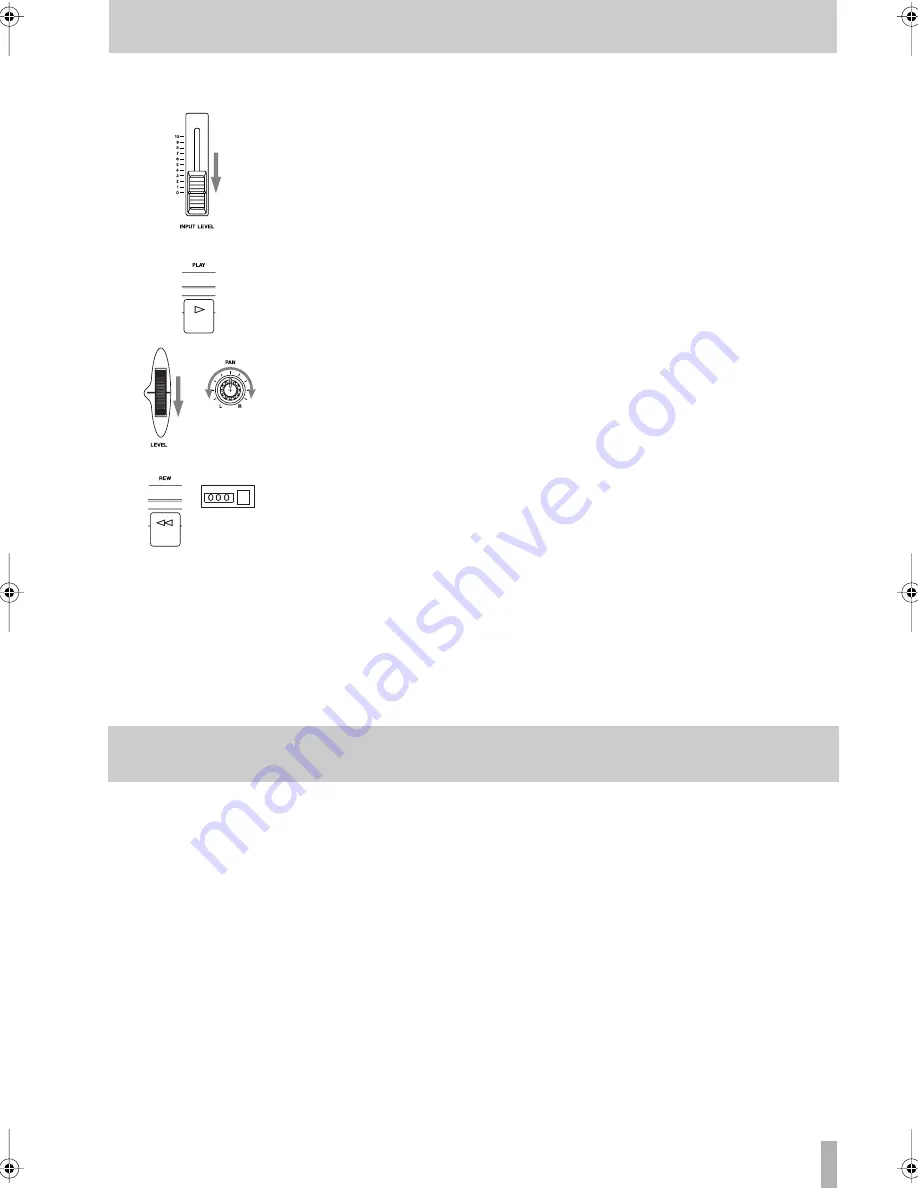
Mixdown
1) Make sure that no REC indicator is lit.
To release the "record-ready" track (to make all tracks "record-off"), press a REC
FUNCTION switch whose REC indicator is not lit lightly.
2) Set the INPUT LEVEL fader to minimum.
This will stop any extra unwanted noise from the MIC/LINE input appearing in the
final mix.
3) Make sure the master recorder is ready to record, and put it into record pause
mode.
4) Press the PLAY button on the MF-P01 to play back recorded tracks.
5) Adjust the LEVEL and PAN controls for each track on the MF-P01 to get the
proper level balance and positioning of the sounds.
6) Adjust the recording level of the master recorder.
You can adjust it by:
• using the MASTER control of the MF-P01 to adjust the output level, or
• using the input level control of the master recorder.
7) Press the REW button to rewind to the start of the recording ("000") on the
MF-P01.
8) Start recording on the master recorder, and start playback on the MF-P01.
9) When mixdown recording is completed, stop both units.
NOTE:
There are special methods to add more sound to the mixdown sound. See "Record-
ing more than four tracks" on page 14 for details
Mixing down tracks
This section gives a few hints and tips which may be
useful to you when you make recordings using the
MF-P01.
Recording techniques
Learning how to record is an art, not a science. One of
the best teachers is experience. However, there are a
few things mentioned here which may be useful to
you, and there are several good books on the subject
which can explain the theory of recording and some
of the techniques.
Recording electric guitars
Much of the sound of an electric guitar (and also
bass) is due to the effects, amplifier and speakers, as
well as the guitar and style of playing. If you plug the
guitar straight into the MF-P01, you will, of course,
be able to record it, but the sound will probably not be
what you are used to.
Plugging effects units between the guitar and the MF-
P01 will certainly help to produce a fuller sound. The
sound which will come closest to a live sound,
though, will be provided by the amplifier itself.
You can adopt one of two approaches:
either put a microphone in front of the guitar speaker
and record this, or connect the output of the pre-
amplifier to the MF-P01 and record this.
WARNING
Do not connect the speaker output of the amplifier to
the MF-P01. This will almost certainly damage the
Hints and advanced tips


