4 – Patterns on the Pocketstudio 5
TASCAM Pocketstudio 5
Reference Manual
13
Each row of the screen represents a section of the
song, and is divided into three columns.
The first column shows the bar number at which the
section starts.
The second column shows the type of section.
The third column shows the number of bars taken up
by this section.
If the whole row is flashing, you can add or remove
sections from the song.
On the first row, make sure that the first row shows
1-Intro-4
(at bar 1 play an Intro pattern for 4
bars).
Use
key move to the next row.
Use
Á
to highlight (flashing) the third column (the
number of bars). Use the wheel to change this value
to
12
.
Note that the start point (value of the first column) of
the next section of the song changes as you change
the length of the previous section. Also, an asterisk
(
*
) appears whenever you change the length of a sec-
tion to a value which is not the default value.
Use
to move to the third line. Note that the third
column is still highlighted (flashing). Use the wheel
to change the value to 12, and then press
Ó
to select
the section type.
Use the wheel to change the third section to become
VerseB
.
Keep using the cursor keys and the wheel until your
song looks like:
1-Intro ( 4)
5-VerseA*12
17-VerseB*12
29-FillAB* 8
37-VerseA*12
49-Ending( 4)
TIP
You can also use the copy function as described below
in order to shorten the process, but it is probably a
good idea to set up the chords before using the copy
function, to save you work later on.
However, you will have too many sections in the Pre-
set section, starting at bar 53. This is how you
remove them:
Removing song sections
Move to the section
to be deleted and use
Ó
and
Á
so that the whole
line is blinking.
Turn the wheel counterclockwise.
Repeat the process until one section is left, followed
by a line saying
---SongEnd---
. You cannot
delete all the sections in a song—there always must
be at least one section.
When you’ve finished arranging the song, press
EXIT
to go back to the main pattern menu.
Adding song sections
This is the opposite of
deleting sections. Move to the section to be deleted
and use
Ó
and
Á
so that the whole line is blinking.
Turn the wheel clockwise. A new section is added,
which you can edit (type and length) later on.
Repeat as necessary until you have the right number
of sections for your song.
NOTE
The maximum length of a song is 100 sections or 999
measures (bars), whichever comes first.
Copying and pasting sections
To save you
the trouble of manually entering and adding, delet-
ing, etc. sections of the song, you can select a portion
of the song for copying and inserting (similar to
copying and pasting on a computer).
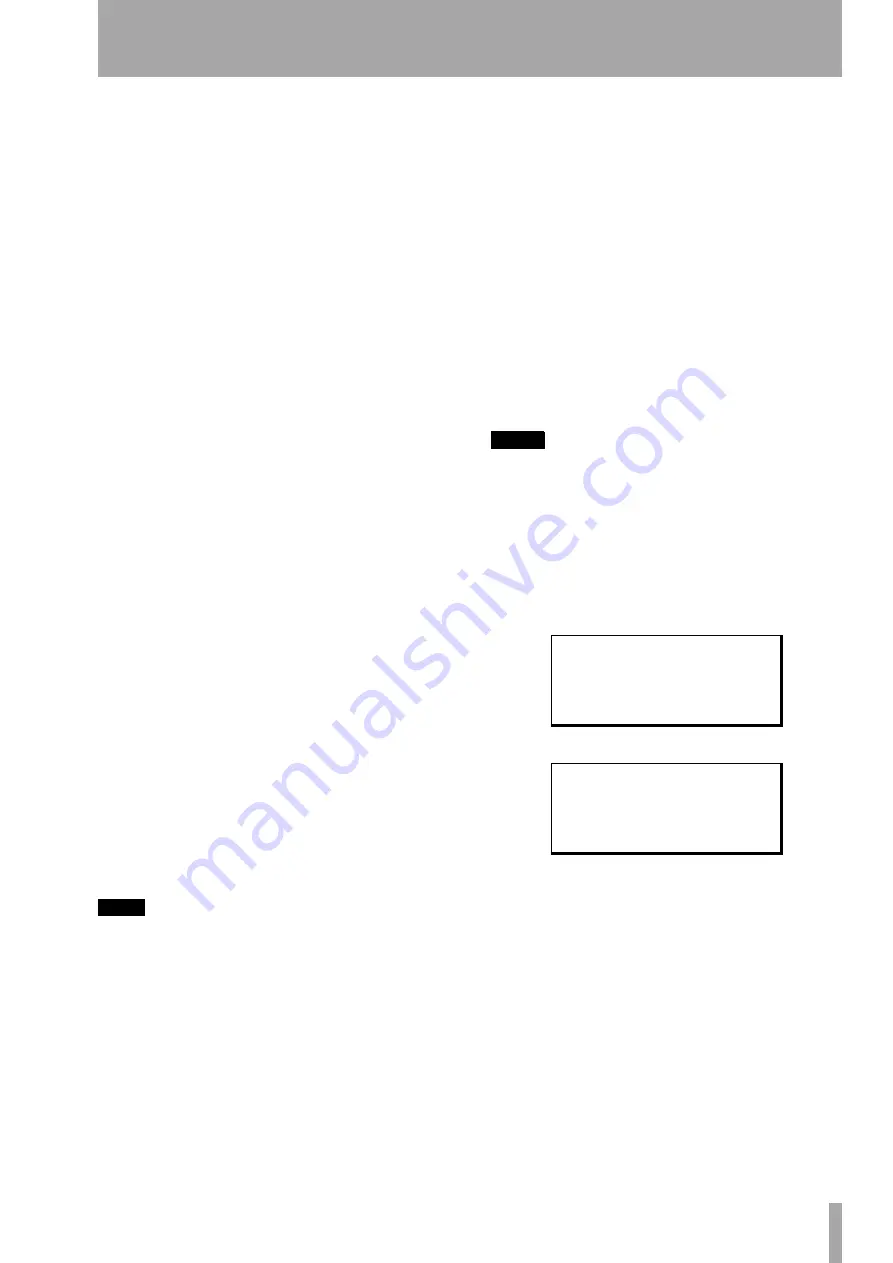
Move the cursor to the
Copy
menu item
Enter the copy screen:
Use the cursor pad to move to the
In
(start section
of the area to be copied) and
Out
(end section of the
area to be copied) and use the wheel to select the start
and end sections of the area to be copied. These can
be the same area (for example, if the
In
and
Out
fields both point to the same
Intro
section as in
the example above, when you make a copy, only that
section will be copied, in this case, it will be inserted
immediately befiore the VerseB section).
Move the cursor to the
To
field (the position before
where the data will be copied) and use the wheel to
set this point.
Finally, move the cursor down to the
Time
field,
which allows you to set the number of times (up to
I n s t 1 : D i s t G t r
.
I n s t 2 : D i s t G t r
.
W r i t e :
.
C o p y
/ .
'
I n
/
1 - I n t r o
O u t
:
1 - I n t r o
T o
:
5 - V e r s e B
;
S u r e > > [ E N T E R ]


