


TASCAM FW-1884 Setup Guide
3
1 – Introduction
About the FW-1884
The FW-1884 provides your computer with high-
quality audio facilities: eight channels of analog
input and eight of output, together with eight digital
inputs and outputs through an ADAT “lightpipe” and
a further two channels of digital audio I/O through
coaxial connections (or using the optical connec-
tor)—all at up to 96 kHz 24-bit (the FW-1884 sup-
ports up to four S-MUX channels through the optical
connector at 88.2 or 96 kHz), four MIDI input and
four output ports, and a control surface with motor-
ized touch-sensitive faders, rotary encoders, transport
keys and dedicated digital audio workstation function
control keys.
It is connected to the host computer using a single 6-
pin to 6-pin IEEE 1394 cable (supplied) that carries
the audio, MIDI and control information back and
forth between the FW-1884 and the computer. See
"The IEEE 1394 standard and the FW-1884" on
page 5 for details.
The control surface can pass information to the host
DAW application through the IEEE 1394 interface,
using MIDI protocol.
NOTE
Before using the FW-1884 with a computer, you must
install the necessary drivers and utility software on your
computer. See "Installation (Windows 2000 and Win-
dows XP)" on page 7, "Installation (Mac OS 9.2)" on
page 9 and "Installation (Mac OS X 10.2.4 and above)"
on page 10 for details of how to do this.
The FW-1884 can also act as a standalone dedicated
18–2 monitor mixer in one of its main modes (see
"MON MIX (monitor mix) surface mode" on page 4
for full details).
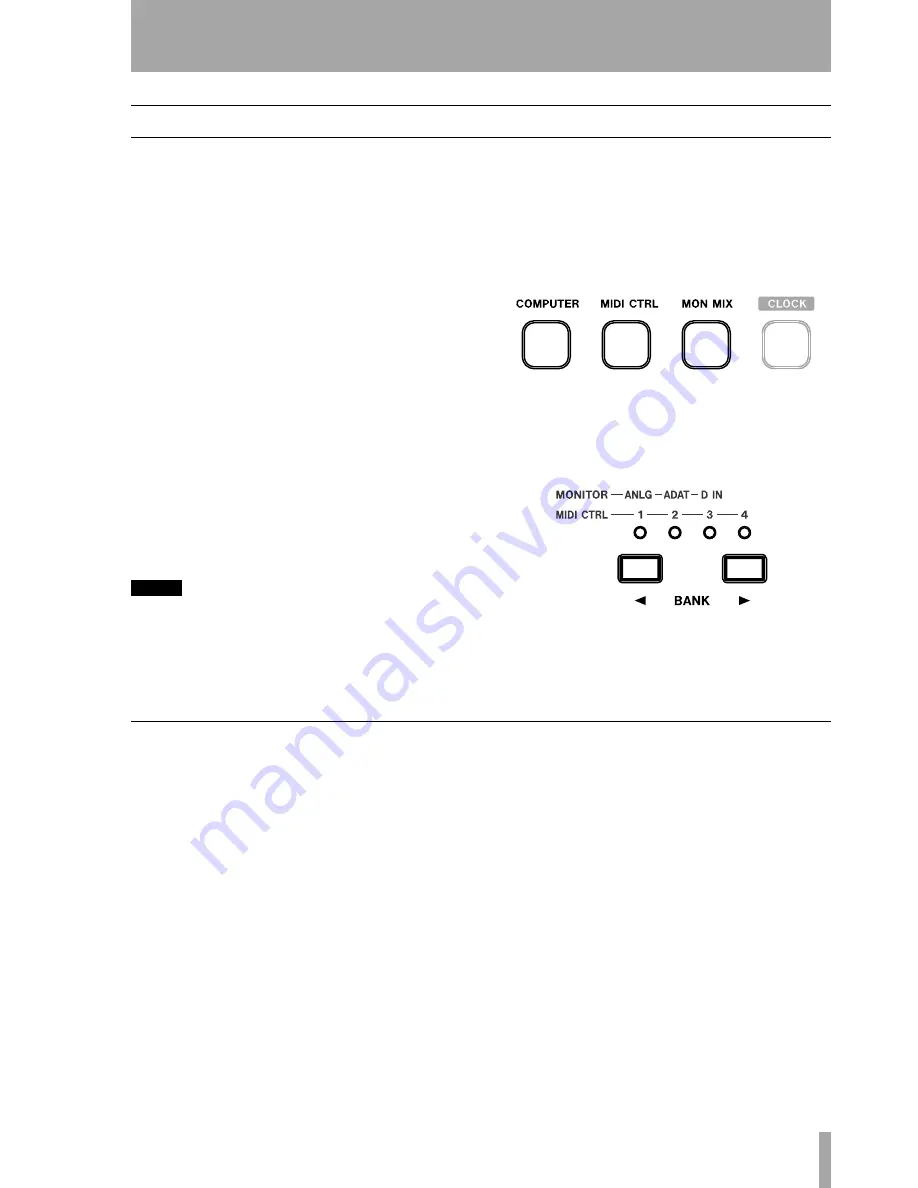
There are three main surface modes; accessed
through the mode keys as shown here (
COMPUTER
,
MIDI CTRL
and
MON MIX
).
Pressing one of these keys will light it, and put the
FW-1884 into the appropriate mode.
Although there are only eight physical channel mod-
ules fitted to the FW-1884, the
BANK
keys can be
used to access different fader and module banks.
Note that the banks accessed by the
BANK
keys have
different meanings depending on the surface mode
selected (monitor mix mode, or MIDI control mode,
or computer mode); see below for details.
COMPUTER surface mode
In this surface mode, operating the surface controls
sends messages to the DAW software on the host
computer through the control MIDI port using the
IEEE 1394 connection.
For operations carried out in this mode to have any
effect, the FW-1884 should be connected to a host
computer with the DAW software running, and con-
figured to accept messages from the FW-1884 con-
trol MIDI port.
The FW-1884 operates by default in its “native”
emulation, recognizable by many DAW applications.
For those applications that do not as yet recognize
this native mode, or which have their own plug-in, it
can emulate the Mackie protocol. The emulation is
selectable through the software Control Panel.
See the
Application Guide
for full details of how to
operate the FW-1884 with your DAW software.
Up to eight analog and/or eight ADAT outputs are
available for output, depending on the DAW software
configuration.
The physical MIDI ports are usable by the DAW
application for transmitting and receiving MIDI data
to and from external MIDI equipment. MIDI THRU
routing is also possible—see "MIDI Routing" on
page 11.
The meaning of the banks in this mode depends on
the DAW software currently running.


