Again, there are far more advanced features included with this
package, but we’ll leave that to the Jam manual.
Once you’ve got your CD assembled, click on Check Speed in the
upper right corner. For the first few CDs you make, we highly
recommend doing test burns first. Depending on what your source
data is coming from, the source drive may not be fast enough to
support 6x burns. This can be even further complicated if your drive
is “fragmented,” meaning the data is not in a continuous block on the
drive. (This happens frequently when the drive is nearing capacity.)
So just to be safe, run the test before burning so you are sure the
system will run properly. If your system is having trouble keeping up
with the drive, read the “Troubleshooting Underruns” section at the
end of this Guide.
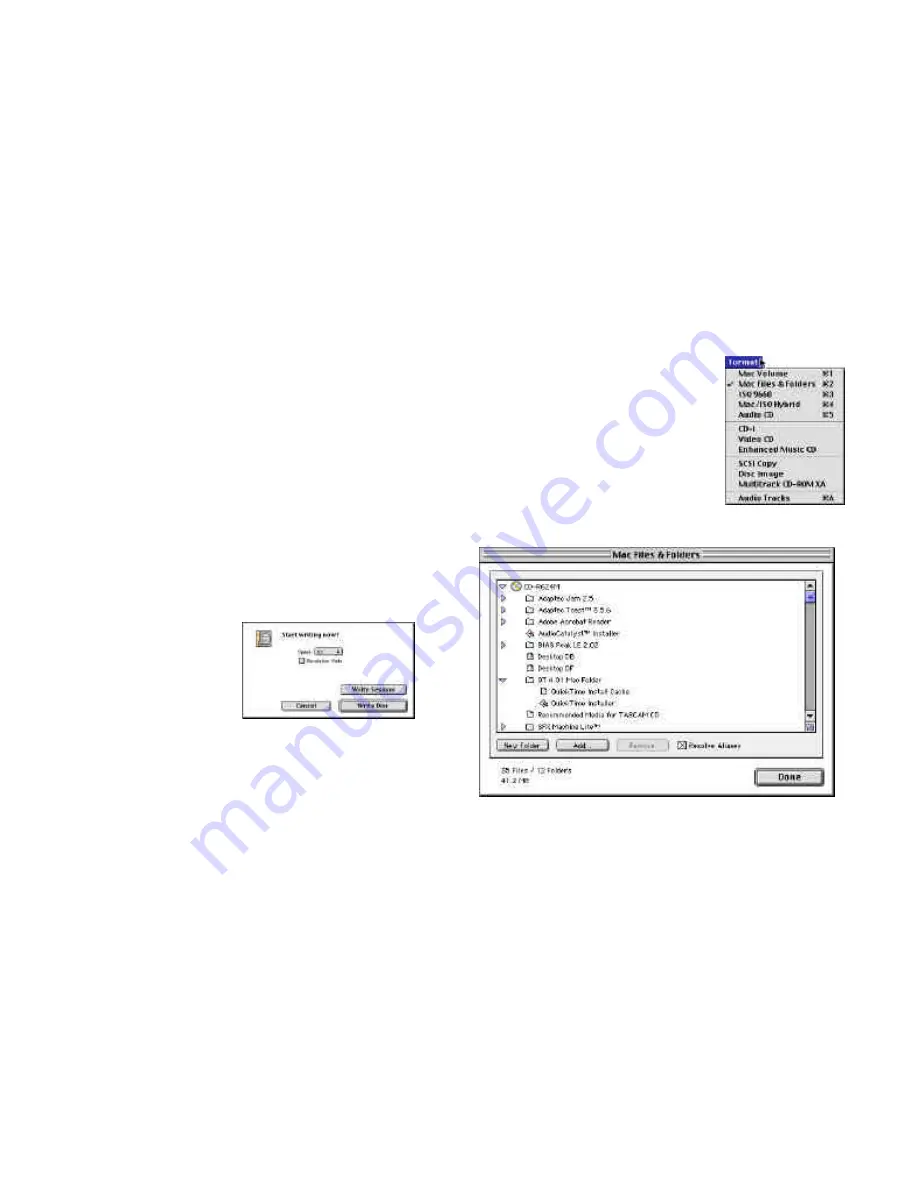
Once the test has successfully been completed, go ahead and click
on Write Disc. You will get a screen that gives you the option of Write
Session or Write Disc.
Write Session means you will go ahead and burn a disc, but you do
not close it off. An application like Adaptec Toast will still be able to
write data information in another Session behind it.
Write Disc means the disc is
closed off, and no further
sessions can be recorded
behind it. If you are making a
CD that is going to a
duplication house, you will
want to use Write Disc. Also,
if you have no intention of recording anything else after the CD, you
can close it off.
Once you’ve clicked on your option, the CD will start recording.
When it’s finished, you’re on CD!
Assembling Data CDs
Open Adaptec Toast, and go to the Format
menu to select the type of CD you wish to
record. For introductory purposes, if you are
simply trying to back up select files from your
computer, use Mac Files & Folders. If you
are trying to distribute data to both Mac and
PC users alike, use the I S O - 9 6 6 0 format.
(Both PCs and Macs can read those.)
The files can be selected by dragging and
dropping the files and folders on the Toast
window. To see the hierarchy of the disc you
are assembling, click on the Data button.
You can move files from one folder to another, create new folders, or
remove files from this screen. To rename the disc, double click on
the CD icon and name it whatever you like. When you are through
assembling the CD, click Done.


