background image


www.taoelectronics.com                                                   

13 


M

e

n

u

s

 a

n

d

 S

e

tti

n

g

s


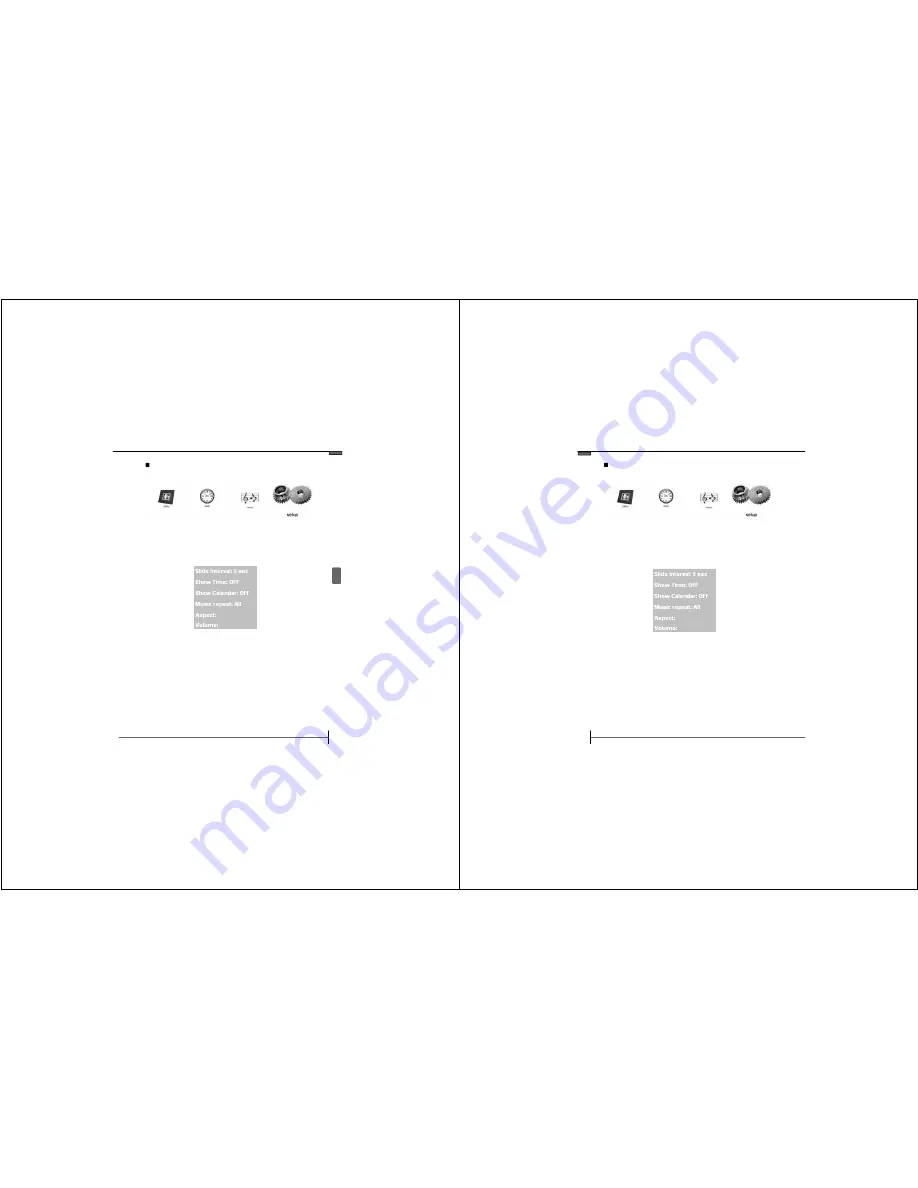
Setting the Slide Show Transition Speed 

1. 

Press the Tool Button to enter the Main Menu. 

2. 

Use the Previous and Next buttons to select “Setup .” 

3. 

Press the Play button to select. 

1. 

Press the Play button to select “Slide Interval”. 

2. 

Press the Previous and Next buttons to toggle 
between the different time seetings and press the 
Play button to confirm. 


• 

5 sec  

5 seconds between photos. 

• 

10 sec  

10 seconds between photos. 

• 

30 sec  

30 seconds between photos. 

• 

60 sec 

60 seconds between photos. 


©2008 TAO Electronics, Inc.


14 

Toggling Clock and Calendar Overlay 

1. 

Press the Tool Button to enter the Main Menu. 

2. 

Use the Previous and Next buttons to select “Setup .” 

3. 

Press the Play button to select. 

When the Show Time or Show Calendar modes are 

turned ON, the clock or calendar overlays will appear 

during photo mode.  Turn these modes off to display 

photos only.


1. 

Press the Play button to select “Show Time”. 

2. 

Press the Previous and Next buttons to toggle 
between ON or OFF and press the Play button to 
confirm. 

3. 

Repeat this process for “Show Calendar”. 

Summary of Contents for 89350

Page 1: ...ence Guides The following guides and support are available Refer to them as necessary according to the flowchart below For information on included items and items sold separately The Components Guide Preparations Basic hardware preparation func tions and settings Menus and Settings Loading Photos Files Frequently Asked Questions Handling precautions refer ences to various slideshow and media funct...

Page 2: ...nd rotate photos as full screen stills automated slide shows or as a dynamic split screen slide show Rotate and adjust the frame stand to show land scape and portrait style photos Display the time and calendar as an overlay to your favorite photos Specifications Display screen 5 6 TFT LCD 320 x 234 Internal memory 128 MB Photos 56 100 Memory cards CFI CFII SD MMC MS Audio yes speaker Formats JPEG ...

Page 3: ...djusting the frame stand height Extend the frame stand to a position for greatest stabil ity Extend or retract the strand by pushing the tab on the stand and adjusting the length Release the tab to lock the frame into position Adjusting the Viewing Angle 2008 TAO Electronics Inc Turning the Power On Off Turning the Digital Photo Frame On 1 Press the On Off button Turning the Digital Photo Frame Of...

Page 4: ...les the aspect ratio for photo mode 11 Adjusts the volume 1 2 3 4 5 6 7 8 9 10 11 2008 TAO Electronics Inc 8 Setting the Date 1 Press the Tool Button to enter the Main Menu 2 Use the Previous and Next buttons to select Clock 3 Press the Play button to select 1 Press the Play button to select DATE 2 Press the Previous and Next buttons to cycle through the year and press the Play button to confirm T...

Page 5: ...nds 4 Press the Previous and Next buttons to cycle through the seconds and press the Play button to confirm 2008 TAO Electronics Inc 10 Setting the Alarm 1 Press the Tool Button to enter the Main Menu 2 Use the Previous and Next buttons to select Clock 3 Press the Play button to select 1 Press the Next button to highlight Alarm and press the Play button to select 2 Press the Previous and Next butt...

Page 6: ...through the minutes and press the Play button to confirm This will highlight the seconds 4 Press the Previous and Next buttons to cycle through the seconds and press the Play button to confirm 5 Press the Previous and Next buttons to toggle between having the Auto On feature ON or OFF and press the Play button to confirm 6 Press the Next button to select Auto off When the Auto Off Time is turned o...

Page 7: ...econds between photos 30 sec 30 seconds between photos 60 sec 60 seconds between photos 2008 TAO Electronics Inc 14 Toggling Clock and Calendar Overlay 1 Press the Tool Button to enter the Main Menu 2 Use the Previous and Next buttons to select Setup 3 Press the Play button to select When the Show Time or Show Calendar modes are turned ON the clock or calendar overlays will appear during photo mod...

Page 8: ...rm None Music will end once the current song is over One The current song will play repeatedly All Songs will play in alphabetical order and repeat once the last song has finished 2008 TAO Electronics Inc 16 Selecting Aspect Ratio 1 Press the Tool Button to enter the Main Menu 2 Use the Previous and Next buttons to select Setup 3 Press the Play button to select 1 Press the Play button to select As...

Page 9: ...e with 0 as a muted state and 9 as the loudest 2008 TAO Electronics Inc 18 Photo Mode This mode displays a grid of photos in clusters of 9 You can toggle through different view modes by pressing the Play Button and the current view mode will appear on the upper right corner of the screen FullSize View a single photo and press next previous to cycle images SlideShow View photos as a slide show Spli...

Page 10: ...o play the selected song Volume and Music Repeat settings can be changed in the Setup Menu pg 13 15 2008 TAO Electronics Inc Memory Cards and USB Flash Drives With your TAO Digital Photo Frame you are able to display photos directly from your memory card or USB Flash The memory card slots are located on the side of your digi tal photo frame and are labeled for your convenience Simply insert the me...

Page 11: ...mply loosen the tabs on the back of your frame remove the unit and insert it into a 5x7 with sufficient depth Change and rearrange paper matting to add a different artistic touch TAO also offers professional laser engraving and silk screening of logos names and messages for your digital photo frames Contact sales taoelectronics com for more information Menus and Settings 2008 TAO Electronics Inc 2...

Page 12: ...o video music files from external memory to internal memory 17 Exit Returns to the previous screen 18 Vol Button Lowers volume 19 Vol Button Raises volume Menus and Settings 2008 TAO Electronics Inc 1 Connect the frame to your computer via USB cable with frame turned off 2 Turn the Digital Photo Frame on 3 From your desktop click START followed by MY COMPUTER The Digital Photo Frame s memory will ...

Page 13: ... experienced radio TV technician for help WARNING To reduce the risk of fire electrical shock or serious personal injury Keep the product and all its parts and accessories out of the reach of small children Do not expose product to water or other liquids Do not leave the unit unattended while it is in use Always unplug the AC Power Adapter from the electrical outlet when the unit is not in use Do ...

Page 14: ...tronics Inc 19843 Nordhoff Street 3B Northridge CA 91324 Phone 818 700 9047 Fax 818 700 9094 2008 TAO Electronics Inc Other Products 28 digital photo Clock Digital Photo Frame Clock Viewer 128 MB Internal Memory 1000 photos 3 5 Display 2 different models digital photo Desktop Penholder Digital Photo Frame Clock Viewer 128 MB Internal Memory 1000 photos 3 5 Display 2 different models digital photo ...

Page 15: ...23 Display Setting 16 L Loading Photos 26 27 M Mac 27 Main Menu 6 Memory Cards 20 Music Menu 19 Music Repeat 15 O Off 6 On 6 Other Products 28 P PC Software 26 Photo Screen 18 Power 6 Preparation 7 9 R Remote Control 22 Rotate 23 S Safety 26 Slideshow Speed 13 Support 27 T Tech Support 27 Thumbnail View 18 Time 9 Transition Speed 13 U USB Flash Drive 20 V Volume Settings 17 W Windows 26 English 20...

Reviews: