e.
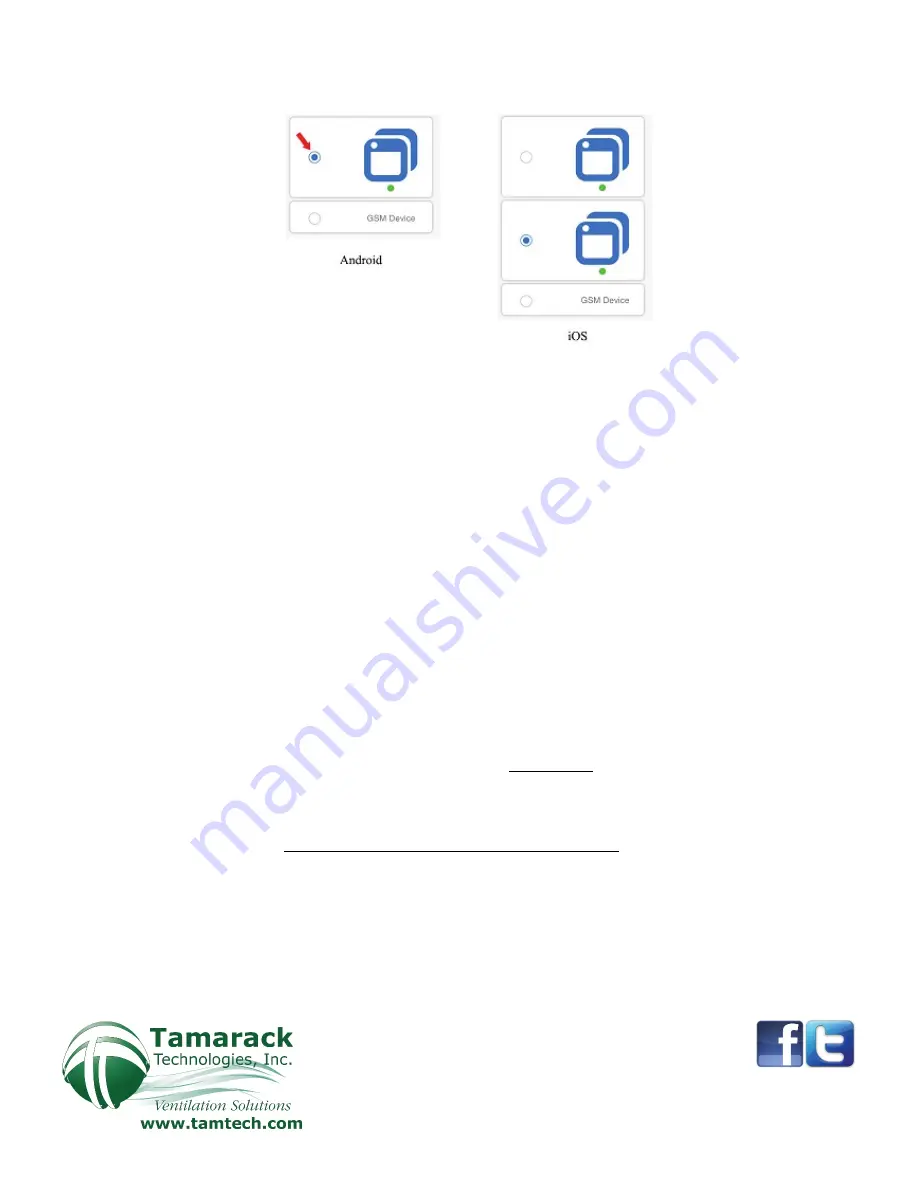
On your smart device, open the EWelink app and tap the (+) symbol
Use the appropriate pairing method for your device as illustrated below
f.
Input your Wi-Fi SSID Network name and password
g.
Name the module in the field provided: “ON/OFF”
When the EWelink device has connected to the home network successfully the Wi-Fi LED
will remain lit, confirming connection
h.
Repeat steps 3c-3g, for the LOW/HIGH module, naming the field “LOW/HIGH”
i.
Test functionality with EWelink to confirm the control box is switching (audible clicks)
Factory reset
If any information was entered incorrectly during the set up process, a factory reset is recommended. To perform a factory
reset to the EWelink module press and hold the “Pairing Button” for upwards of seven seconds until the LED blinks a
different pattern. The factory reset is now complete. You may start the pairing process again (Step 3d).
4.
Unplug control box from power outlet, place the control box lid onto the box and tighten
screws
5.
Remove the RF Remote system from the HV1600 (at the fans location)
a.
Terminate power to the HV1600
i.
Unplug the control box from the outlet or, if hardwired, shut off the circuit breaker providing
power to the circuit. Disconnect the line cord from the power supply in the junction box and
cap the wires that were providing power
b.
Disconnect the RF Control Box
i.
Open the junction box hard mounted to the HV1600 flange
ii.
Disconnect the wires in the junction box from the romex cable entering from the control box,
retaining the ground screw for future use
iii.
Loosen the romex clamp holding the romex cable in place and pull the romex cable out of the
junction box
iv.
If your fan has a black, plastic romex clamp, remove it and replace it with the metal clamp
provided
(Alternately, you may use a new hole in the junction box and leave the plastic clamp in place-which
will no longer be used)
20 Patterson Brook Road, West Wareham, MA 02576
774-678-4433 800-222-5932 774-678-4436
HV1600-RFwRR.1


