background image

E V E R Y   C A L L   C O U N T S

                                                                                                                          1 3

Recording an auto attendant greeting

To record an auto attendant greeting for auto attendant 1:

1. Enter command mode either by pressing 

#

 from an analog extension, or  

*55#


from a TalkSwitch IP phone, followed by the system password, then 

#

. (Other 

brands may use 

*55 SEND

 or 

*55 DIAL

.)

2. Dial 

41#

, and then follow the prompts to record your message.

3. When your greeting is complete, press 

#

 to end the recording.

Loading a recorded auto attendant greeting

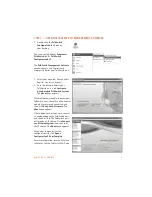
You can load a professionally recorded greeting. The file must be an 8 kHz, 8-bit, 
mono, µ-law .wav file.

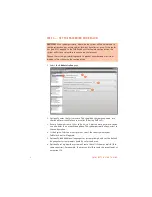
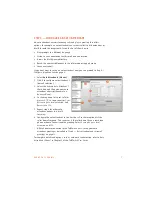
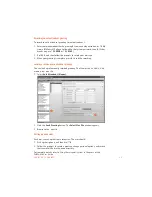
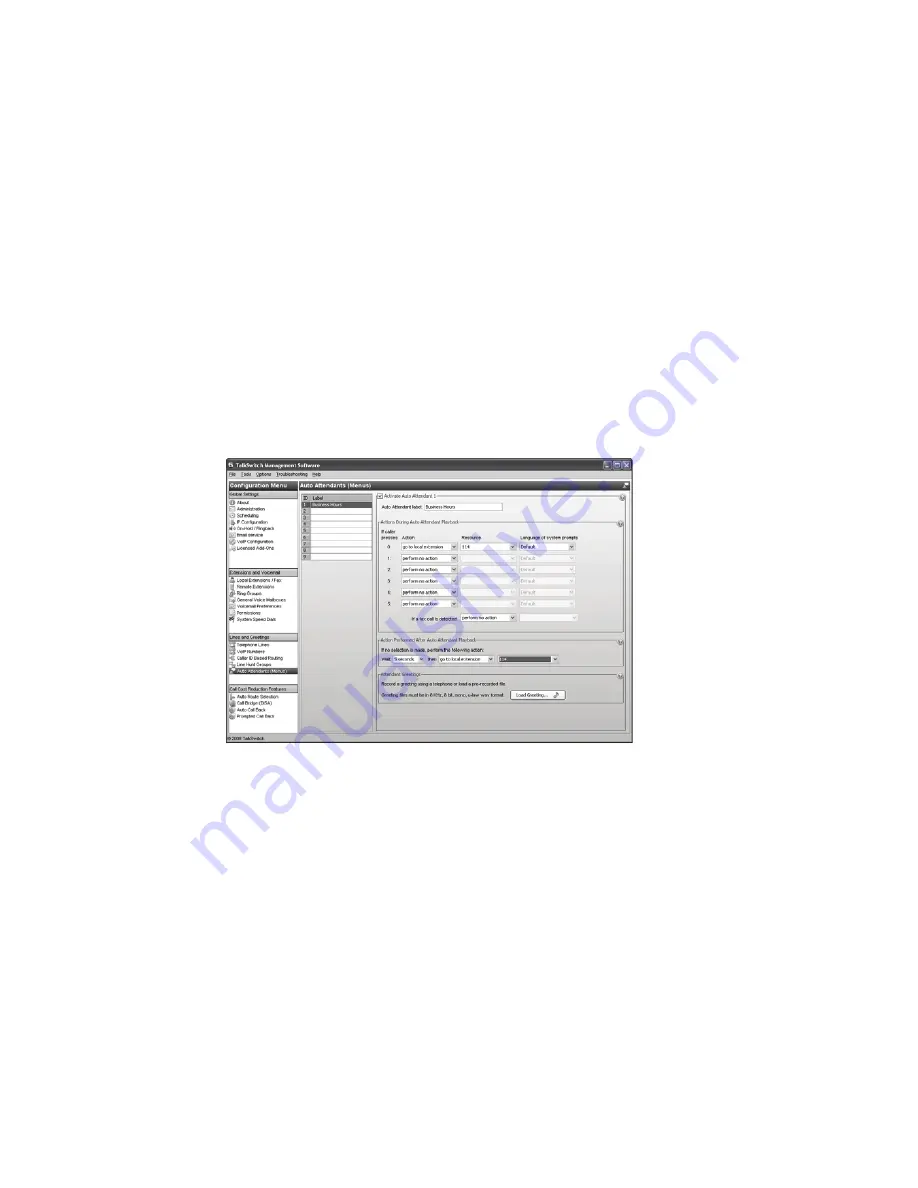
1. Select 

Auto Attendant (Menus)

.

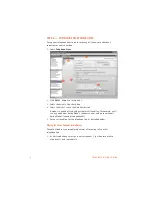
2. Click the 

Load Greeting 

button. The 

Select Wav File

 window appears.

3. Browse to the .wav file. 

Setting up extensions

Each user can set up their own extension. The user should:

1. Pick up their phone, and then dial 

**#

2. Follow the prompts to record a greeting, change personal options, and record 

their name for the dial-by-name directory.

For complete details, refer to 

Using the voicemail system

 in Chapter 3 of the 

TalkSwitch User Guide

.


!

Summary of Contents for Telephone System

Page 1: ...Technician Services Maintenance Agreements Purchasing Excess Telecom Equipment I will always do my best to match or beat any competitors bid Local 863 614 1900 Toll Free 866 770 4930 Fax 888 782 3072...

Page 2: ...The owner friendly phone system for small business Start Guide Release 6 12...

Page 3: ...e support section at http global talkswitch com Documentation In addition to this guide the following documentation is available The TalkSwitch User Guide provides complete information about the TalkS...

Page 4: ...updated 220 MB free hard disk space only 100 MB necessary if Java Runtime Environment JRE is already available 1 GHz CPU 1 GB RAM Vista or 512 MB RAM XP or 2000 1024 x 768 video resolution Network eq...

Page 5: ...CD ROM drive 3 The Install main window will appear within 20 seconds Click INSTALL and follow the instructions If the installation program does not automatically start for example if Autorun is disabl...

Page 6: ...TalkSwitch unit and the other end directly to your Ethernet switch Ensure your computer is connected to the same switch Connecting via USB Using a USB A to B cable connect the B end to the USB port a...

Page 7: ...ck Configure Auto Detected TalkSwitch System The About page appears If the software was unable to detect your TalkSwitch unit check that all your wires and plugs are securely connected and then click...

Page 8: ...operate 5 Optionally load additional languages for system prompts and set the default language for system prompts heard by callers and users 6 Optionally set up how the system will route the call if t...

Page 9: ...1 default selection 3 Select the Activate Auto Attendant 1 check box and then give your auto attendant a descriptive name e g Business Hours 4 In the drop down lists next to Caller presses 0 9 in some...

Page 10: ...tab in the Main Number tab A mode is a period of time with particular call handling For example a call can ring extensions during Mode 1 business hours and go to voicemail during Mode 2 evenings and...

Page 11: ...ence By default all extensions will ring at the first ring Sending calls to voicemail The system can ring selected extensions and then send the call to voicemail if no one answers 1 Select go to voice...

Page 12: ...t 2 If necessary connect additional telephone lines to the L2 L8 jacks Connecting a two line telephone line A two line wall phone jack has two telephone lines TalkSwitch VS units require that each tel...

Page 13: ...ting an external audio source optional You can add music on hold to your system from an external audio source or internal music file Connect a 1 8 3 5 mm mono phono connector cable from an isolated ex...

Page 14: ...scribed in Step 5 Configure an auto attendant on page 7 you should record or load a greeting now If your system has multiple TalkSwitch units the greeting will be automatically copied to each unit Wha...

Page 15: ...the recording Loading a recorded auto attendant greeting You can load a professionally recorded greeting The file must be an 8 kHz 8 bit mono law wav file 1 Select Auto Attendant Menus 2 Click the Loa...

Page 16: ...t 2 Turn on the TalkSwitch units by pressing the Power button on the front of each unit Setting TalkSwitch unit ID numbers Each TalkSwitch unit is pre programmed with unit ID 1 When you plug multiple...

Page 17: ...re IP extensions If you are setting up external IP extensions see the VoIP Network Configuration Guide as well Extension and voice mailbox numbers for networked units Unit ID 1 Unit ID 2 Unit ID 3 Uni...

Page 18: ...und telephone lines System speed dials to quickly call clients from any extension E mail to notify users when they have voicemail Auto route selection call bridge and call back to reduce costs Remote...

Reviews: