WEBS-MT/R Tower Installation Instructions
Copyright 2011 Talk-A-Phone Co. All rights reserved.
Page 5 of 8
Talk-A-Phone Co.
• 7530 North Natchez Avenue • Niles, Illinois 60714-3804
Phone 773.539.1100 • Fax 773.539.1241 • [email protected] • www.talkaphone.com
All prices and specifications are subject to change without notice.
Talk-A-Phone, Talk-A-Lert, Scream Alert and WEBS are registered trademarks of Talk-A-Phone Co.
6. Install the LED light board over the phone opening. A polycarbonate light cover protects the LED light
assembly from the inside. Peel the protective paper off the light cover and fit it onto the studs inside
the tower. Slide the LED board over the studs with the LEDs facing down. The built-in spacers will
keep the LEDs from resting on the acrylic window. Tighten down using the enclosed nuts. Be careful
not to over tighten to avoid cracking the circuit board.
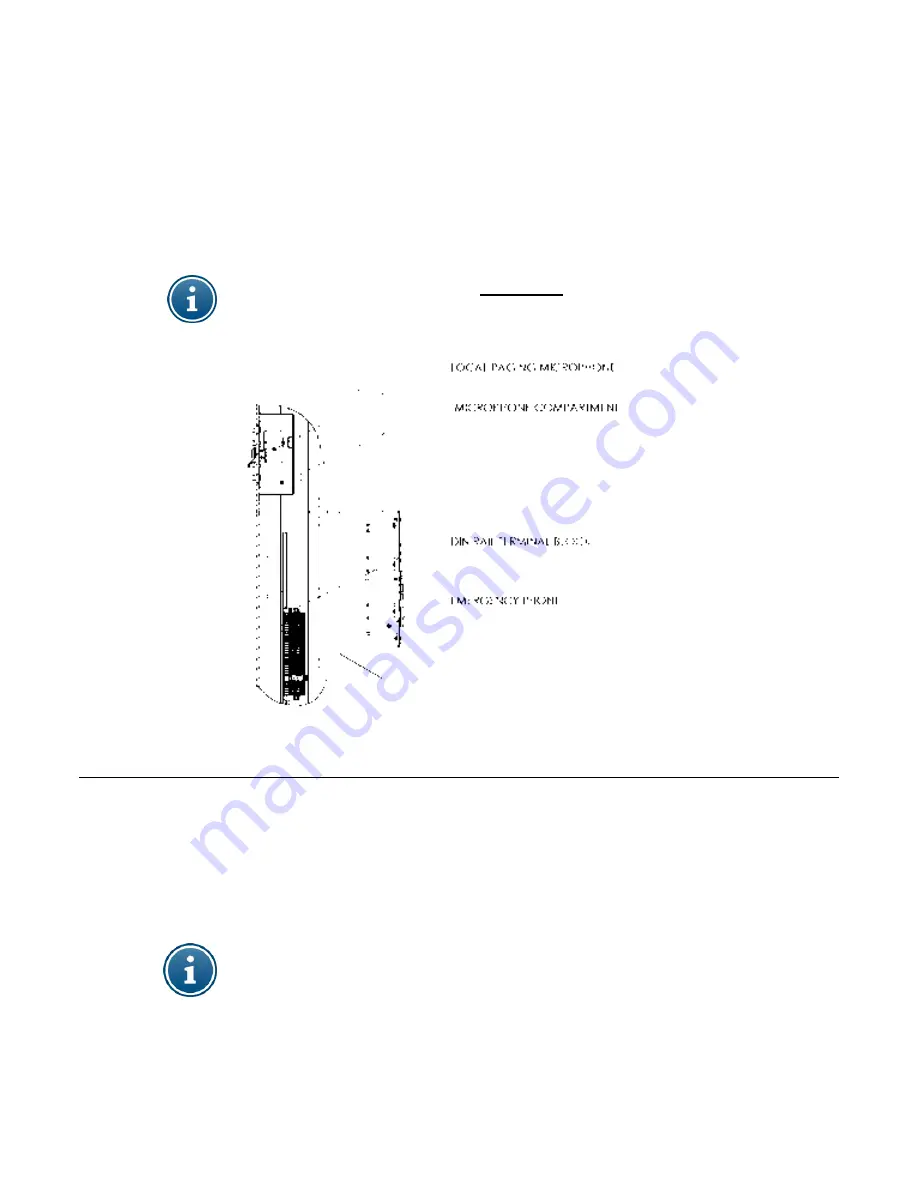
7. Install the DIN rail on the two welds studs behind the phone opening. Install the local paging
microphone and mounting bracket inside the microphone compartment as shown in
Figure 3
. Attach
the instructional label below (provided) on to the inner surface of the microphone compartment door.
NOTE:
The microphone gets activated
two seconds
after depressing the microphone switch.
Figure 3.
Installing the Local Paging Microphone, DIN Rail Terminal Block and Emergency Phone.
8. Attach the Emergency Phone to the tower with six (6) 10-24 oval head tamperproof screws (included
with the phone). When using an ETP-400 Series Emergency Phone connect the phone line coming
into the tower to the male RJ11 connector coming from the Emergency Phone. An outdoor rated
RJ11 female modular jack on the end of the incoming phone line is strongly recommended.
9. Re-attach the rear access panels to the tower.
NOTE: It is the installer’s obligation to ensure compliance with all national, regional, and local
regulations. ALL WIRING MUST USE DRIP-LOOPS.


