background image


16 


ADSL2+ Router

6.0 ADSL2+ Router Configuration   


1.  Please insert the supplied CD into your CD-ROM drive. 
 
2.  The CD should auto-start, displaying as below. Please click “

Run autorun.exe

” to 

continue. If your CD does not start automatically go to Windows Explorer, Select 
your CD drive and click “

autorun.exe

”. 

 
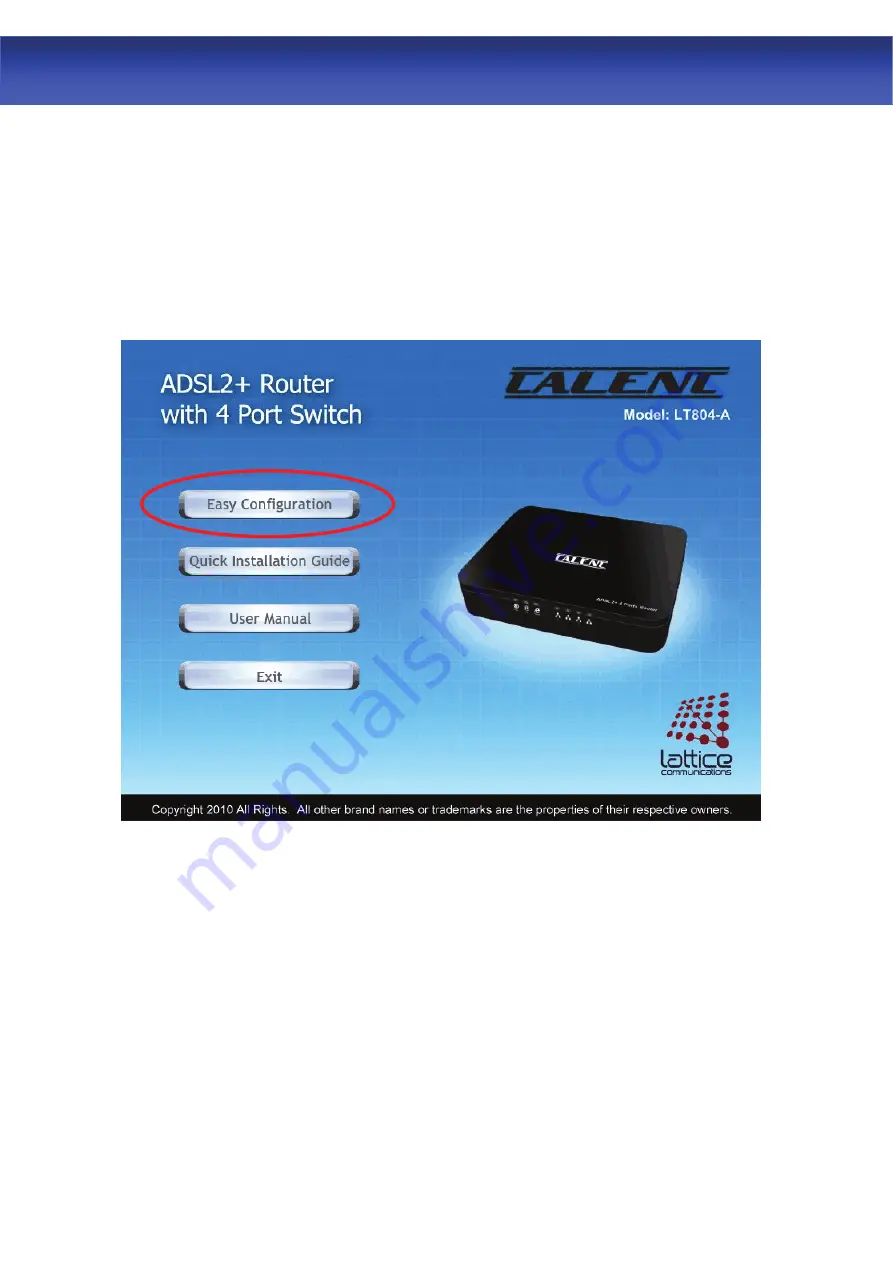
3.  Please click “

Easy Configuration

”. 


Summary of Contents for LT804-AW

Page 1: ...User Manual ADSL2 Router...

Page 2: ...ation 23 9 0 Universal Plug and Play UPnP 49 9 1 Universal Plug and Play Overview 49 9 2 How do I know if I m using UPnP 49 9 3 NAT Traversal 49 9 4 Cautions with UPnP 49 9 5 Configuring UPnP 50 9 6 I...

Page 3: ...cription ADSL2 Router is a low cost high performance and high speed device that provides a full rate ADSL2 Router with the superb reliability and a complete solution for home and office router ADSL2 R...

Page 4: ...Router and other UPnP enabled devices can dynamically join a network obtain an IP address and convey its capabilities to other devices on the network 10 100M Auto negotiation Ethernet Fast Ethernet In...

Page 5: ...dicator Table 1 LED function Label Color On Flash Off Green Ready Not Ready Power Off Green Connect to DSLAM Disconnect to DSLAM N A Green Connect to Internet IDLE Transmit Receive Data Disconnect to...

Page 6: ...SL2 Router POWER Connects to your ADSL router 12V AC power adaptor RESET Reset bottom RESET the ADSL2 router to its default settings LAN1 4 RJ 45 Jack Ethernet Cable connects to your PC or HUB LINE Co...

Page 7: ...dware Environment Please kindly refer to chapter 4 0 Installation Setup 3 2 Powering on ADSL2 Router 1 Connect the power to the ADSL2 Router by plugging the power supply into an appropriate electrical...

Page 8: ...jack to the LINE port of the supplied ATF057 splitter Connect the other supplied RJ11 telephone cable to the MODEM port of the splitter and connect the other end of this cable to the LINE port of you...

Page 9: ...e other supplied RJ11 telephone cable to the DSL port of the splitter and connect the other end of this cable to the LINE port of your ADSL2 Router If there is no option Splitter please connect the su...

Page 10: ...e kindly configure the PC computer as below to have automatic IP address DNS Server For Windows 98SE ME 2000 XP 1 Click on Start Control Panel in Classic View In the Control Panel double click on Netw...

Page 11: ...P IP 4 Check Obtain an IP address automatically and Obtain DNS server address automatically then click on OK to continue 5 Click Show icon in notification area when connected see screen image in 3 abo...

Page 12: ...10 ADSL2 Router For Windows Vista 32 64 1 Click on Start Control Panel View network status and tasks 2 In the Manage network connections click on Manage network connections to continue...

Page 13: ...3 Single RIGHT click on Local Area connection then click Properties 4 The screen will display the information User Account Control and click Continue to continue 5 Double click on Internet Protocol Ve...

Page 14: ...12 ADSL2 Router 6 Check Obtain an IP address automatically and Obtain DNS server address automatically then click on OK to continue...

Page 15: ...13 ADSL2 Router For Windows 7 32 64 1 Click on Start Control Panel in Category View View network status and tasks 2 In the Control Panel Home click on Change adapter settings to continue...

Page 16: ...14 ADSL2 Router 3 Single RIGHT click on Local Area connection then click Properties 4 Double click on Internet Protocol Version 4 TCP IPv4...

Page 17: ...15 ADSL2 Router 5 Check Obtain an IP address automatically and Obtain DNS server address automatically then click on OK to continue...

Page 18: ...e supplied CD into your CD ROM drive 2 The CD should auto start displaying as below Please click Run autorun exe to continue If your CD does not start automatically go to Windows Explorer Select your...

Page 19: ...SP Internet Services Provider provided and Protocol mode 5 Please click Setup button when the procedure is completed it will start to configure the device for a while 6 Now checking ADSL 2 Router hard...

Page 20: ...18 ADSL2 Router 7 Easy setup configuration completed The connection to the Internet Service is ready to use Click on Exit to exit this program...

Page 21: ...19 ADSL2 Router 8 Click on Exit to exit this program 9 Now the ADSL2 Router has been configured completed and suitable for Internet Connections...

Page 22: ...speed asynchronous data with advanced traffic management and quality of service features bps Bits per second A standard measurement of digital transmission speeds Bridge A device that connects two or...

Page 23: ...provide a sort of firewall and allow for a wider address range to be used internally without danger of conflict PPP Point to Point Protocol The successor to SLIP PPP provides router to router and host...

Page 24: ...ism for detecting and preventing loops from occurring in a multi bridged environment When bridges connect three or more LAN segments a loop can occur Because a bridge forwards all packets that are not...

Page 25: ...rsions with JavaScript enabled It is recommended that you set your screen resolution to 1024 by 768 pixels 8 2 Accessing ADSL2 Router Web Configuration Step 1 Make sure your ADSL2 Router is properly c...

Page 26: ...art Guide You can use Quick Start to setup the router as follows and the router will connect to the Internet via ADSL line Click Quick Start to get into the quick setup procedures Click RUN WIZARD to...

Page 27: ...25 ADSL2 Router Step 1 Please click Next to setup your new administrator s password Step 2 Please click Next to setup your time zone...

Page 28: ...uter Step 3 Please click Next to setup your Internet connection type You can have this information from your Internet Service Provider Step 4 Enter the connection information provided by your ISP and...

Page 29: ...27 ADSL2 Router Step 5 Enter the connection information provided by your ISP and click Next Step 6 Please click CLOSE to finish Quick Start...

Page 30: ...llows the router to synchronize the system clock to the global Internet The synchronized clock in the router is used to recorded the security log and control client filtering Admin Setting Go to Maint...

Page 31: ...ntenance Firmware to upgrade the firmware The new firmware for your router can improve functionality and performance Enter the path and name of the upgrade file then click the UPGRADE button below You...

Page 32: ...m In the event that the router stops responding correctly or in some way stops functioning you can perform a reset Your settings will not be changed To perform the reset select Current Setting and cli...

Page 33: ...31 ADSL2 Router ADSL Status Go to Status Device Info The ADSL Line Status enables you to check the status of your ADSL connection including how fast data is being transferred...

Page 34: ...tics Go to Status Statistics and select ADSL interface You can see the traffic Statistics of ADSL interface VC Configuration Go to Interface Setup Internet To add or delete ADSL VC configuration these...

Page 35: ...an IP address automatically from your service provider Static IP Address Uses a static IP address Your service provider gives a static IP address to access Internet services PPPoE PPP over Ethernet is...

Page 36: ...34 ADSL2 Router WAN Status Go to Status Device Info and select the Virtual Circuit to see the connection status...

Page 37: ...s into you browser a DNS server will find that name in its index and find the matching IP address Most ISPs provide a DNS server for speed and convenience Since your Service Provider many connect to t...

Page 38: ...ess Management DDNS to setup your DDNS parameters Dynamic DNS allows you to update your dynamic IP address with one or many dynamic DNS services So anyone can access your FTP or Web service on your co...

Page 39: ...ord Type ACS server login password Path Type the path for Connection request Port Type the port for Connection request Username Type username for ACS server to make connection request Password Type pa...

Page 40: ...the LAN port If the DHCP Relay is selected the DHCP requests from local PCs are forward to the DHCP server runs on WAN side To have this function working properly disable the NAT to run on router mod...

Page 41: ...des extensive firewall protection by restricting connection parameters to limit the risk of intrusion and defending against a wide array of common hacker attacks The user can set different IP filter r...

Page 42: ...0 0 0 0 any client would be allowed to remotely access the ADSL Router NAT Setting Go to Advanced Setup NAT to setup the NAT features Network Address Translation NAT allows multiple users at your loc...

Page 43: ...utomatically redirected to local servers configured with private IP addresses In other words depending on the requested service TCP UDP port numbers the router redirects the external service request t...

Page 44: ...the client up to unrestricted two way Internet access by defining a virtual DMZ Host Static Routing Go to Advance Setup Routing Add to setup static route features The static routing function determine...

Page 45: ...ed to allow the router to automatically adjust to physical changes in the network s layout The router uses the dynamic RIP protocol It determines the route that the network packets take based on the f...

Page 46: ...the Routing Table The Routing table allows you to see how many routings on your routing table and interface information System Status Go to Status Device Info to see the router s information The Syste...

Page 47: ...k Management Protocol is used for exchanging information between network device Get Community Select to set the password for the incoming Get and GetNext requests from the management station Set Commu...

Page 48: ...46 ADSL2 Router QoS Setting Go to Advanced Setup QoS to setup QoS features This option will provide better service of selected network traffic over various technologies...

Page 49: ...number of different LAN segments Because VLANs are based on logical instead of physical connections it is very flexible for user host management bandwidth allocation and resource optimization VLAN PVI...

Page 50: ...efine VLAN Group to setup VLAN group features Firewall Go to Advanced Setup Firewall to setup Firewall features Select this option can automatically detect and block Denial of Service DoS attacks such...

Page 51: ...perate through NAT UPnP network devices can automatically configure network addressing announce their presence in the network to other UPnP devices and enable exchange of simple product and service de...

Page 52: ...L2 Router s IP address although you must still enter the password to access the web configuration Auto configured Select this check box to allow UPnP enabled applications to automatically configure AD...

Page 53: ...p 1 Click Start and Control Panel Double click Add Remove Programs Step 2 Click on the Windows Setup tab and select Communication in the Components selection box Click Details Step 3 In the Communicat...

Page 54: ...t and Control Panel Step 2 Double click Network Connections Step 3 In the Network Connections window click Advanced in the main menu and select Optional Networking Components The Windows Optional Netw...

Page 55: ...3 ADSL2 Router Step 5 In the Networking Services window select the Universal Plug and Play check box Step 6 Click OK to go back to the Windows Optional Networking Component Wizard window and click Nex...

Page 56: ...ter is connected to a LAN port of ADSL2 Router Turn on your computer and ADSL2 Router 9 10 Auto discover Your UPnP enabled Network Device Step 1 Click start and Control Panel Double click Network Conn...

Page 57: ...t mappings or click Add to manually add port mappings Step 5 Select Show icon in notification area when connected option and click OK An icon displays in the system tray Step 6 Double click on the ico...

Page 58: ...er without finding out the IP address of ADSL2 Router first This comes helpful if you do not know the IP address of ADSL2 Router Follow the steps below to access the web configuration Step 1 Click Sta...

Page 59: ...ter Step 4 An icon with the description for each UPnP enabled device displays under Local Network Step 5 Right click on the icon for yourADSL2 Router and select Invoke The web configuration login scre...

Page 60: ...58 ADSL2 Router Step 6 Right click on the icon for yourADSL2 Router and select Properties A properties window displays with basic information about ADSL2 Router...

Page 61: ...t your vendor A 1 2 LAN LED The LAN LED on the front panel does not light up STEPS CORRECTIVE ACTION 1 Check the Ethernet cable connections between your ADSL2 Router and the computer or hub 2 Check fo...

Page 62: ...address of ADSL2 Router Check the IP address of ADSL2 Router 2 Make sure that there is not a console session running 3 Check that you have enabled web service access If you have configured a secured...

Page 63: ...r on the LAN STEPS CORRECTIVE ACTION 1 Check the Ethernet LEDs on the front panel A LAN LED should be on if the port is connected to a computer or hub If the LAN LEDs on the front panel are off refer...

Page 64: ...A 1 3 3 Verify your WAN settings 4 Make sure you entered the correct user name and password Internet connection disconnects STEPS CORRECTIVE ACTION 1 Check the schedule rules 2 If you use PPPoA or PP...

Reviews: