


NOTE: If you find that you cannot drag elements around the screen, or you cannot write in the input
panels, your touch screen is most likely set to “Point” mode. In the
TouchSet
Utility, tap on the
“Configuration” tab to get to the “Operation Mode” selector. Tap on the “Stream Mode” option and then
tap the “Apply” button.
Calibrating the Digitizer
(i400D only)
If you find, while using your Sahara Slate PC in digitizer mode, that the position of the pointer
arrow isn’t following the tip of the stylus, you should calibrate the digitizer.
In Windows 7:
1.
In the START Menu, tap on “Control Panel” and then in the window that opens, tap on
the “Hardware and Sound” category.
2.
From the “Hardware and Sound” window, find the “Tablet PC Settings” category and
tap on the sub-category “Calibrate the screen for pen or touch input”.
3.
On the “Display” tab is a “Calibrate...” button. Tap the “Calibrate...” button to begin the
calibration routine.
4.
Follow the on-screen instructions to complete the calibration. The routine is very similar
to the touch screen calibration. Tap in the center of the crosses when they appear on
the screen.
In Windows XP
Tablet PC Edition
:
1.
In the START Menu, tap on “Control Panel” and then in the window that opens, tap on
the “Printers and Other Hardware” category.
2.
From the “Printers and Other Hardware” window, look under “or pick a Control Panel icon”
for “Tablet and Pen Settings” and tap to open the panel.
3.
On the “Settings” tab is a “Calibration” section. There is a drop down that will allow you
to calibrate both landscape and portrait orientations for improved accuracy. Choose
the orientation you wish to calibrate and then tap the “Calibrate...” button to begin the
calibration routine.
4.
Follow the on-screen instructions to complete the calibration. The routine is very similar
to the touch screen calibration. Tap in the center of the crosses when they appear on
the screen.
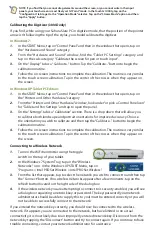
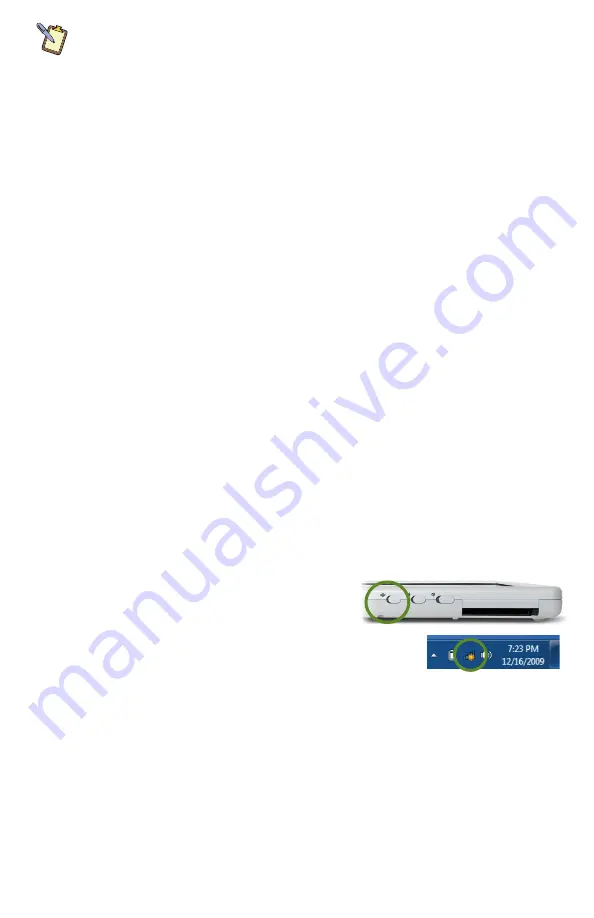
Connecting to a Wireless Network
1.
Turn on the WiFi transmitter using the toggle
switch on the top of your tablet.
2.
In the Windows 7 System Tray, tap on the “Wireless
Networks” icon. In the Windows XP START Menu, tap on
“Programs > Intel PROSet Wireless > Intel PROSet Wireless”.
3.
From the list that appears, tap to select the network you wish to connect to and then tap
the “Connect” button. If no wireless networks appear after a few moments, tap on the
refresh button located on the right side of the dialog box.
4.
If the wireless network you are attempting to connect to is security-enabled, you will see
a dialog box requesting a network key or password. The key/password (your network
administrator should be able to supply this to you) must be entered correctly or you will
not be able to successfully connect to the network.
If you entered the network key correctly, you should now be connected to the wireless
network. If it appears you are connected to the network, but have limited or no actual
connectivity, it is most likely due to an improperly entered network key. Disconnect from the
network by tapping the “Disconnect” button and try to connect again. If you continue to have
trouble connecting, contact your network administrator for assistance.


