

Operating Instructions for SM-340H RFID Locker Lock
IDD: +1-604-731-0898
|
|
synometrix.com
2.
Tag Numbering:
For standalone fixed locks, 1-5 pcs of RFID tag (wristband, fob or
card) can be assigned to each lock. Most installations have the matching locker
number engraved into or written onto the tag. These can be purchased from
SYNOMETRIX at time of order.
Alternatively, a reusable plastic fob can be attached to the RFID tag with the locker
number on it, rendering it reusable should the wristband, card or fob break or be lost
by a guest.
Please consider how to handle broken straps on any wristbands that have been engraved.
Can you easily source a few new bands as replacements? Or is it better to buy the bands
blank and assign them to the locks when needed, attaching a number fob or writing the
locker number on the bands using a felt pen?
Not sure? Please contact us for a consultation, we are happy to help.
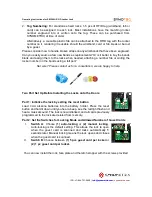
Two Part Set Up Before Installing the Locks onto the Doors
Part 1: Initialize the lock by setting the reset button
Load 3 AA alkaline batteries into the battery holder. Press the reset
button and hold it down until you hear a beep, see the red light flash and
hear a musical sound. The lock is now initialized, and all cards previously
programmed to the lock are deleted from memory.
Part 2: Set the Switches for Locking Mode and Allowed Number of Guest Cards
I.
Switch A
: Choose
(1)
auto-locking
or
(2)
manual locking
.
Auto-locking is the default setting. This allows the lock to open
when the guest card is scanned and locks automatically 5
seconds later. Manual locking means the lock opens and closes
when the guest card is scanned.
II.
Switch B
: Choose between
(1) 5 pcs guest card per locker
or
(2) 1 pc guest card per locker.
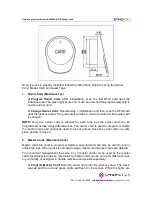
You can now install the lock, face plate and the latch stopper with the screws provided.