Synaps THD-2850 User Manual Download Page 7

7

THD-2850/2860/2880

Press EXIT key to pop up the dialogue “Are you sure 

to save?”. Select Yes button and press OK key to 

save, or select NO button and press OK key to exit 

without saving.

4.1.2 Radio Channel List

The same operation as 1.1 TV Channel List, here we 

don’t explain any more.

4.1.3 Delete All

Move cursor to the Delete All item, and press OK Key 

to pop up the dialogue “Warning! Do you really want 

to delete all channel?”.

Press EXIT key to pop up the dialogue “Are you sure 

to save?”. Select Yes button and press OK key to 

save, or select NO button and press OK key to exit 

without saving.

4.2 Installation

1.  Press PR+, PR- keys to move the cursor up or 

down.

2.  Press EXIT key or  

 key to move the focus to 

the left menu.

4.2.1 AutoScan

When you enter Auto Scan menu, the screen will 

display as below.

In FTA Only, press [Left/Right] key to choose Yes or

No.

Move the highlight on the search option, and press

[OK] key to start scanning.

Press [EXIT] key to exit this menu.
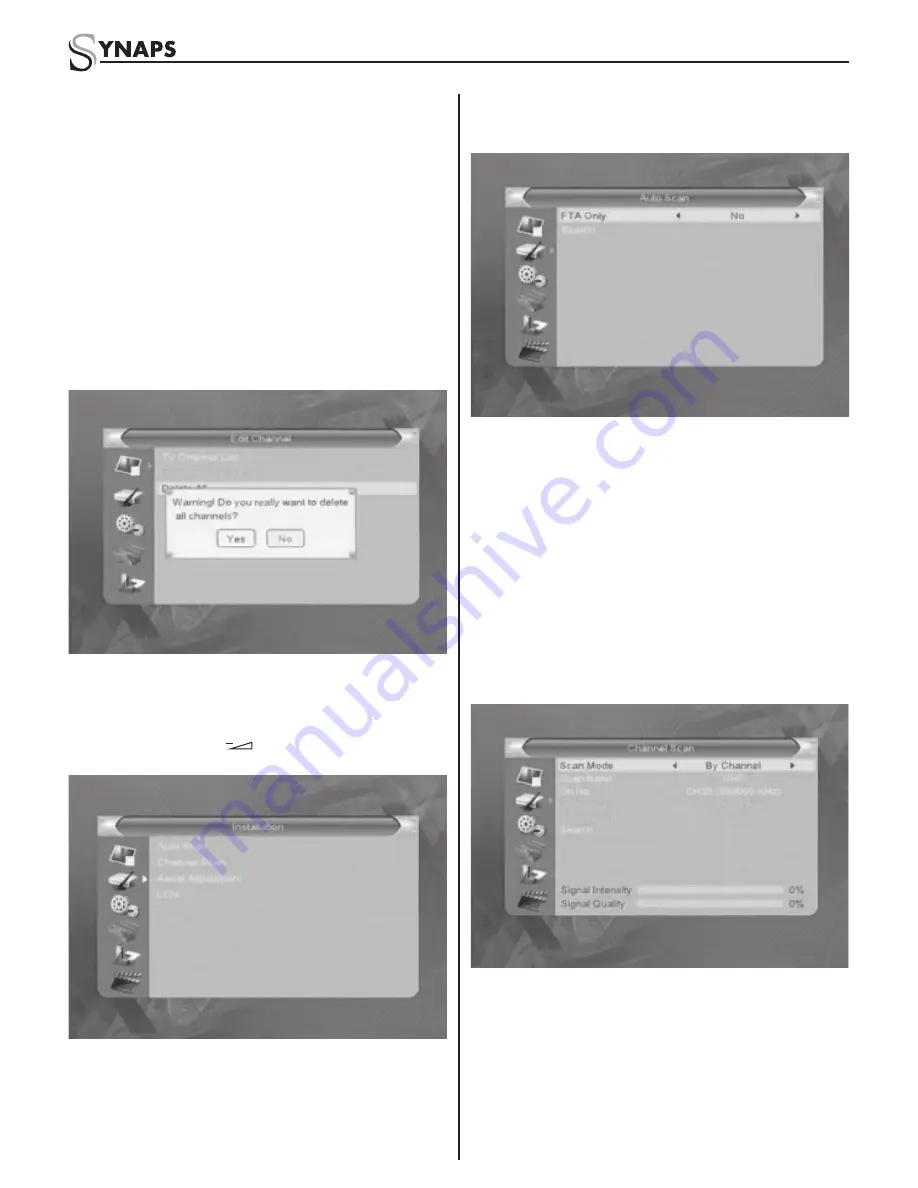
4.2.2 Channel Scan

When you enter Channel Scan, the screen will

display as beside.

There are two scan modes for you. You can choose 

to scan by channel or by frequency.

When scan band is UHF and region is “China”, the

range of Ch Number is from 13 to 61. When scan

band is VHF and region is “China”, the range of Ch

Number is from 1 to 12. (It’s according to region.)

When you complete your confi guration, move 

highlight to search option, and press [OK] key to start 

scanning.

Press [EXIT] key to exit the scanning and save the 

current parameters.

4.2.3 Aerial Adjustment

When you enter Antenna feeding, the screen will

display as beside.

In CH No. submenu, press [Left/Right] key to choose

the channel.

In Tuner Power submenu, press [Left/Right] key to

choose Off and On.

Summary of Contents for THD-2850

Page 1: ......

Page 2: ...al search Various channel editing functions favorite move lock rename and sort Parental control for channels Ease to use Menu System Software upgrades through USB port Time set by GMT offset automatic...

Page 3: ...ding the Problem Shooting or alternatively call your dealer or a customer service adviser 1 5 RCU Remote Control Unit Key Function Turns power ON OFF When watching a channel mute the sound 0 9 Enter n...

Page 4: ...select Region Display Mode Aspect Mode and language Press keys to move the cursor to choose your choice Move highlight to OK option and press OK key to enter Auto Scan menu Press EXIT key to exit thi...

Page 5: ...the origin position 3 Press red colour key to move the Lock button upward Select the program and press OK key to mark this program with the Lock mark You can cancel this mark by pressing OK key once...

Page 6: ...w colour key to switch between capital letter and lower case letter press red colour key to delete the character on the cursor press keys to move the cursor left or right press numeric keys 0 9 to inp...

Page 7: ...Scan menu the screen will display as below In FTA Only press Left Right key to choose Yes or No Move the highlight on the search option and press OK key to start scanning Press EXIT key to exit this...

Page 8: ...he customer 4 3 2 TV System Press PR PR key to move the cursor up or down while press keys to change the setting and the setting will take effect immediately 1 Video Resolution Select between 480i 480...

Page 9: ...n time Press MENU or EXIT key to save and exit 4 3 5 Parental Lock Before entering into the Parental Lock window you need input the correct password The default password is 0000 1 Menu Lock Press keys...

Page 10: ...ing When you choose the option of Load Factory Setting and press OK key there will be a dialogue for you to input the password The default password is 0000 If you input the correct password you will s...

Page 11: ...Select the upgrade mode and upgrade file then you can start upgrade by USB 3 Press OK key on start button to start receiving the data from USB device When the USB device is not connected this item is...

Page 12: ...ress FAV key to added it to the image list or you can press number key 1 to add all the images to image list Press yellow key and select the image button in the window you can see the iamge you select...

Page 13: ...tem will pop up a dialogue informing you the changing result 4 4 8 5 Maturity Rating Input the PIN then Move cursor to Select Maturity Rating you can select AOver18 X Erotic G General audience PG Pare...

Page 14: ...Select between TS and PS 4 Record Selection Select the USB partition 5 Standby after record Select between on and off 4 6 5 Jump Select among 30sec 1min 5min 10min and 30min 4 7 Hot Key 4 7 1 Number U...

Page 15: ...p Press PR PR keys to select the channel up or down Press OK key at the selected channel to view it in full screen Press MENU or EXIT key to exit 3 If there is no favorite channel system will inform N...

Page 16: ...program and press OK key to know the detail information of the current program 4 Press green colour key to enter into the Timer window You can add the current program to the Timer If 8 timers is alrea...

Page 17: ...er noise factor Change the antenna The picture is not displayed on the screen when switching on The system is connected by RF leads Check the UHF channel fixed in your system and tune the UHF channel...

Page 18: ...tiplexer MPEG2 ISO IEC 13818 1 Input Bit Rate Max 100Mbit s Audio Decoding Audio Decoding MPEG 1 layerI II PCM downmix IEC958 SPDIF Dolby 5 1 channel Dolby downmix 2 channel Dolby Prologic2 Sound Mode...

Page 19: ...19 THD 2850 2860 2880 NOTE...

Page 20: ......

Reviews: