Synaps THD-2850 User Manual Download Page 11

11

THD-2850/2860/2880

If no correct searching information, system will 

inform “Collecting information”. You can press 

Exit button to return to the previous window.

System will start upgrading after collecting 

information successfully. Press OK key at the 

Download button and press OK key at the Burnfl ash 

button to start burning. After booting, press OK key at 

the Reboot button to reboot.

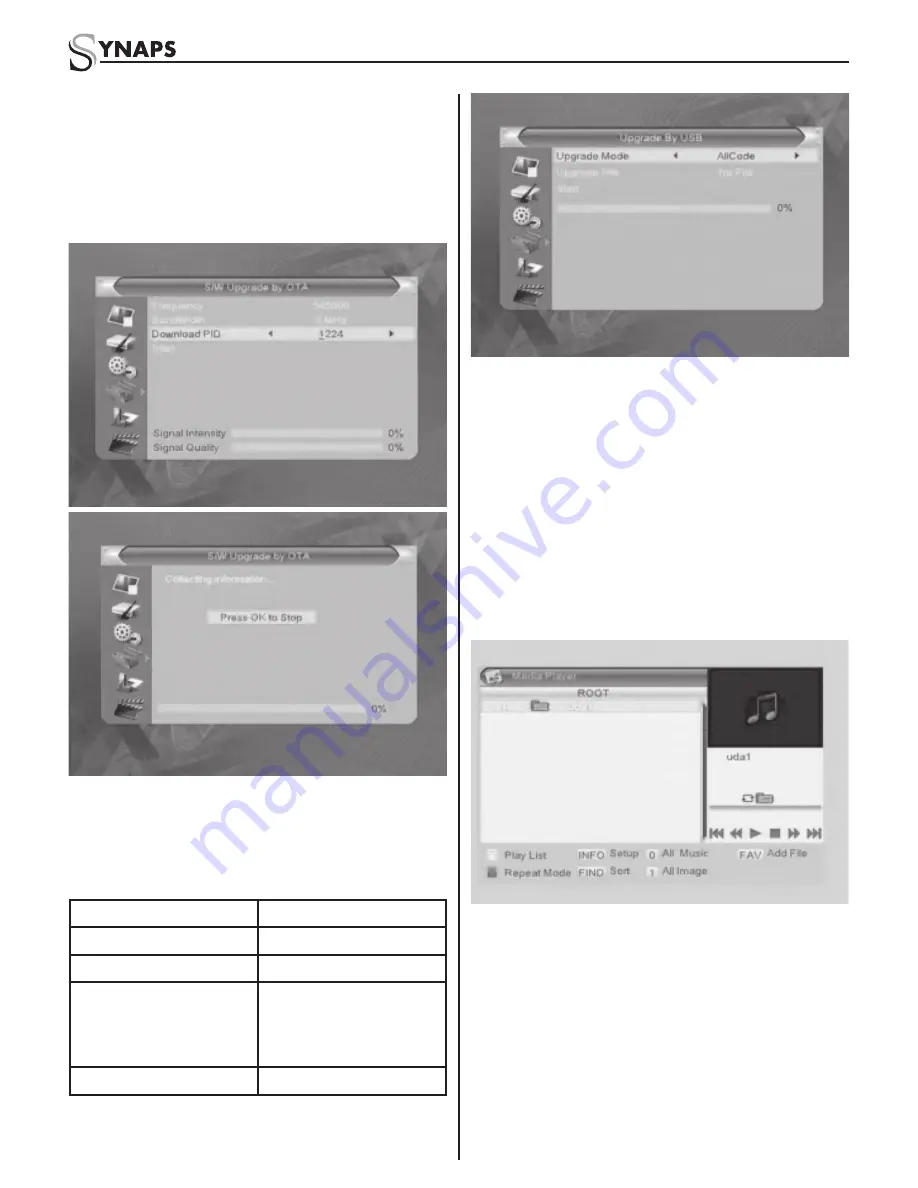
4.4.5 Upgrade by USB

1.  Upgrade File: Show the Upgrade File.

2.  Upgrade Mode: Select among AllCode, maincode, 

conaxca and radioback. When users switch the 

upgrade mode, “Upgrade File” will show the 

corresponding fi le according to the table below:

Upgrade Mode

File feature

All code:

File names as “*.abs”

Main Code:

File names as “*.abs”

Radio back:

File named as “*.abs”, 

the picture will be used 

as both radio back and

menu back

Default db:

File named as “*.abs”

Select the upgrade mode and upgrade fi le, then you 

can start upgrade by USB.

3.  Press OK key on start button to start receiving the 

data from USB device. When the USB device 

is not connected, this item is grey, you can not 

edit it now.

4.4.6 USB Device

USB Device menu will be automatically shown when

insert U disk to USB port except auto scan, multi 

picture, upgrade. Or open USB menu according to 

Menu -> Tools-> USB. Press OK to enter into this 

window.

USB Device menu will be disabled when no USB 

device is plugged. Media Play List will not be saved 

when USB plug out or standby or power off.

Move scroll bar when press up/down key, page up or 

down by page key. Go into sub-directory when press 

ok key in the fi le directory , play the selected fi le 

when scroll bar is on the fi le, automatic return USB 

menu after play is over.

Function Key

Yellow key: Press to show the Play List.

Blue key: Press to select the repeat mode.

1.  Press number key 0 to add all music to the Play 

List.

2.  Press number key 1 to add all images to the Play 

List.

Summary of Contents for THD-2850

Page 1: ......

Page 2: ...al search Various channel editing functions favorite move lock rename and sort Parental control for channels Ease to use Menu System Software upgrades through USB port Time set by GMT offset automatic...

Page 3: ...ding the Problem Shooting or alternatively call your dealer or a customer service adviser 1 5 RCU Remote Control Unit Key Function Turns power ON OFF When watching a channel mute the sound 0 9 Enter n...

Page 4: ...select Region Display Mode Aspect Mode and language Press keys to move the cursor to choose your choice Move highlight to OK option and press OK key to enter Auto Scan menu Press EXIT key to exit thi...

Page 5: ...the origin position 3 Press red colour key to move the Lock button upward Select the program and press OK key to mark this program with the Lock mark You can cancel this mark by pressing OK key once...

Page 6: ...w colour key to switch between capital letter and lower case letter press red colour key to delete the character on the cursor press keys to move the cursor left or right press numeric keys 0 9 to inp...

Page 7: ...Scan menu the screen will display as below In FTA Only press Left Right key to choose Yes or No Move the highlight on the search option and press OK key to start scanning Press EXIT key to exit this...

Page 8: ...he customer 4 3 2 TV System Press PR PR key to move the cursor up or down while press keys to change the setting and the setting will take effect immediately 1 Video Resolution Select between 480i 480...

Page 9: ...n time Press MENU or EXIT key to save and exit 4 3 5 Parental Lock Before entering into the Parental Lock window you need input the correct password The default password is 0000 1 Menu Lock Press keys...

Page 10: ...ing When you choose the option of Load Factory Setting and press OK key there will be a dialogue for you to input the password The default password is 0000 If you input the correct password you will s...

Page 11: ...Select the upgrade mode and upgrade file then you can start upgrade by USB 3 Press OK key on start button to start receiving the data from USB device When the USB device is not connected this item is...

Page 12: ...ress FAV key to added it to the image list or you can press number key 1 to add all the images to image list Press yellow key and select the image button in the window you can see the iamge you select...

Page 13: ...tem will pop up a dialogue informing you the changing result 4 4 8 5 Maturity Rating Input the PIN then Move cursor to Select Maturity Rating you can select AOver18 X Erotic G General audience PG Pare...

Page 14: ...Select between TS and PS 4 Record Selection Select the USB partition 5 Standby after record Select between on and off 4 6 5 Jump Select among 30sec 1min 5min 10min and 30min 4 7 Hot Key 4 7 1 Number U...

Page 15: ...p Press PR PR keys to select the channel up or down Press OK key at the selected channel to view it in full screen Press MENU or EXIT key to exit 3 If there is no favorite channel system will inform N...

Page 16: ...program and press OK key to know the detail information of the current program 4 Press green colour key to enter into the Timer window You can add the current program to the Timer If 8 timers is alrea...

Page 17: ...er noise factor Change the antenna The picture is not displayed on the screen when switching on The system is connected by RF leads Check the UHF channel fixed in your system and tune the UHF channel...

Page 18: ...tiplexer MPEG2 ISO IEC 13818 1 Input Bit Rate Max 100Mbit s Audio Decoding Audio Decoding MPEG 1 layerI II PCM downmix IEC958 SPDIF Dolby 5 1 channel Dolby downmix 2 channel Dolby Prologic2 Sound Mode...

Page 19: ...19 THD 2850 2860 2880 NOTE...

Page 20: ......

Reviews: