background image


8

Troubleshooting your DVI monitor connection 

Caution! 

Turn off your computer before connecting this monitor. 


If your monitor is connected to your computer with the DVI cable, but no image appears on the screen: 

  The cable plugs may be damaged or connected incorrectly. Check both ends of the power cable 

and DVI cable, and make sure that there are not bent pins and that the cables are securely 
connected to the monitor, power outlet, and computer.


  If the monitor’s power LED is not blue, the monitor is not turned on. To turn the monitor on, press 

the monitor power button.


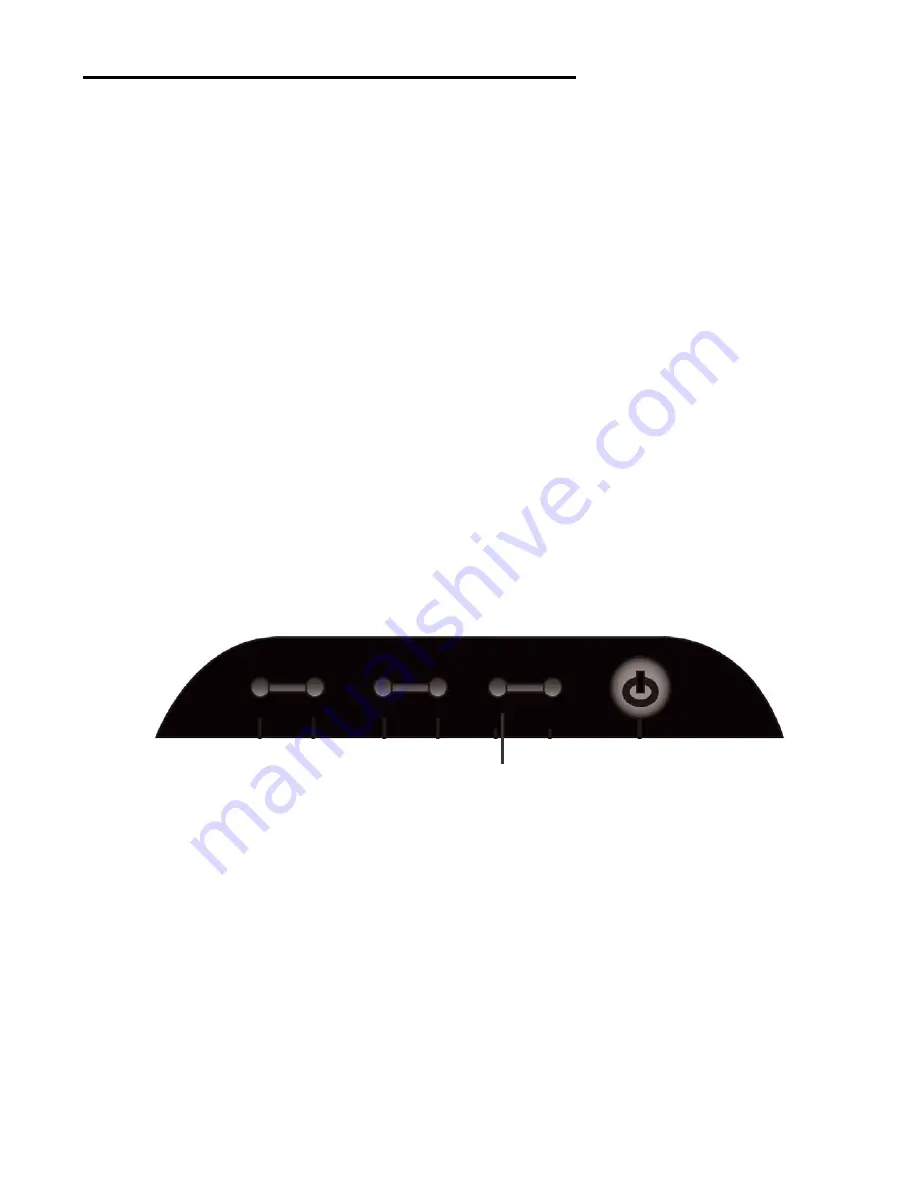
  If there is still no signal, an invalid video input may have been selected. To select DVI Input mode, 

press the 

DOWN

 button located on the front of the monitor and select DIGITAL INPUT.


  The video card in your computer may have two types of connectors: VGA and DVI (Digital Visual 

Interface). Many cards have both types of connectors. Plug the monitor cable into the appropriate 
port and tighten the thumbscrews to secure it. Some cards simply give you a choice of connectors, 
while others can run both DVI and VGA monitor at the same time. Read the video card’s 
documentation to find out your model’s capabilities. This monitor has both DVI and VGA inputs, 
use the DVI port (and a DVI cable) –it will provide more accurate color and a sharper image. You 
may have to switch your video card from VGA to DVI.


  If you do not receive a DVI signal, try disconnecting the VGA cable as your video card may not 

allow both cable types to be connected simultaneously.


DOWN


Important!


If you unplug the monitor while using DVI input, you may need to repeat these troubleshooting steps.


Summary of Contents for 11010230Y3

Page 1: ...in widescreen LCD Monitor Item Number 11010230Y3 Installation User s Manual All brand names and trademarks are the property of their respective owners Important Notice Please read this manual careful...

Page 2: ...tup 4 Hardware Installation 5 Menu Control Buttons 6 On Screen Display OSD Menu Mode 7 Troubleshooting your DVI monitor connection 8 Display Modes 9 Specifications 10 Troubleshooting 11 Maintenance 12...

Page 3: ...an extended period of time 6 Do not attempt to service this product yourself as opening or removing the cover may expose you to potential electric shock Only a qualified technician should service thi...

Page 4: ...AC Adaptor 100 240V 50 60Hz Hardware Setup Handle the LCD monitor with care Turn off the monitor s and computer s power before beginning setup Follow the installation instructions step by step Input c...

Page 5: ...graphics card or computer manual for more information 1 Carefully position your LCD monitor so that you can see all of the connection ports on the bottom of the monitor 2 A Plug one end of the 15 pin...

Page 6: ...wn left through the menu option selection 2 When not in the OSD Menu changes the signal source to from VGA DVI 6 UP 1 To navigate up right through the menu option selection 2 When not in the OSD Menu...

Page 7: ...Selects the 7 different display languages of the OSD Menu OSD DISPLAY Adjusts the horizontal and vertical position of the menu VGA DVI Selects the Video source as either VGA or DVI AUDIO Increases or...

Page 8: ...f the monitor and select DIGITAL INPUT The video card in your computer may have two types of connectors VGA and DVI Digital Visual Interface Many cards have both types of connectors Plug the monitor c...

Page 9: ...y Properties 1 Set the resolution Right click on the Windows desktop choose Properties choose Settings and set the resolution 2 Set the refresh rate See your graphic card s user guide for instructions...

Page 10: ...Digital DVI D sub 15 pin Stereo Phone Jack External Universal AC Adaptor DVI 24 pin Power Voltage Consumption Power saving mode 100 240V 50 60Hz universal via external power supply Active 60Watt Max...

Page 11: ...of power 4 No Signal Input A Check the signal connection between the computer and LCD monitor 5 Fuzzy image A Adjust the Phase through the OSD menu 6 Image too bright Image too dark A Adjust the Brig...

Page 12: ...or these chemicals can damage the LCD monitor 5 Screen To clean your LCD monitor screen or case use water or a mild cleaner as listed above Moisten a soft clean cloth or if possible use a special scre...

Page 13: ...e will not occur in television reception which can be determined by turning the equipment on and off Interference may be corrected by one or more of the following measures Reorient or relocate the rec...

Page 14: ...adapter in the original carton to the address below Include a copy of the original receipt for proof of purchase within 3 years Write the RA number on the outside of the package Packages without RA nu...

Page 15: ...costs such as lost profits or revenues cost of temporary replacements loss of data loss of equipment or use of equipment or any claims by third parties Beyond the retailer return policy please call t...

Reviews: