– 22 –
EN
1L25
BASIC PLAYBACK
Getting started
¡
Turn on the power of the TV, amplifier and any other
components which are connected to the DVD.
¡
Make sure the TV and audio receiver (commercially
available) are set to the correct channel.
¡
Select DVD mode by pressing DVD on the remote
control or OUTPUT on the front panel.
1
Press POWER.
2
Press OPEN/CLOSE to open disc loading
tray.
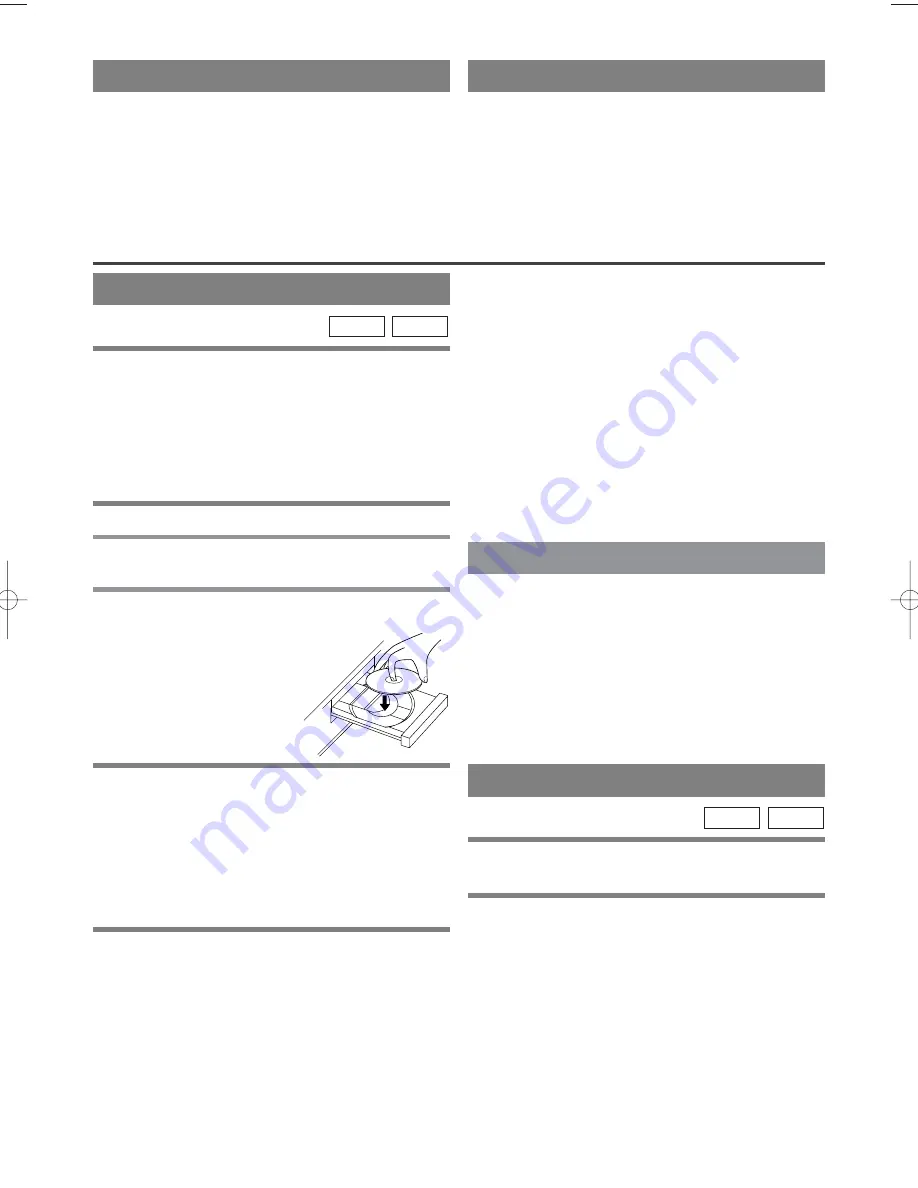
3
Place the chosen disc in the tray, with the
label facing up.
CD
DVD-V
Notes
¡
A “prohibited icon” may appear at the top-right on
the TV screen during operation, warning that a pro-
hibited operation has been encountered by the DVD
or the disc.
¡
With DVDs that use titles for playback program sig-
nals, playback may start from the second title, or it
may skip these titles.
¡
During the playback of a two layered disc, pictures
may stop for a moment. This happens when the 1st
layer switches to the 2nd layer. This is not a mal-
function.
PLAYING A DISC
4
Press PLAY.
¡
The tray will close automatically, and playback will
then start from the first chapter or track of the disc.
If the playback does not start automatically, press
PLAY.
¡
When you playback the DVD which a title menu is
recorded, it may appear on the screen. In this case,
refer to “TITLE MENU” on page 23.
5
Press STOP to stop playback.
GENERAL FEATURES
DVD may contain menus to navigate the disc and
access special features. Press the appropriate Number
buttons or use Arrow (
L
/
K
/
s
/
B
) to highlight your
selection in the DVD main menu and press ENTER to
confirm.
Note
¡
Unless stated, all operations described are based on
remote control use. Some operations can be carried
out using the menu bar on the TV screen.
PAUSE
1
During playback, press PAUSE.
¡
Playback will pause and sound will be muted.
2
To continue playback, press PLAY.
CD
DVD-V
AUTO REWIND
When a tape reaches the end during recording, play-
back, or fast-forward, the tape will automatically
rewind to the beginning. After rewinding finishes, the
VCR will eject the tape and switch itself off.
¡
The VCR will not rewind the tape automatically dur-
ing timer recording or One Touch Recording.
REAL TIME TAPE COUNTER
¡
This shows the elapsed recording or playback time
in hours, minutes, and seconds. (The displayed time
will not change during blank portions of the tape.)
¡
The indication will appear when the tape is rewound
further than “0:00:00” on the tape counter.
H94A3UD.QX3 03.8.20 11:43 AM Page 22


