background image

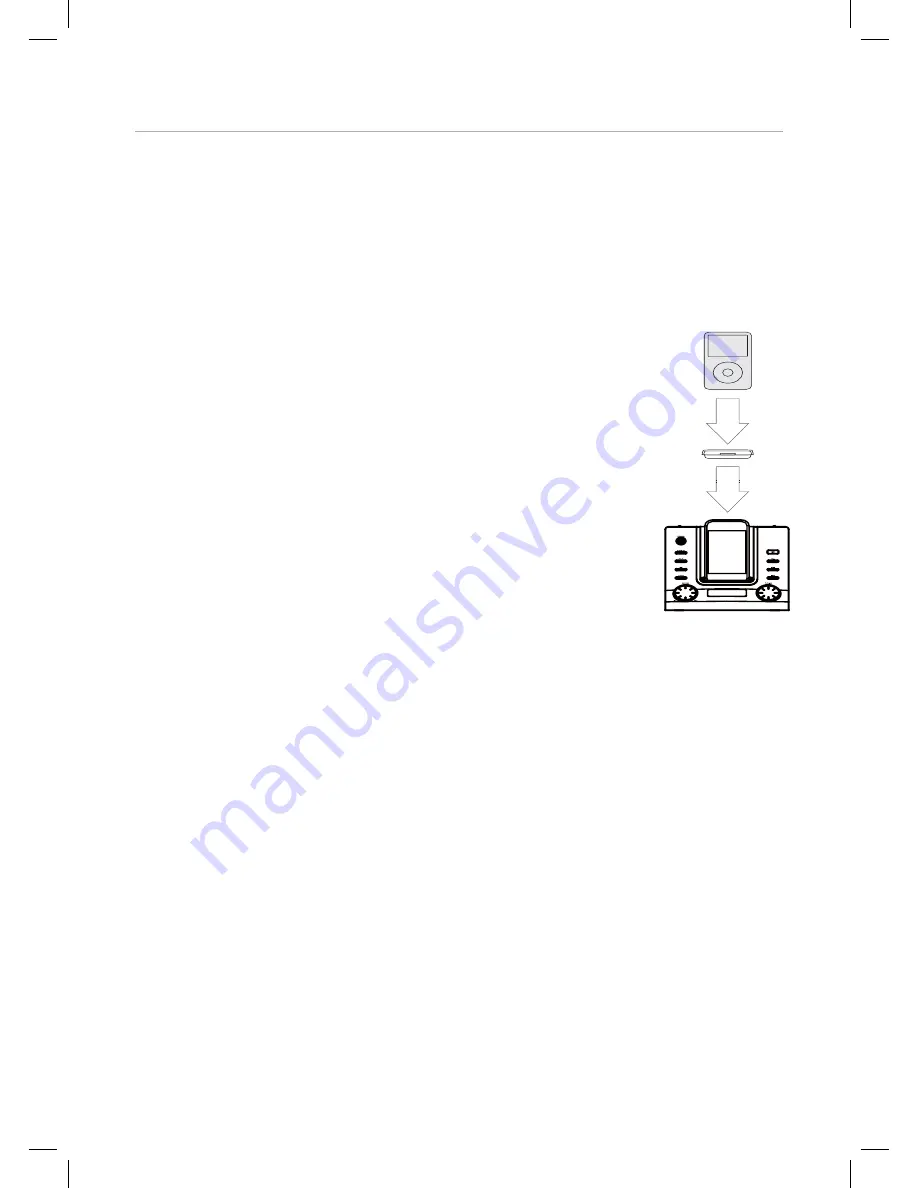
Docking an iPod

1. Select the correct iPod adapter as the table below to matching your iPod.

iPod Adapter #8 - iPod Nano (1st Gen, 2nd Gen, 4th Gen)
iPod Adapter #10 - iPod (4th Gen, 5th Gen (Video), iPod Classic)
iPod Adapter #13 - iPod Nano (3rd Gen)
iPod Adapter #14 - iPod Touch (1st Gen, 2nd Gen)

2. Insert the selected iPod adaptor to the docking on the unit then insert the iPod to 
the docking as the figure on the right.

3. Slide the RADIO/iPod/AUX IN Selector to iPod position

4. Power on the unit as previous procedures. The unit will start 
playback the music in the connected iPod automatically.

5. Turn the VOLUME Knob to adjust volume.

6. During playback:
A. Press the Play/Pause Button on the unit or Remote Control 
to pause, press again to resume normal playback.
B. Press the Skip/Shearing Button repeatedly to skip tracks 
as desire.
C.  Press and hold the Skip/Searching Button to fast searching the specify 
section as desire.
D. Press the Stop Button on Remote Control to stop playback.
E. Press the REPEAT Button on the remote Control to set the repeat mode to Repeat 
One (play the current track repeatedly) or Repeat All (play all the tracks in the 
iPod repeatedly.) as desire. The correspondence icon will appear on the iPod's screen.
F. Press the SHUFFLE Button on the Remote Control to turn the random playback 
mode ON or OFF. The correspondence icon will appear or disappear on the iPod's screen.
G. Press the C or - Buttons on the Remote Control repeatedly to select the 
pervious/next chapter as desire.
H. Press the PLAY LIST Buttons on the Remote Control repeatedly to select the 
pervious/next play list as desire. 
I. Press the ALBUM Buttons on the Remote Control repeatedly to select the 
pervious/next album as desire.
J. Press the MENU Button on the Remote Control to return to pervious menu as press 
the MENU Button on the iPod.
K. Press the direction buttons on the Remote Control to moving the cursor on 
the iPod's menu.
L. Press the SELECT Button on the Remote Control to confirm your selection as 
press the center Button on the iPod.


10

Summary of Contents for IMODE SIP3050

Page 1: ...PLEASE READ BEFORE OPERATING THIS EQUIPMENT MODEL NO SIP3050 MICRO SYSTEM DOCKING STATION FOR iPOD INSTRUCTION MANUAL SERIES iMode...

Page 2: ...covered under warranty for this product INFORMATION This equipment has been tested and found to comply with the limits for a Class B digital device pursuant to Part 15 of the FCC Rules These limits ar...

Page 3: ...he provided plug does not fit into your outlet consult an electrician for replacement of the obsolete outlet 10 Protect the power cord from being walked on or pinched particularly at plugs convenience...

Page 4: ...ge requiring service Unplug this product from the wall outlet and refer service to qualified service personnel under the following conditions a When the power supply cord or plug is dam aged b If liqu...

Page 5: ...does not fit into your outlet you should contact a qualified licensed electrician to replace your obsolete outlet AC Plug AC Outlet Protect Your Furniture This model is equipped with non skid rubber...

Page 6: ...the correct polarity when installing the battery as indicated in the battery compartment A reversed battery may cause damage to the device 3 Do not mix different types of batteries together e g Alkal...

Page 7: ...Locations of Controls 6 SPEAKERS AUX IN R L AC 17 16 15 22 23 24 25 26 27 21 28 29 31 30 32 19 20...

Page 8: ...to turn on the radio Slide to iPod to playback the music from the connected iPod Slide to AUX to playback the music from the connected external audio device via AUX IN Jack 9 Band Switch Slide to AM...

Page 9: ...on Dynamic Bass Boost System 22 STANDBY Button 23 MENU Button 24 Skip Search Buttons 25 REPEAT Button 26 CHAPTER Buttons 27 PLAYLIST Buttons 28 Play Pause Button 29 Stop Button 30 SELECT Button 31 SHU...

Page 10: ...io Player using the AUX IN Jack 1 Insert one side of the 3 5mm audio connection cable not included to the AUX IN Jack on the rear of unit 2 Insert the other side of the connection cable to the Phones...

Page 11: ...ess the Stop Button on Remote Control to stop playback E Press the REPEAT Button on the remote Control to set the repeat mode to Repeat One play the current track repeatedly or Repeat All play all the...

Page 12: ...ontrol 1 x CR 2032 button cell included Specifications are subject to change without notice 11 NOTES ON CLEANING Use a soft dry cloth for cleaning For stubborn dirt soak the cloth in a weak detergent...

Page 13: ...der any Sale of Goods Act or like legislation or statue is hereby expressly excluded Save as herein provided C I Service Dept Canada or C I Service Dept USA shall not be responsible for any damages to...

Reviews: