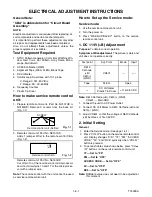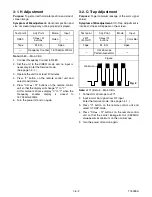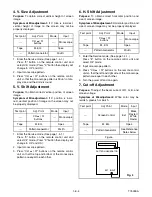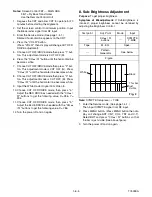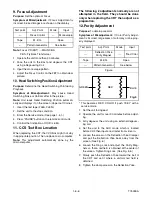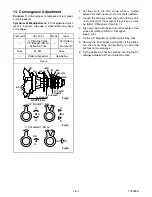
1-6-3
T7500EA
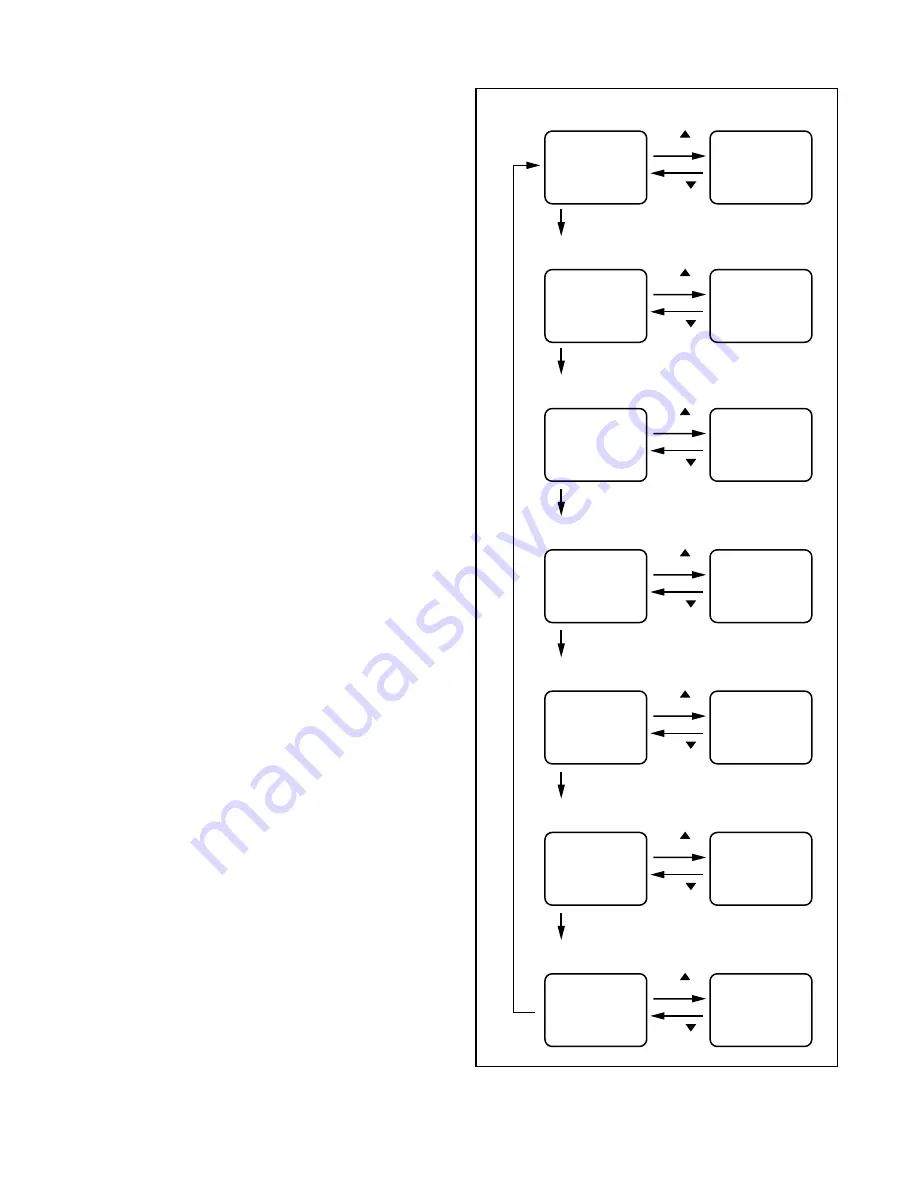
3-3. Y DL Time TV/Y DL Time EXT/
Y SW LPF/Black Stretch Off/
Black Stretch CONT/C. Angle
Adjustment
Purpose:
To get minimum leakage of the color signal
carrier.
Symptom of Misadjustment:
If Y DL Time Adjust-
ment is incorrect, stripes will appear on the screen.
1. Enter the Service mode. (See page 1-4-1.)
2.
Y DL Time TV Adjustment:
Press "0" button on
the service remote control unit twice to show "D-T
TV" on the display.
Y DL Time EXT Adjustment:
Press "0" button on
the service remote control unit three times to show
"D-T EXT" on the display.
Y SW LPF Adjustment:
Press "0" button on the
service remote control unit four times to show "Y
SW" on the display.
Black Stretch Off Adjustment:
Press "0" button
on the service remote control unit five times to
show "B-S" on the display.
Black Stretch CONT Adjustment:
Press "0" but-
ton on the service remote control unit six times to
show "BS2" on the display.
C. Angle Adjustment:
Press "0" button on the ser-
vice remote control unit seven times to show "C-
ANG" on the display.
3.
Y DL Time TV Adjustment:
Select "2" by pressing
"CH
o
/
p
" buttons on the service remote control.
Y DL Time EXT Adjustment:
Select "2" by press-
ing "CH
o
/
p
" buttons on the service remote con-
trol.
Y SW LPF Adjustment:
Select "1" by pressing
"CH
o
/
p
" buttons on the service remote control.
Black Stretch Off Adjustment:
Select "OFF" by
pressing "CH
o
/
p
" buttons on the service remote
control.
Black Stretch CONT Adjustment:
Select "0" by
pressing "CH
o
/
p
" buttons on the service remote
control.
C. Angle Adjustment:
Select "103" by pressing
"CH
o
/
p
" buttons on the service remote control.
"0"
button
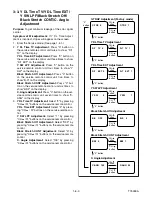
C-TRAP Adjustment (Factory mode)
CH
button
C-TRP 0
C-TRP 1
button
CH
Y DL Time TV Adjustment
CH
button
D-T TV 0
D-T TV 1
button
CH
"0" button
Y DL Time EXT Adjustment
CH
button
D-T EXT 0
D-T EXT 1
button
CH
"0" button
Y SW LPF Adjustment
"0" button
CH
button
Y SW
button
CH
0
Y SW
"0" button
1
Black Stretch Off Adjustment
CH
button
B-S OFF
button
CH
B-S 0
Black Stretch CONT Adjustment
CH
button
BS2 0
button
CH
"0" button
BS2 1
C. Angle Adjustment
CH
button
C-ANG 103
button
CH
"0" button
C-ANG 95

