


- 13 -
EN
9I03
1
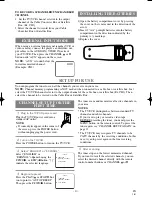
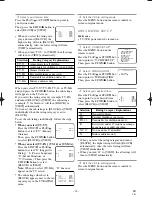
Select “CHANNEL SET UP”
Press the MENU button on the
remote control.
Press the PLAY/
K
or STOP/
L
but-
ton to point to “CHANNEL SET
UP”.
Then, press the F.FWD/
B
button.
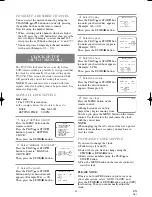
2
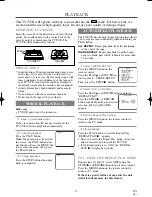
Select “ADD/DELETE CH”
Press the PLAY/
K
or STOP/
L
but-
ton to point to “ADD/DELETE
CH”.
Press the F.FWD/
B
button.
3
Enter the desired channel number
Press the PLAY/
K
or STOP/
L
but-
ton until your desired channel num-
ber appears. (You can also use the
number buttons or the CHANNEL
K
/
L
button to enter it) (Example:
CH8)
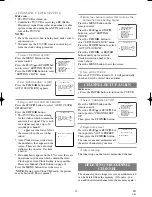
4
Delete (or add) it from (into) memory
Press the F.FWD/
B
or REW/
s
button. The channel
number changes to light red. The channel is deleted
from memory.
•
To delete another channel, repeat steps [3] and [4].
•
If you press the F.FWD/
B
or REW/
s
button
again, the channel is memorized again.
5
Exit the channel setup mode
Press the MENU button on the remote control to
returns to TV mode.
NOTE:
To confirm that channel(s) has been deleted
or added, press the CHANNEL
K
or
L
button.
Added channel: Light blue.
Deleted channel: Light red.
SELECTING THE LANGUAGE
Make sure ...
•
Press the POWER button to turn on the TV/VCR.
NOTE:
This function effects only the language on
the screen menu and not the audio source.
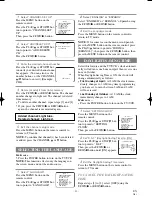
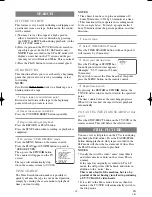
1
Select “LANGUAGE”
Press the MENU button on the
remote control.
Press the PLAY/
K
or STOP/
L
but-
ton to point to “LANGUAGE”.
NOTE:
If for some reason the menu is in Spanish,
press the MENU button on the remote control, press
the PLAY/
K
button to point to “IDIOMA
[ESPAÑOL]”, then press the F.FWD/
B
button, then
press the MENU button on the remote control.
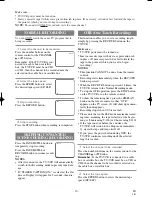
– M E N U –
TIMER PROGRAMMING
PICTURE CONTROL
SETTING CLOCK
CHANNEL SET UP
USER’S SET UP
V-CHIP SET UP
B
LANGUAGE [ENGLISH]
CAPTION [OFF]
ZERO RETURN
TIME SEARCH
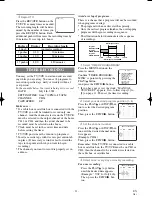
– M E N U –
TIMER PROGRAMMING
PICTURE CONTROL
SETTING CLOCK
B
CHANNEL SET UP
USER’S SET UP
V-CHIP SET UP
LANGUAGE [ENGLISH]
CAPTION [OFF]
ZERO RETURN
TIME SEARCH
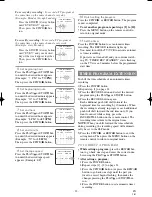
– CHANNEL SET UP –
B
ADD / DELETE CH (TV)
AUTO PRESET
08
ADD / DELETE
DAYLIGHT-SAVING TIME
Select this feature and the TV/VCR’s clock automati-
cally will advance one hour in April, then reverse one
hour in October.
When Daylight-Saving Time is ON, the clock will
change automatically as follows:
•
First Sunday of April :
At 2 AM the clock imme-
diately changes to 3 AM. Any timer programming
you have set to occur between 2 AM and 3 AM
will not record.
•
Last Sunday of October :
At 2 AM the clock
immediately changes to 1 AM.
Make sure ...
•
Press the POWER button to turn on the TV/VCR.
1
Select “SETTING CLOCK”
Press the MENU button on the
remote control.
Press the PLAY/
K
or STOP/
L
but-
ton to point to “SETTING
CLOCK”.
Then, press the F.FWD/
B
button.
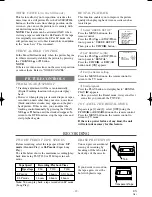
2
Set “D.S.T.” (Daylight-Saving Time) to [ON]
Press the PLAY/
K
or STOP/
L
but-
ton to point to “D.S.T.”.
Then, press the F.FWD/
B
or
REW/
s
button until [ON] appears.
3
Exit the Daylight-Saving Time mode
Press the MENU button on the remote control to
return to TV mode.
TO CANCEL THE DAYLIGHT-SAVING
TIME
Repeat steps [1] to [2], select [OFF] using the
F.FWD/
B
or REW/
s
button.
– M E N U –
TIMER PROGRAMMING
PICTURE CONTROL
B
SETTING CLOCK
CHANNEL SET UP
USER’S SET UP
V-CHIP SET UP
LANGUAGE [ENGLISH]
CAPTION [OFF]
ZERO RETURN
TIME SEARCH
2
Select “ENGLISH” or “ESPAÑOL”
Select “ENGLISH” or “ESPAÑOL”= Spanish using
the F.FWD/
B
or REW/
s
button.
3
Exit the Language mode
Press the MENU button on the remote control to
return to TV mode.
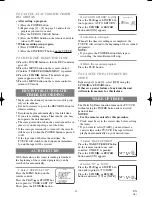
– SETTING CLOCK –
AUTO CLOCK
[ON]
AUTO CLOCK CH SEARCH
AUTO CLOCK CH
[ 02 ]
MANUAL CLOCK SET
B
D.S.T.
[ON]
T5401/7401UB.QX33 02.12.13 11:08 AM Page 13