background image


3 System Setup 

3.1 Hard Drive Assembly 


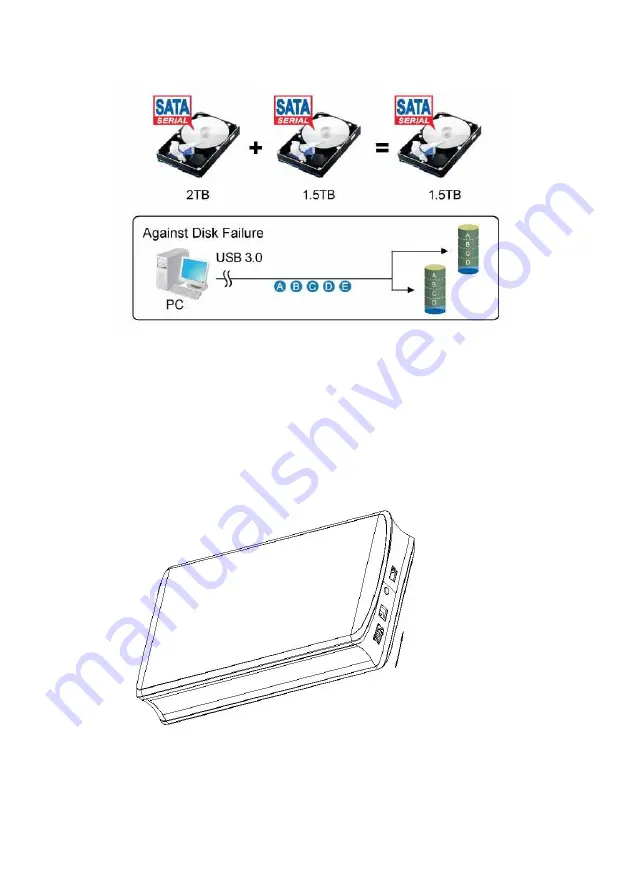
The  drives  can  be  installed  at  any  position,  there  is  no  specific  order 

required. 


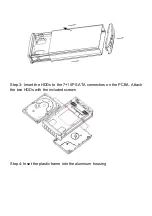
Step 1: Unlock the switch at 

the rear cover

 and open it. 


Step 2: Pull out the plastic frame from the aluminum-shell 

Summary of Contents for SY-ENC25042

Page 1: ...Support with USB3 0 high speed reach up to 5 0Gbps Supports plug and play Support mode select by RAID switch 1 2 Specifications Inner Interface SATA Outer Interface USB3 0 Date Transfer rate Support U...

Page 2: ...AM Mac OS 10 6 and above Active USB port Supported Hard Drives One or two 2 5 SATA I II III hard drives capacity up to 2TB X2 Hard drives of identical capacities are recommended Supports large volumes...

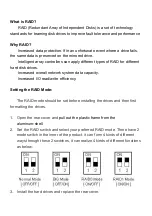
Page 3: ...disk drives Increased overall network system data capacity Increased I O read write efficiency Setting the RAID Mode The RAID mode should be set before installing the drives and then first formatting...

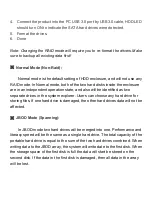
Page 4: ...ll be identified as two separate drives in the system explorer Users can choose any hard drive for storing files If one hard drive is damaged the other hard drives data will not be affected JBOD Mode...

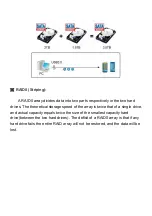
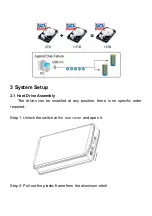
Page 5: ...retical storage speed of the array is twice that of a single drive and actual capacity equals twice the size of the smallest capacity hard drive between the two hard drives The deficit of a RAID0 arra...

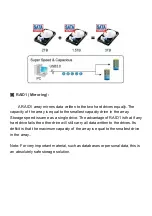
Page 6: ...rage speed is same as a single drive The advantage of RAID1 is that if any hard drive fails the other drive will still carry all data written to the drives Its deficit is that the maximum capacity of...

Page 7: ...1 Hard Drive Assembly The drives can be installed at any position there is no specific order required Step 1 Unlock the switch at the rear cover and open it Step 2 Pull out the plastic frame from the...

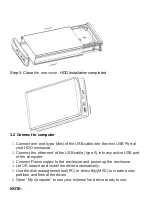
Page 8: ...Step 3 Insert the HDDs to the 7 15P SATA connectors on the PCBA Attach the two HDDs with the included screws Step 4 Inset the plastic frame into the aluminum housing...

Page 9: ...nect the other end of the USB cable type A into any active USB port of the computer 3 Connect Power supply to the enclosure and power up the enclosure 4 Let OS search and install the driver automatica...

Page 10: ...array without re formatting it When adding additional drivers at a later point they will only be detected after the device has been restarted and the drivers have been re formatted 3 3 Files Backup A...

Page 11: ...ous drive the HDD LED will display as above and the rebuild process can not be completed 3 For RAID 0 and JBOD restart the system and then format the drives again 4 For Non RAID Normal Mode simply for...

Page 12: ...s limited to 4GB Q How many drives can fail before I loose my data A For RAID 0 and JBOD any drive failure will result in the data being lost For RAID 1 more than one drive failure at the same time wi...

Reviews: