


4. Menu Operation
Press “MENU” and it will display menu system
Revolve “OK” to select an item. The selected item will be highlighted display.
Press “OK” to enter the selected item.
Under menu system, press “MENU” to back to previous menu.
The menu will automatically save and quit if it remains idle.
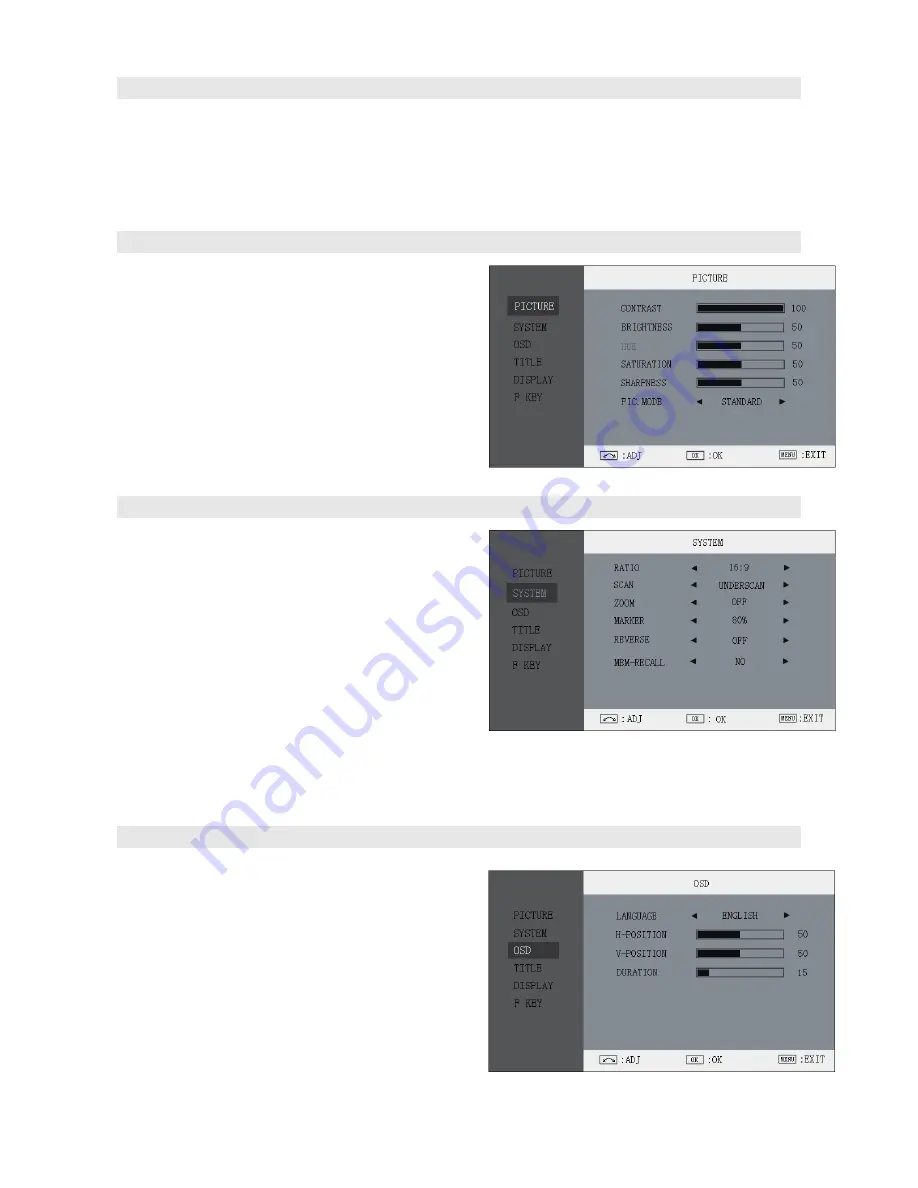
5. Picture Settings Submenu
The Picture Settings Submenu includes:
(1)
CONTRAST:
0-100 value adjustment
(2)
BRIGHTNESS:
0-100 value adjustment
(3)
HUE:
0-100 value adjustment
(Only available under Composite input)
(4)
SATURATION:
0-100 value adjustment
(5)
SHARPNESS:
0-100 value adjustment
(6)
PIC.MODE:
User defined and preset picture
modes: standard, soft and vivid selection
6. System Config Submenu
The System Config Submenu includes:
(1)
RATIO:
Select “16:9” or “4:3” to adjust the aspect
ratio.
(2)
SCAN:
“UNDERSCAN” and “OVERSCAN”
selection.
(3)
ZOOM:
“OFF”, “ZOOM1” and “ZOOM2” selection.
ZOOM1: Canon DSLR scale zoom-in
ZOOM2: Pixel to Pixel zoom-in.
(4)
MARKER:
Select and set the safety mark scale
from 80%, 85%, 90% and 95%.
(5)
REVERSE:
Select “YES” to rotate the image of 180
°
(6)
MEM.RECALL:
Revolve “OK” to MEM.RECALL and press to reset all to factory setting.
7. OSD Settings Submenu
The OSD Settings Submenu include
(1)
LANGUAGE:
Menu language English / Chinese
selection
(2)
H-POSITION:
Menu horizontal position (0-100)
adjustment, real-time preview and default value: 50,
center.
(3)
V-POSITION:
Menu vertical position (0-100)
adjustment, real-time preview and default value: 50,
center.
(4)
DURATION:
Menu timeout setting.
Set a time (in seconds) in which the menu will automatically quit if remains idle. Default: 10 seconds;


