5
7
Packing directions
7.1
Laying out and untangling the reserve chute
The reserve should ideally be packed on a special packing table. If none is available, a clean flat
surface can be used.
The reserve chute is stretched out to its full length on the packing table or other suitable surface.
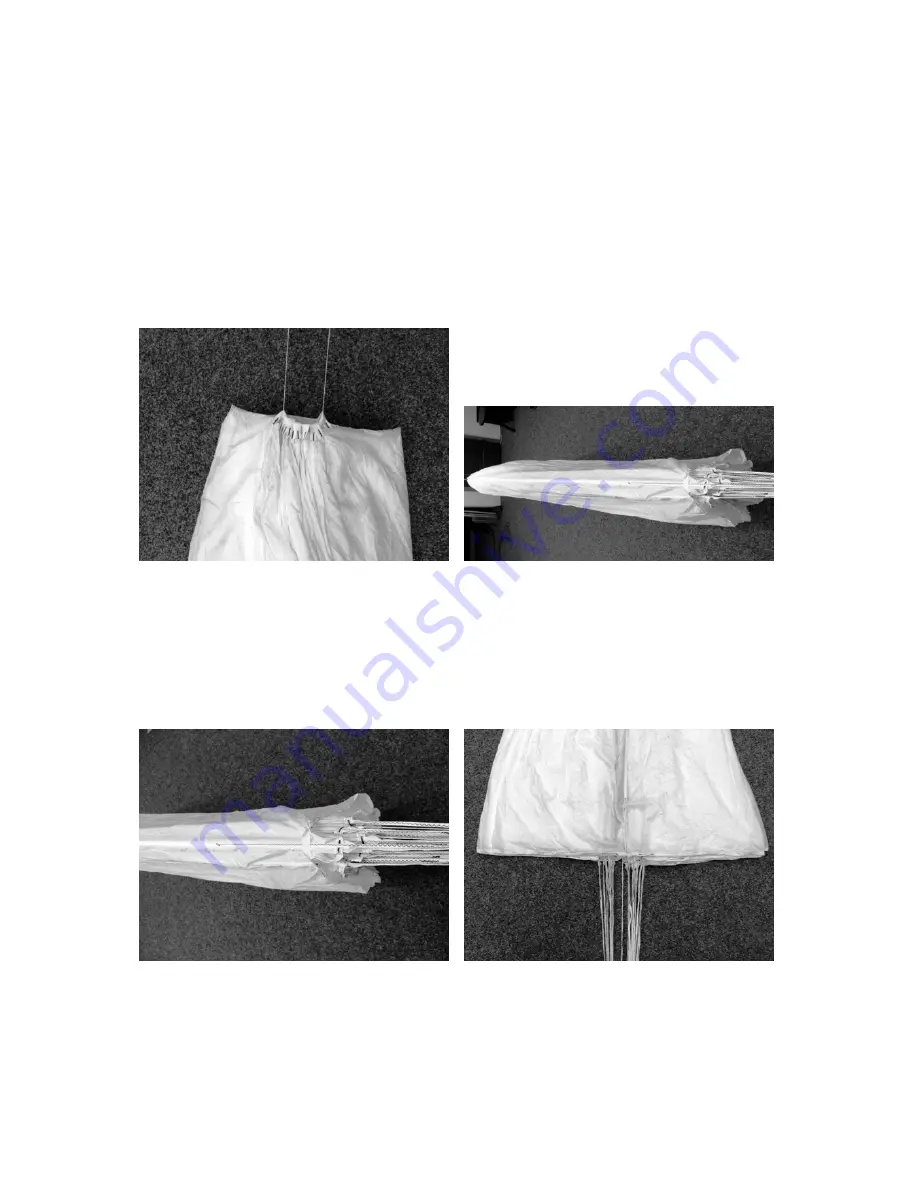
A temporary line is then inserted through the packing loops and attached to the top end of the packing
table. (Fig. 1).
The bridle is attached to the other end of the packing table, and the chute is stretched tight. The
reserve lines are checked to ensure that they are straight. Pick up lines 1 and 20 and check them
along their length to the bridle. Any tangles are removed. (Fig. 2)
Fig. 1
Fig. 2
7.2
Laying out the panels
Take hold of panel 1 and count out half of the total number of panels, i.e. 10 panels, and put to one
side the bundle of suspension lines thus separated (Fig. 3).
Now panels 1-10 are on the right-hand side and panels 11-20 are on the left-hand side. Beginning
with panel 10, now start to lay out the panels. To do this, take hold of panel 10 and pull it towards
you, and then put each panel, one by one, on top of each other, going from panel 10-1 (Fig. 4).
Fig. 3
Fig. 4
If a special line ‘comb’ is being used, this is now the time to ‘comb’ the lines, from the top down.
The canopy is now arranged so that the panel with the stamp (in this case panel 20) is on the top
left (Fig. 4).
The apex, which is held with the packing loops, is then straightened.


