


English version
11
Connecting the computer to the wireless network
In the bottom left of your screen, go to “Start” “Control Panel”.
Then go to “Network and Internet Connections”.
Open “Network Connections”.
Or, if the Windows classic style is used:
“Start” “Settings” “Network Connections”.
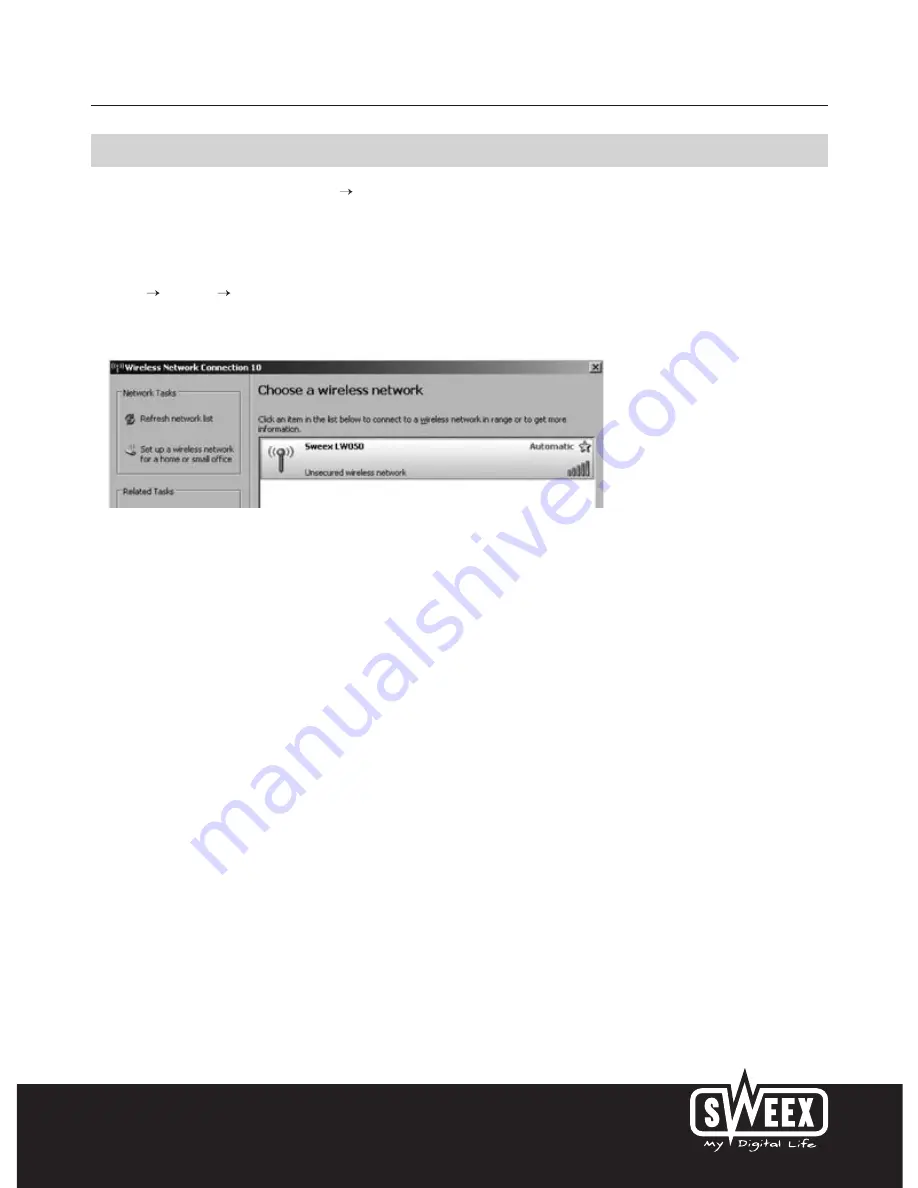
Right-click “LAN Connection” or “Wireless Network Connection” and select “View Available Wireless Networks”.
Always click “Refresh network list” top left in this window first, to obtain the most recent listing.
Select the name (also referred to as SSID) “Sweex LW050v2” by clicking it once. Now click “Connect”.
If it has successfully connected to the wireless network, the notification “Connected” appears after a couple of seconds.
You now have an active wireless network.
If you receive a notification saying the wireless connection cannot be configured because it is managed by another programme, disable this software
and start again.
We recommend securing the wireless part of the router. How to do this is described further down in this manual. Once secured, the network will
show as “Sweex LW050v2” with a message below detailing “Security-enabled wireless network”. When connecting to this secured network, you
will be prompted for the “Network key”. If the network key you have entered is incorrect, a notification saying "Limited or no network connection"
appears after a couple of seconds. Your wireless connection is not satisfactory. Re-connect to the wireless network and check the network key.
If you change something in the wireless settings of the router causing you to lose the wireless connection, then complete these steps again.


