SWEDX AD-Screen User Manual Download Page 5

Basic operations

• 

Use AC 100-240V  50-60 Hz power outlet for 

the product power supply.

• 

lf the screen of the product is not on, please 

press the power button on the remote control.

• 

lf you want to shut off the product temporary, 

please press the power button on the remote  
control.

• 

lf you want to turn off the product completely, 

please disconnect the power cable.

• 

The product will turn of if there is no signal 

input within 30 seconds.

• 

ln HDMI and VGA mode the product will 

enter idle state if there is no signal input 
within 30 seconds. The product will turn on 
when the signal is received.

• 

The setting and tuning of picture and sound 

will be saved when the product is shut off, 
which will be working in the pre-shut off state 
when the product is turned on again.

• 

lf PC signal source is used, please first set 

the resolution of the PC display card as the  
following modes: (1920x1080 60 Hz for Full 
HD models and 1366x768 for HD models).

• 

lf there is progressive output of the signal 

used by the user, signal source with 
progressive output is recommended.

Preparation
• 

Put the product on a stable surface.

•   Do not fix the product with others fixations than 

those provided or suggested by the 
manufacturer.

•   If you have a wall mount, check that it is 

steady.

•   Do not place any material on the product.
•   Do not block or cover the ventilation 

openings on the product.

•   The product must be plugged with a tension 

source of 100-240 volts and 50-60 Hz.

•   Power cord and cables must be properly 

routed and protected to prevent from 
stepping on them.

•   Keep the power cord away from any heat 

source. Possible fire hazard.

Heating sources and humidity
•   Keep the product dry and away from 

humidity.

•   Keep the product away from heat sources.
Cleaning and maintenance
•   Unplug the product before cleaning it. Do not 

use solvents or liquids to clean the product. 

•   Only clean the product with a soft and dry 

cloth.

•   In case of troubleshooting, do not use spare 

parts other than those suggested by the 
manufacturer. Using inadequate spare parts 
can lead to electric shocks, short-circuits fire 
or others incidents. Please contact a 
technical authorized by SWEDX brand.

Departure in holidays

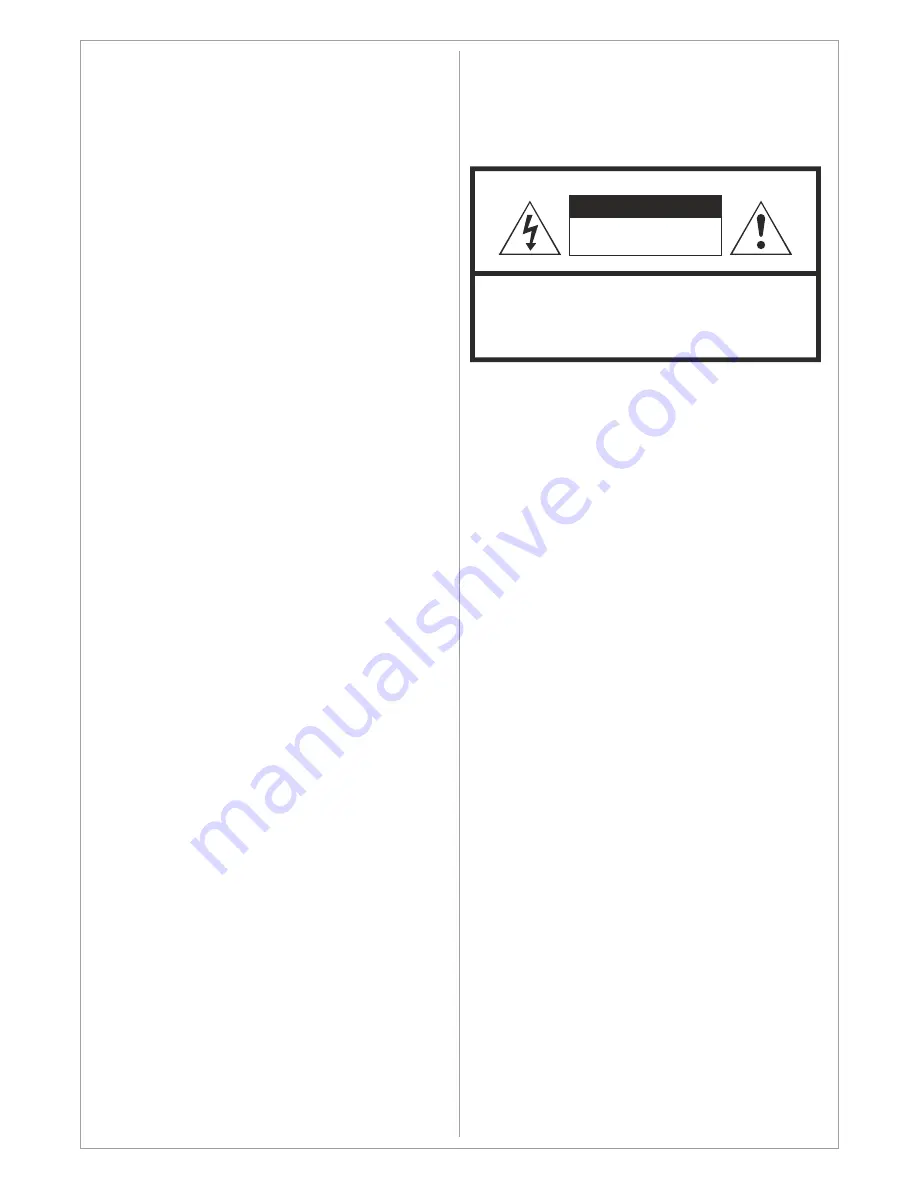
WARNING:

TO REDUCE THE RISK OF FIRE OR 
ELECTRIC SHOCK, DO NOT EXPOSE THIS 
APPARATUS TO RAIN OR MOISTURE.

WARNING

RISK OF ELECTRIC SHOCK

DO NOT OPEN

CAUTION:

TO REDUCE THE RISK OF ELECTRIC SHOCK, DO NOT

REMOVE COVER(OR BACK). REFER SERVICING TO

QUALIFIED SERVICE PERSONNEL

•   Unplug the product during lightning storms or 

when unused for long periods of time.

Design and specifications are subject to change without notice.

5

Summary of Contents for AD-Screen

Page 1: ...Design and specifications are subject to change without notice User s Guide SWEDX wave SWEDX AD Screen SWEDX Photo Frame www swedx com ...

Page 2: ...t notice SWEDX wave SWEDX TV Stand ﻣﻧزﻟﯾﺔ ﺳﯾﻧﻣﺎ Super Slim LED TV Wall mount Retractable Wooden Wall mount SWEDX shelves SWEDX Soundbar SWEDX Matrix Screens SWEDX offers a wide range of accessories with professional design and functionality for LED LED TVs ...

Page 3: ...ample of the XML file 20 Description of SWEDX Photo Frame 21 Warranty and Service 22 Index Page Index 3 Introduction 4 Safety precaution 4 Basic operations 5 Contents SWEDX Wave 6 SWEDX Wave Inputs 6 Contents SWEDX AD Screen 7 SWEDX AD Screen Inputs 7 Contents SWEDX Photo Frame 8 SWEDX Photo Frame Inputs 8 Remote Control Buttons 9 Main Operations 10 Volume Control 10 OSD Menu Operation 10 OSD Menu...

Page 4: ...roduct with dry and soft cloth lf your product is broken do not repair it by yourself but contact the maintenance personnel lf the remote control is left unused for a longtime please take the batteries out and store them in dry places Avoid dropping the remote control lf the product is installed for exhibition purpose please do not place the overheated part on the ground or carpet to prevent accid...

Page 5: ...e manufacturer If you have a wall mount check that it is steady Do not place any material on the product Do not block or cover the ventilation openings on the product The product must be plugged with a tension source of 100 240 volts and 50 60 Hz Power cord and cables must be properly routed and protected to prevent from stepping on them Keep the power cord away from any heat source Possible fire ...

Page 6: ...rd internal memory 7 USB1 Input for USB Media Player 8 HDM Input for HDMI sources 9 PC Input for PC or VGA sources 10 PC Audio Input for PC audio when PC input is connected 11 Coaxial Output for digital audio signal coaxial Power Cable CAUTION Danger of explosion if battery is incorrectly replaced Replace only with the same or equivalent type CR 2025 Battery CAUTION The batteries shall not be expo...

Page 7: ...t used in AD Screen Mode 5 Conn A Not used in AD Screen Mode 6 SD Card Input for SD Card internal memory 7 USB1 Input for USB Media Player 8 HDM Input for HDMI sources 9 PC Input for PC or VGA sources 10 PC Audio Input for PC audio when PC input is connected 11 Coaxial Output for digital audio signal coaxial Power Cable CAUTION Danger of explosion if battery is incorrectly replaced Replace only wi...

Page 8: ... Not used in AD Screen Mode 5 Conn A Not used in AD Screen Mode 6 SD Card Input for SD Card internal memory 7 USB1 Input for USB Media Player 8 HDM Input for HDMI sources 9 PC Input for PC or VGA sources 10 PC Audio Input for PC audio when PC input is connected 11 Coaxial Output for digital audio signal coaxial Power Cable CAUTION Danger of explosion if battery is incorrectly replaced Replace only...

Page 9: ...rs 25 Previous TV channel in DTV TV 26 Display favorite channels list 27 Confirm activate button 28 Navigation adjust button RIGHT 29 Exit the OSD P M K k î á Ö í á ç å Ä ì í í ç å DOWN 31 Next channel When the channel list is displayed it scrolls down to next page in the list 32 Previous channel When the channel list is displayed it scrolls up to previous page in the list 33 Instant Recording Tel...

Page 10: ...ess Enter or Navigation button on the Remote Control Sub Menu Each menu item has its own sub menu items to set Sub Menu items A If there is no value to adjust it means there is a sub menu which you can access by pressing Enter and modify the menu values Select sub menu item with buttons on the remote control and press Enter button to enter the submenu or change the value B If there is no part the ...

Page 11: ...de the transition effect used when sliding pictures 21 modes are available SLIDE TIME Options 5sec 15sec 30sec 1min 5min 10min 30min 1hour 3hours 12hours 24 hours The slide time will decide the time duration before next sliding occurs BG MUSIC Options On Off In Photo Frame mode you can activate BG MUSIC to play audio in the background while displaying the images PICTURE SCALING Option Original Ful...

Page 12: ...e will be created containing information about the displayed files with time stamp ROLL SETTING Options Roll Text On Off Text Color White Yellow Blue Red Black BG Color Yellow Red Blue Transparent Roll Speed Low Middle High In all modes it is possible to display text rolling at the screen s bottom Create a text file and label it Telop txt Copy the file to the internal memory Activate Roll Text ON ...

Page 13: ...E Mon Sat TIMER SET CLOCK SHOW Off CLOCK TEXT COLOR BLUE CURRENT CLOCK YEAR 2011 SAVE TIMER SET The timer set will define the time when the device will turn On and Off Up to 5 timer sets can be defined Define the Timer sets according to the instructions below Choose the Timer set 1 5 Choose to activate the current chosen set by turning it On Define the ON time in hours and minutes Define the OFF t...

Page 14: ...DATE On USB SD DATA UPDATE Option On Off The device can be equipped with Micro SD card to be used as internal memory The Micro SD card is covered with a lock for protection against accidental or unauthorized removal This feature is also easy and convenient update of the content to be displayed To copy the new files to the internal memory follow the following steps Activate the USB SD Data Update O...

Page 15: ...u can choose the settings for noise reduction Choose between Off Low Middle High Picture Mode Color Temperature Aspect Ratio Noise Reduction Middle Screen PICTURE Default SCREEN In this menu you can choose the screen settings when the device is in PC RGB mode The values that can be adjusted are Horizontal Position Vertical Position Size Phase SOUND MENU SOUND MODE In this menu you can choose the s...

Page 16: ...The timer set will define the time when the device will turn On and Off Up to 5 timer sets can be defined Define the Timer sets according to the instructions below Choose the Timer set 1 5 Choose to activate the current chosen set by turning it On Define the ON time in hours and minutes Define the OFF time in hours and minutes OPTION MENU LANGUAGE Choose the language for the OSD Menu RESTORE FACTO...

Page 17: ...SWEDX Wave Wave is a new innovative way to attract audiences It is a combination of a LED screen and 8 control buttons Each button is associated with a video image file stored on the Micro SD Card internal memory Touching the button or waving the hand above the buttons will load and display the associated video image automatically When the video displaying is completed SWEDX wave will load the mai...

Page 18: ...al videos in predefined order For the images the play lists will be displayed according to predefined duration time The layout is created by using KADE software avialable for windows or by creating an XML file Below is the main interface for KADE software PLAY SETTINGS FUNCTION MODE AD Screen MEDIA TYPE MOVIE SLIDE MODE 0 SLIDE TIME 5sec BG MUSIC On PICTURE SCALING FULL PICTURE ROTATE 90 ROLL SETT...

Page 19: ...w image files in the library source file 13 Add a file to the library 14 Delete a file from the library A Adjust the selected windows position and size The V button is to choose from predefined sizes B Adjust the following Swift to vertical layout instead of horizontal layout Add Background image Show hide logo Show hide time The X button is to delete the background image C Add Marquee text and ch...

Page 20: ...x jpg P P s true swedx camo grey dark jpg P P s true swedx camo orange jpg P P s false swedx camo panel background jpg P P s true swedx camo panel image 1920x1080 red jpg P P s true DSCN3263 jpg P P s false 00 mkv P P s false 297 jpg P FILE_LIST MAIN_WINDOW visible true x 51 y 120 w 742 h 528 TRACK A interval 4 vol 50 00 mkv A TRACK MAIN_WINDOW SUB_WINDOW conut 1 WINDOW visible true x 835 y 40 w 4...

Page 21: ...d on the screen mark the images you want to add to the play list by marking the image file and pressing OK on the remote control When the image is marked a CHECK icon will appear to the left of the file name You can mark all images by pressing the GREEN button on the remote control You can delete all markings by pressing the RED button on the remote control When you have marked all images you want...

Page 22: ...eterioration or malfunction resulting from A Accident misuse neglect fire water lightning or other acts of nature unauthorized product modification or failure to follow instructions supplied with the product B Repair or attempted repair by anyone not authorized by SWEDX C Any damage of the product due to shipment D Removal or installation of the product E Causes external to the product such as ele...

Page 23: ...ams are subject to change without prior notice Limitation of liability If your SWEDX product fails to work as warranted above your sole and exclusive remedy shall be repaired or replaced SWEDX s maximum liability under this limited warranty is expressly limited to the lesser of the price you have paid for the product or the cost of repairing or replacement of any hardware components that malfuncti...

Page 24: ...Design and specifications are subject to change without notice www swedx com ...

Reviews: