


OSD Reference Guide
2
EN
Fo
r i
llu
str
atio
n o
nly
. A
ctu
al P
TZ c
on
tro
l p
an
el l
ayo
ut
m
ay v
ar
y o
n y
ou
r D
VR b
ut f
un
ctio
ns w
ill b
e t
he s
am
e.
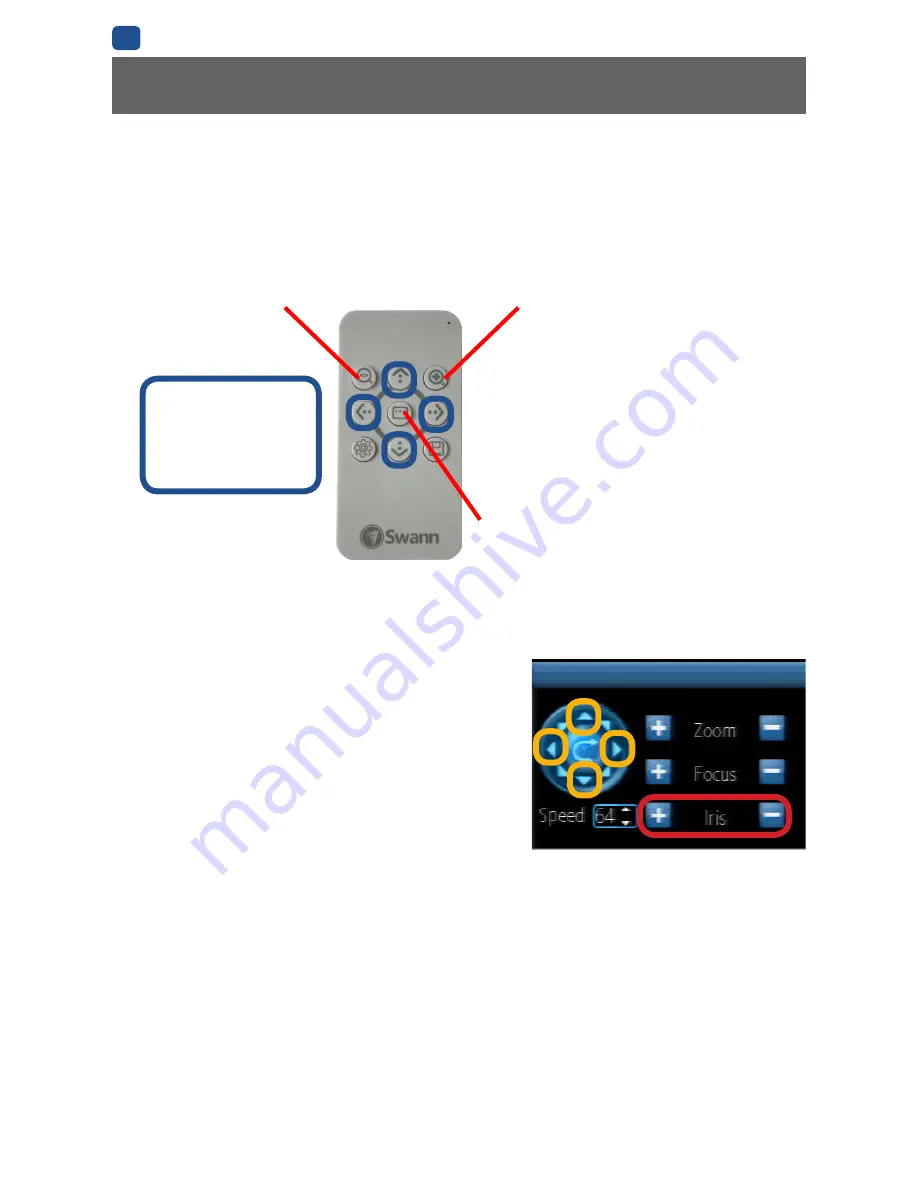
PTZ control panel
IRIS + / - Buttons
About the OSD
Using the OSD
To access the camera’s OSD feature, connect the camera’s RS485 plug either to an OSD
Controller (if supplied) or directly to the RS485 port on the back of the DVR. Refer to your
1080p SDI camera’s documentation for information on how to make the RS485 connection
between camera and OSD controller/DVR.
OSD Controller Guide
Quick
OSD Main Menu/Enter
Quick Adjust -
Arrow Buttons
The arrows are used
to navigate through the
main menu.
DVR PTZ Control Panel Guide
• From the DVR, open the PTZ control panel.
• Press the “Iris +” button to display the
camera’s OSD menu, and use the up/
down arrows to navigate and the left/right
arrows to adjust options. If the menu has
a return arrow next to it, select the option
and click “Iris +” to enter the sub-menu. The
currently selected option is the one with the
small right facing arrow next to it.
• To exit the OSD menu, use the up/down arrows to select the EXIT option and
click on “IRIS +” to close the OSD, while in any sub-menu select “Return” and
click “IRIS +” to return to the previous menu level.
Arrow
Buttons


