background image

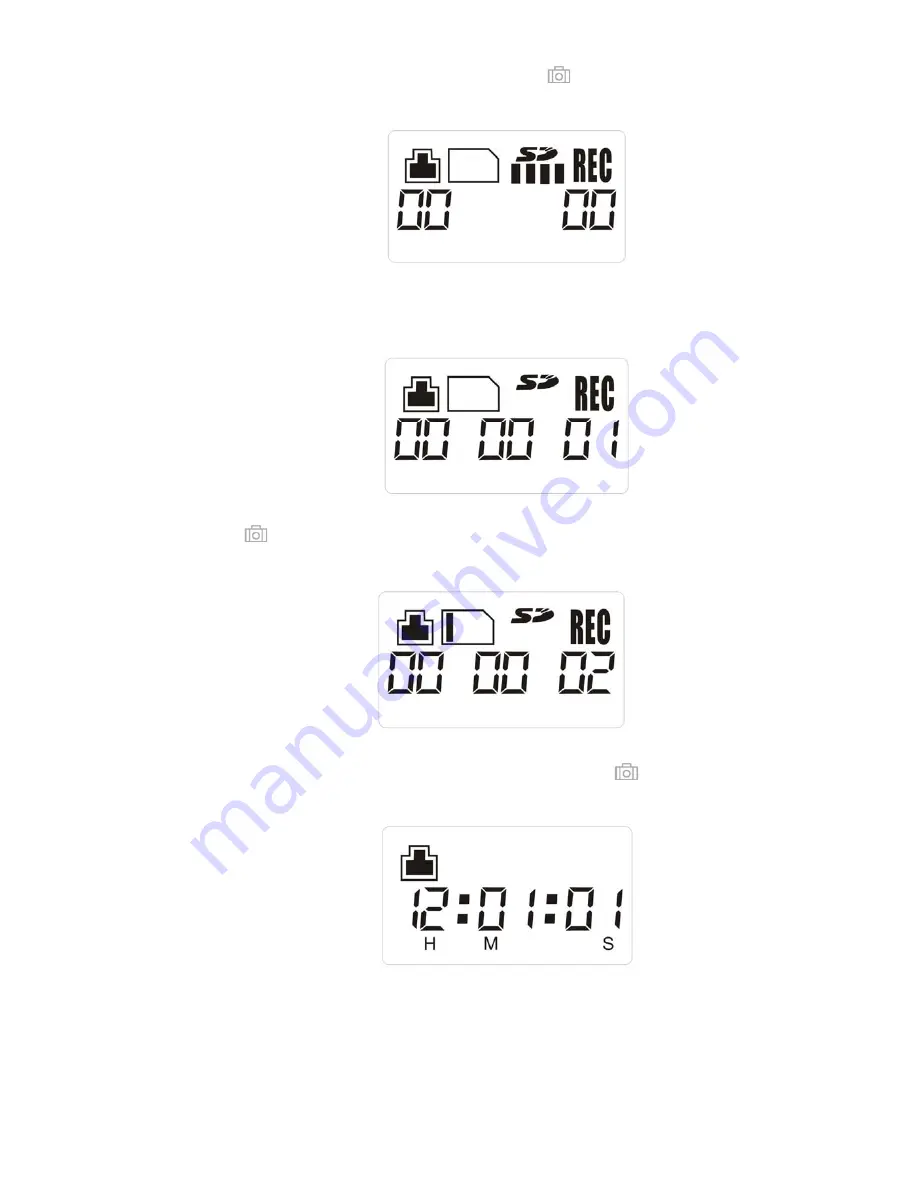
Point the camera to the object and then press

button to take a photo. The data 

indicator will flash under the SD logo: 


Once the DVR has finished processing the image, a number 1 will appear under 
REC indicating 1 picture has been saved: 


Press

button again to take a second picture. The data indicator will flash and 

REC will indicate 2 pictures have been stored: 


If you want to quit snapshot mode, Press and hold the

button for 2 seconds to 

return to Time display. 


NOTE: 

When taking photos at night, ensure the flashlight level is set to off in order 

for infrared LEDs to turn on.    Taking photos with the light on will overexpose the 
image and appear as a white image 


9

Summary of Contents for FlashlightDVR SW244-TDV

Page 1: ...FlashlightDVR USER MANUAL SW244 TDV...

Page 2: ...l jurisdictions have specific laws and regulations regarding the use of cameras Before using any camera for any purpose it is the buyer s responsibility to be aware of all applicable laws and regulati...

Page 3: ...LED flashlight Highly Durable with precision tooled aluminum housing Compact size and portable DVR System Support up to 2GB external Mini SD Card flash storage MPEG4 Video Recording Support 1 5 Hours...

Page 4: ...tDVR Layout V Before Use Remove the end cap of the FlashlightDVR and install 3 C size Ni MH rechargeable batteries or 3 C size alkaline batteries not included Tighten the end cap after installing the...

Page 5: ...VI FlashlightDVR Control Panel There are 4 buttons on the control panel as below 1 Flashlight button 2 Function button 3 Record button 4 Snapshot button VII LCD Display 5...

Page 6: ...n button to move to change the Minutes Use the and buttons to change the minutes Press the Function button to edit the Seconds Once all adjustments are complete press the Function button to save all c...

Page 7: ...attery Indicator indicates the battery is fully charged and ready for use 3 Flashlight The unit has 3 levels of brightness Low Medium and High When batteries are installed in the unit the flashlight d...

Page 8: ...f Mini SD card is correct 5 Snapshot Mode To enter the snapshot mode press and hold the button for 2 seconds The LCD will display the SD Card data indicator and flash for approximately 10 seconds Afte...

Page 9: ...ved Press button again to take a second picture The data indicator will flash and REC will indicate 2 pictures have been stored If you want to quit snapshot mode Press and hold the button for 2 second...

Page 10: ...ely 10 seconds After the data indicator disappears the unit enters the video audio recording mode with LCD displaying 0 as below Point the FlashlightDVR at an object and then press the button to start...

Page 11: ...ss and hold button for 2 seconds to exit video mode and return to time display mode IX Connecting the FlashlightDVR to PC 11 Connection to PC Connect the USB cable to your PC USB port Connect the mini...

Page 12: ...ociated with your FlashlightDVR When the Safe To Remove Hardware message box appears unplug the USB cable from your computer Then disconnect the USB cable from the FlashlightDVR X Battery Charging The...

Page 13: ...ase recharge or replace batteries immediately XI Cautions for Use Only use the included 12Volt AD DC adaptor when using Ni MH rechargeable batteries DO NOT charge the unit when using alkaline batterie...

Page 14: ...orts Up to 2GB User Interface TN LCD display Recording Time Maximum 18 minute 128MB VGA Maximum 1 5 Hours for 1G SD Card Backup Method Compliant with USB1 1 Interface DVR Recording Rate Maximum Image...

Reviews: