12
15. Motion Detection settings
1.
When surveying nearby objects (2-10 meters)
For detection during daytime, please set motion detection sensitivity to
Normal
level; for
detection at night, please set to sensitivity to
Low
.
2.
When surveying objects in 50-100 meters area
The objects 50-100 meters away will be quite small on the screen. For detection during
daytime, please set motion detection sensitivity to
High
level. At night set sensitivity to
Very
High.
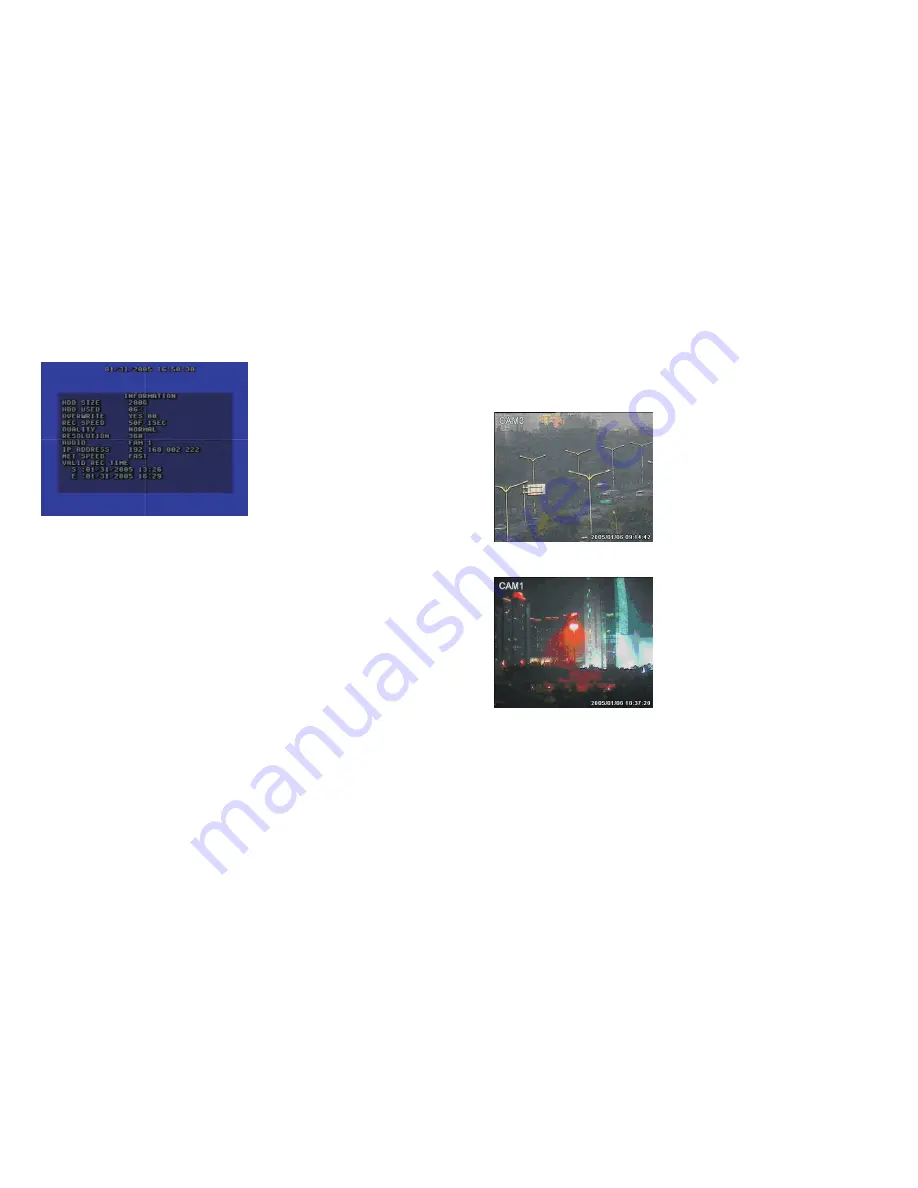
When covering a brightly lit area at night as below, please set sensitivity to
Normal
level.
Note: the above suggestions are a guide only based on testing in a general environment. You
will need to select the best parameters according to the actual operation environment you are
covering. Try different settings until you get the desired motion detection result.
27
13.Information Display
If you push display button, the main information of the DVR will display on screen.
\
HDD SIZE:
the size of the hard disk you insert to the DVR.
HDD USED:
the usage of the hard disk.
OVERWRITE:
hard disk overwrite enable. 00:HDD full count time
REC SPEED:
record frame rate speed.
QUALITY:
record picture quality.
RESOLUTION:
record resolution.
AUDIO:
audio enable camera.
IP ADDRESS:
IP address of the DVR.
NET SPEED:
Networks transmit speed.
VALID REC TIME:
the beginning and the end of recording time
14.Default Setting
The default setting for each item is shown in the chart on the next page.
“
Defaults
” is the initial setup by the manufacturer. The user can change the setup according to
the actual environment and demands. If there is any confusion or unexpected effect, choose
“
Defaults
” and reset all settings to original.
You can choose “
FACTORY RESET
” in “
SYSTEM SET
” menu, and reset all settings to default
setting.


