11
grand
ENG
Operation Manual
V O L
V O L - 2 0
U S B
- 0 2
H E A D P H O N E
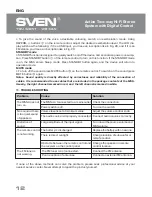
Fig. 24
V O L
V O L - 2 0
U S B
- 1 2
H E A D P H O N E
Fig. 25
Fig. 26
Fig. 27
Headphone usage.
GRAND active two-way Hi-Fi stereo system has a built-in high quality
headphone ampli
ԛ
er, which allows to enjoy music from a player or tuner without distracting others’
attention.
In order to switch on the headphones, connect them to the PHONES input
e
on the
active speaker front panel. Then, using INPUT button
e
of the remote control or INPUT button
c
on the control panel,
ԛ
nd an audio source you’re going to listen to the music from, for example,
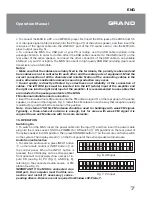
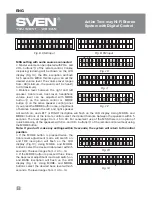
USB. If you press MODE button of the remote control four times, the headphone volume level
adjustment mode will switch on, and the HEADPHONE inscription will
Ԝ
ash on the LCD display for 5
seconds (Fig. 24). During this time select the desired headphone volume level using MODE +/-
buttons
f
. For convenience there is an option
of quick headphone volume level adjustment
with +/– buttons
h
of the remote control
without using the MODE button. You can see the
information about the headphone volume level
in the right upper corner of the second line on
the LCD display: as in the previous example, it
was VOL-02 (see Fig. 24), and became VOL-12
(Fig. 25).
Note. To reduce master volume use VOL–
button
o
of the remote control. To switch
off the sound press MUTE button
j
of the
remote control.
Microphone usage
•
GRAND active two-way Hi-Fi MSS has two
jacks for connecting microphones on the active
speaker rear panel – mic 1
h
and mic 2
i
,
which makes it possible to use the connected
microphones when playing Karaoke sound-
tracks.
•
To switch on the microphones, connect them
to the above mentioned mic 1 and mic 2 jacks.
You can connect one microphone or both
microphones simultaneously. Then make
presetting. Using INPUT button
e
of the remote
control or INPUT button
c
on the active
speaker control panel, select an audio source
you want to lay the voice over. Then using
VOL+/-
o
and M
ƫDž
-/+
g
buttons on the remote
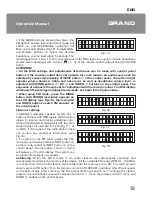
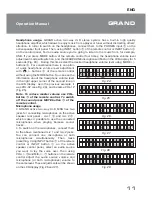
control adjust the audio source volume and
microphone (or both microphones) volume to
the same level. These adjustments will be shown
on the LCD display (Fig. 26 and 27).
3
9
. 8
F M
M I C
V O L - 0 7
M I C
V O L - 5 8
U S B
V O L 0 0
Fig. 28
V O L - 5 8
U S B
E R B
R E V
V O L 0 0
Fig. 29
3
9
. 8
F M
E R B
R E V
V O L 0 5


