SVAT ELECTRONICS
now you can see
CLEARVU3
39
4.
PPPoE: If you have an ADSL modem, you may need to set up PPPoE in order to
view your DVR from outside your network. You will need your login information. If you
do not have it, please contact your Internet Service provider to provide you with the
login information.
5.
Optional:
Send mail (about new IP) after connected should be selected if you want to receive
an email when your external IP address changes from your ISP. You will receive
an email at the receiver’s email address when the external IP address changes. If
you are unaware of the mail server or username settings contact your ISP for this
information.
6.
HTTP Port: Select the port number (default is port:80)
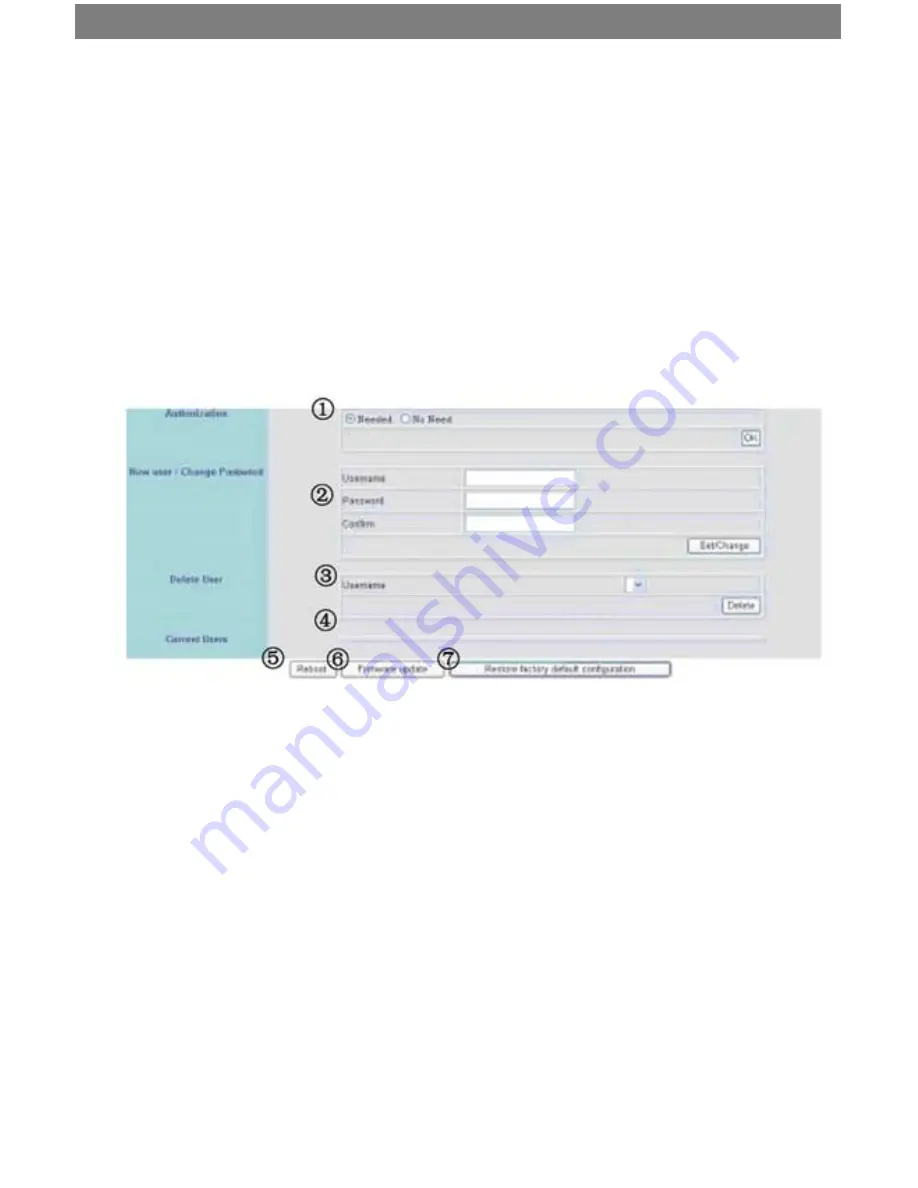
8.2.2 User Setup
1. Authentication: Choose whether or not a user name and password are required
2.
Enter your user name in the User Name box.
3. Enter your password in the Password box.
4. Re-enter your password in the Confirm box.
5. Click the “Set Change” button.
6. Click the “Reboot” button.
7. Power off the DVR and power it back on to confirm the changes. The changes
will not take effect until you restart the DVR.
This section allows you (the administrator) to set up multiple user accounts so other
authorized users can access the DVR. These users will be able to view live display, record,
and capture images. However, they will not be able to change configuration settings. When
you have set up user accounts, be sure to write down the user name and password for each
account so you can provide the users with the appropriate login credentials.
Authorization: Specify whether authentication is needed to access the DVR. If you select
“No Need,” there is a possibility that unauthorized users may access your DVR.
New User/Change Password: Add user or change password (Max. users = 30).


