/4
3/3
The IP will change after the system is restarted. Click
Next
to continue.
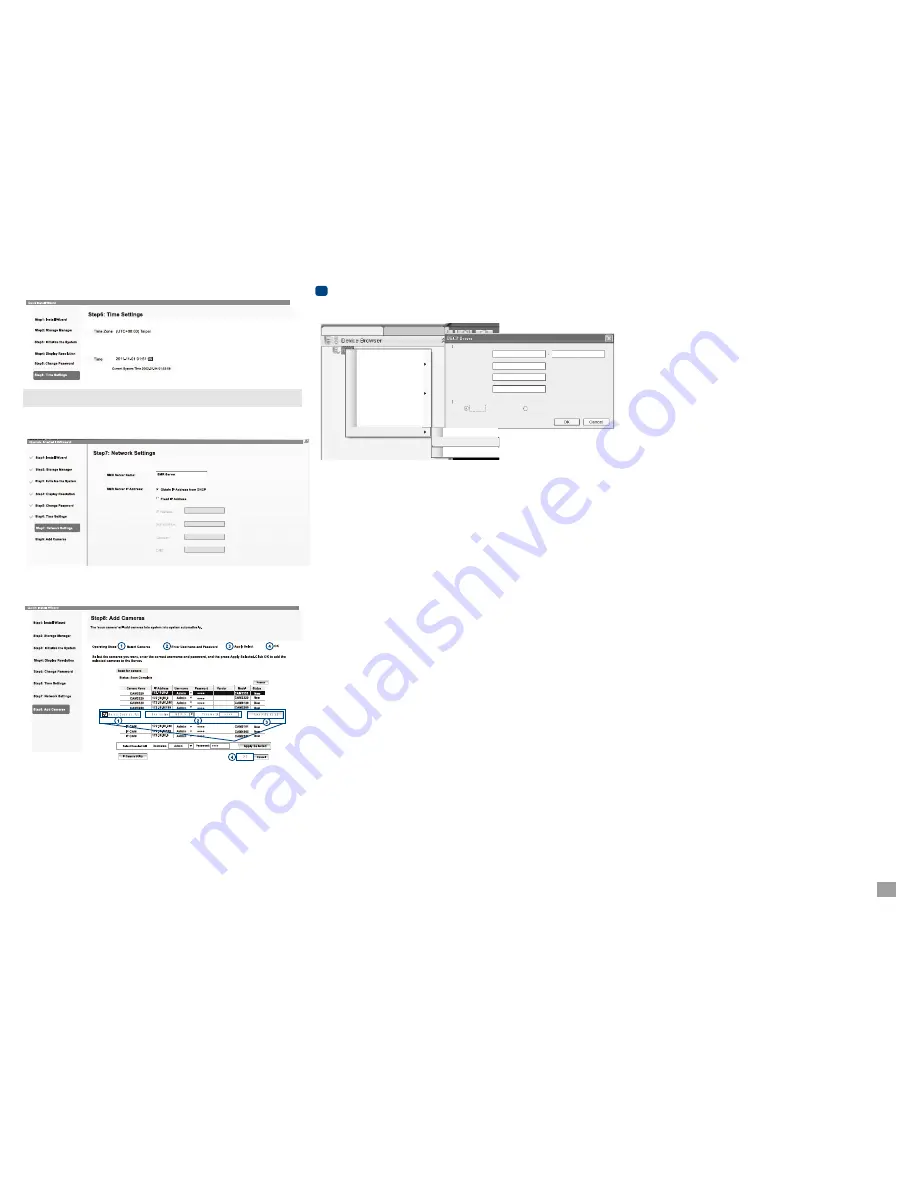
8. Click
Scan for Cameras
to add cameras to the SMR server.
The cameras that can be added to the server will be displayed.
To add a camera to the server, check the box by the camera entry. You may also check the
Select All
box
at the bottom of the window to select all the cameras found.
Enter the username and password, and press
Apply Selected
. Click
Ok
to add the selected cameras to
the server.
9. Click
Finish
to end the wizard.
10. The VMS will automatically start after the wizard is finished. Please refer to SMR user manual for more
details.
7. Set an IP address for the SMR server. Please check if your network environment has DHCP service first.
If not, please choose
Fixed IP Address
.
6. Choose the time zone and set the actual date and time for the SMR system.
Note:
You must set the right time zone for the SMR system, or you cannot access the remote recording.
Server Settings
Scan For Cameras
Add Cameras
Schedule Manager
Logout
Alarm Rule Settings
View Log
Digital I/O Settings
Configurations
Rename
About
DHCP Server
IP Address Ranage
SubnetMask
Router
DNS
DHCP Settings
DHCP Settings
192
.
168
.
22
.
2
255
.
.
.
0
255
255
192
.
.
.
100
168
22
192
.
.
.
1
168
22
192
.
168
.
22
.
20
Enable
Disable
Live View
Playback
The DHCP functionality should be turned on when there is no DHCP service available. When enabled, the VMS
will assume DHCP Server duties and assign addresses within the range specified.
Enabling DHCP Server (Optional)
7
3. Tick
Enable
and then click
OK
to start the service.
●
1. Right-click the VMS Server and select
Configurations > DHCP Server
option to bring up the DHCP Server
dialog box.
2. Fill in the following information:
IP Address Range
- The range of addresses to be assigned. The first IP address should be lower than the
second IP address.
●
Subnet Mask
●
●
Router
- The router IP
Domain Name
- The DNS IP
Summary of Contents for SMR Series
Page 4: ......


