


20
NETWORK VIDEO
Supported IP Camera Manufacturers
ACTi
Arecont Vision
Axis
Brans
D-Link
IQeye
Lumenera
Mobotix
Panasonic
Pixord
Samsung
Securgen
Sony
Stardot
Toshiba
VivoTek
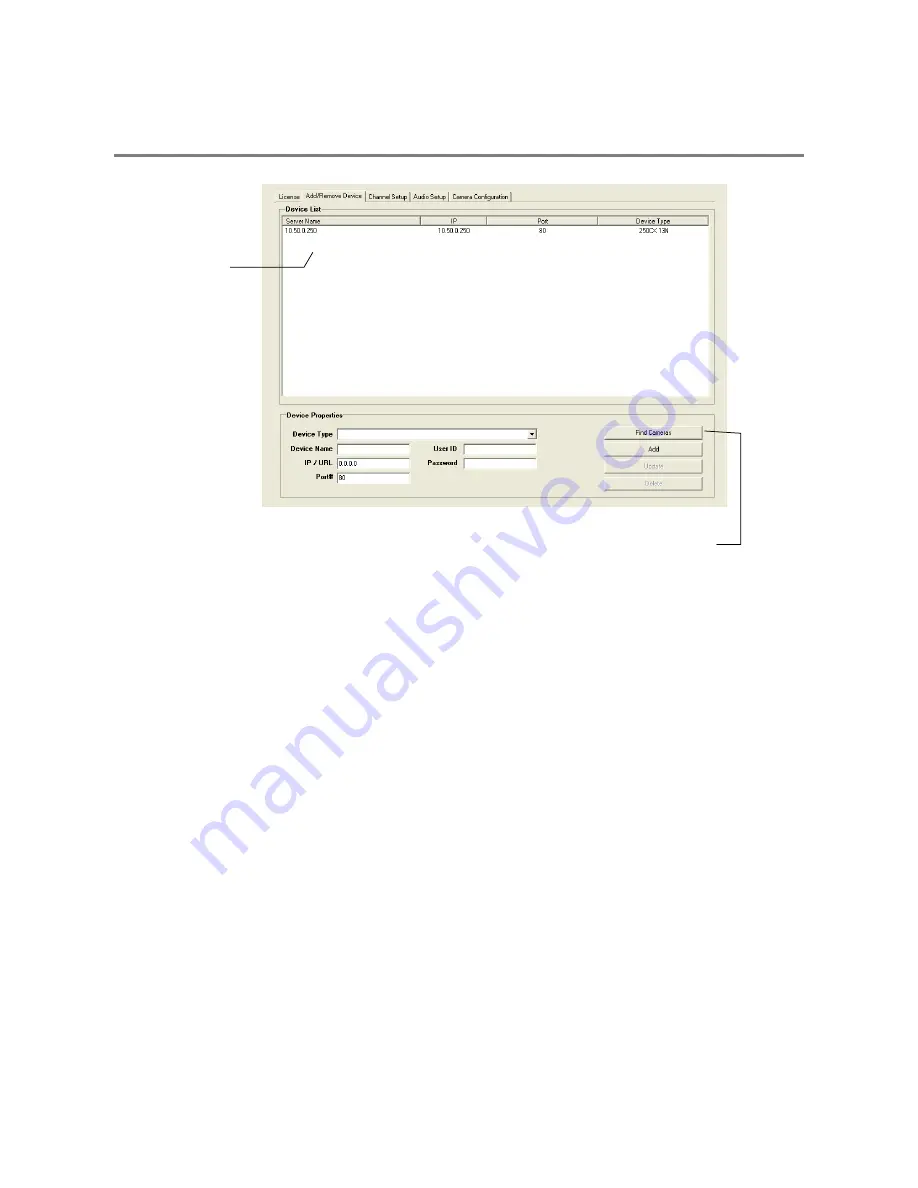
Connecting a Network Device
Connecting Manually
1.
From the Display screen, click Setup.
2.
Click Network Video.
3.
Click the Add/Remove Device tab.
4.
Select your network device from the Device Type list.
5.
Type a Device Name.
6.
Type the IP/URL address, Port, User ID and Password of the device.
7.
Click Add.
Automatic Camera Finder
Connected Devices
Summary of Contents for NVS16-X
Page 2: ...ii...
Page 4: ...iv...
Page 16: ...16...
Page 58: ...58 NOTES...
Page 66: ...66 NOTES...
Page 72: ...72 NOTES...
Page 75: ...29944AA 75 LDAP INTEGRATION This chapter includes the following information Installing LDAP...
Page 78: ...78 NOTES...
Page 82: ...82...


