Chapter 6: Advanced Chassis Setup
6-5
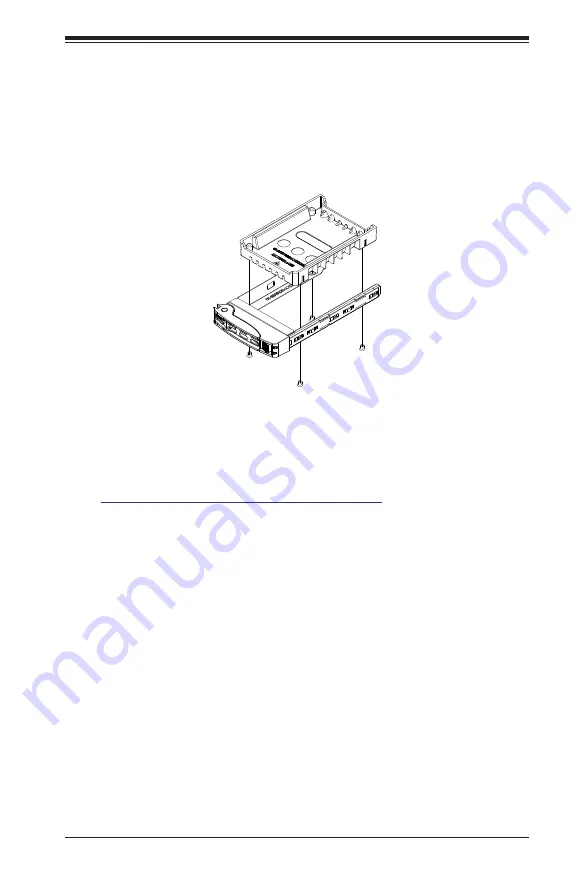
Figure 6-4. Removing the Dummy Drive from a Carrier
Enterprise level hard disk drives are recommended for use in Supermicro chassis
and servers. For information on recommended HDDs, visit the Supermicro website
at
http://www.supermicro.com/products/nfo/storage.cfm
4. Insert the drive carrier with the disk drive into its bay, keeping the carrier oriented
so that the hard drive is on the top of the carrier and the release button is on
the right side. When the carrier reaches the rear of the bay, the release handle
will retract.
5. Push the handle in until it clicks into its locked position
6-6 Installing Expansion Cards
The system accepts two full height full-length expansion cards or one double width
GPU, and one low profile card, mounted on a riser card and riser bracket. There is
also an internal expansion slot in the center of the chassis.
Installing an Expansion Expansion Card
1. Power down the system as described in section 6-2 and remove the cover.
2. Remove the bracket and sections of the chassis in the rear. Small screwdriver
icons are etched into the chassis pieces to help identify which screws must be
removed.
3. If necessary, attach the riser card to the riser card bracket using screws.
Summary of Contents for SUPERSERVER 1028UX-TR4
Page 1: ...User s Manual Revision 1 0a SUPERSERVER 1028UX TR4...
Page 5: ...v SUPERSERVER 1028UX TR4 User s Manual Notes...
Page 14: ...1 6 SUPERSERVER 1028UX TR4 User s Manual Notes...
Page 24: ...2 10 SUPERSERVER 1028UX TR4 User s Manual Notes...
Page 72: ...5 24 SUPERSERVER 1028UX TR4 User s Manual Notes...
Page 84: ...6 12 SUPERSERVER 1028UX TR4 User s Manual Notes...
Page 126: ...A 2 SUPERSERVER 1028UX TR4 User s Manual Notes...
Page 130: ...B 4 SUPERSERVER 1028UX TR4 User s Manual Notes...


